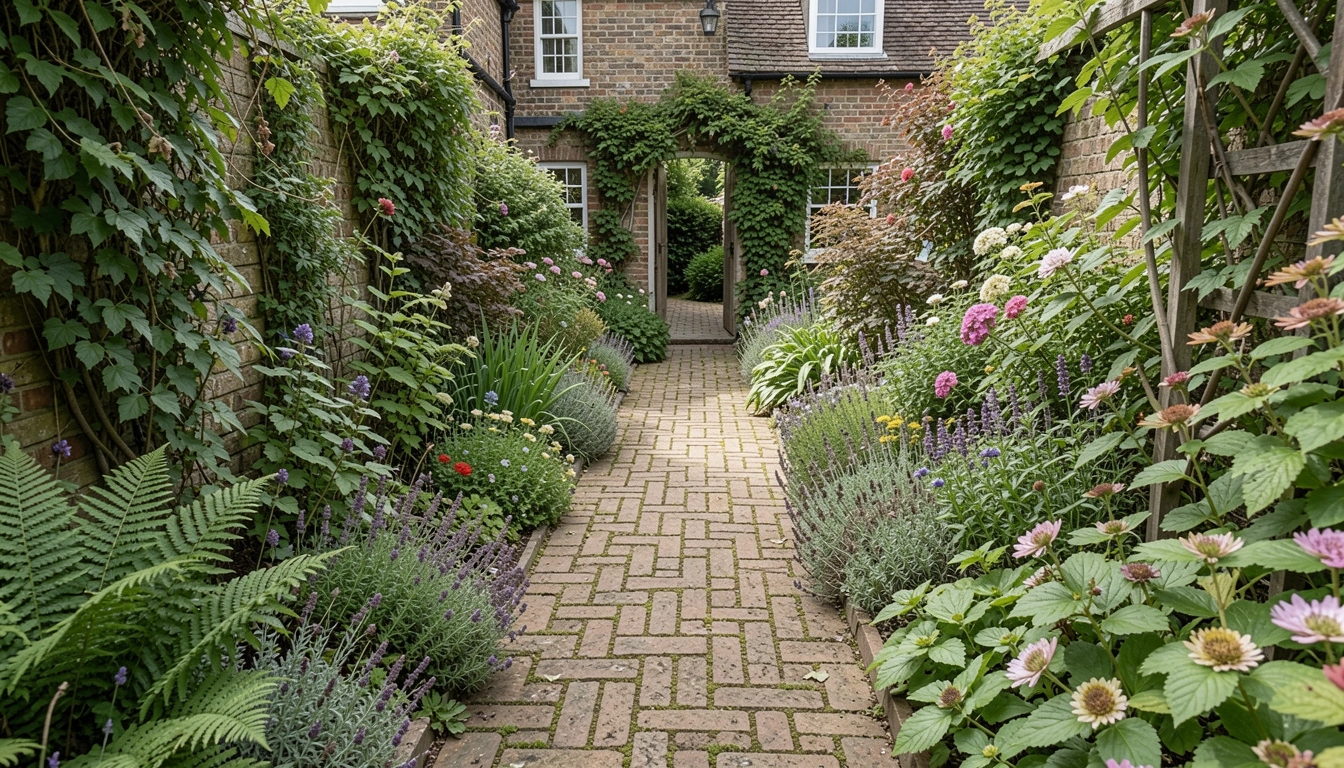
How to Lay a Brick Garden Path
I kept stepping on uneven grass and feeling the garden was unfinished. Paths confused me — too straight or too fussy. I wanted something that invited walking and looked lived-in.
After a few tries I learned to lay a brick path that reads natural, slows you down, and stitches beds together without shouting.
How to Lay a Brick Garden Path
This is the method I use every time a garden feels unfinished. You’ll learn how to place a path that looks intentional and comfortable. The end result is a balanced, lived-in walk that ties beds together.
What You’ll Need
- Reclaimed red clay bricks (4×8, warm red)
- Narrow steel edging (dark metal)
- Low, mat-forming thyme (silver-green)
- Upright perennial mix (salvia, rudbeckia)
- Fine sand or stone dust (pale gray)
- Coarse gravel infill (neutral tan)
- Native ferns or hostas for shady sections
- A single focal plant (ornamental grass clump)
Step 1: Choose the line that already feels right

I walk the garden first and follow where my feet already want to go. I trace that line with my hand and imagine the path material sitting there. I do this because a path should feel earned, not imposed.
Visually the space shifts from a vague bed edge to a clear route. Suddenly beds on either side read as intentional.
People often miss how gentle curves slow the eye and invite lingering. The mistake I make sometimes is forcing a straight line because it feels "neat"—that kills the path’s character.
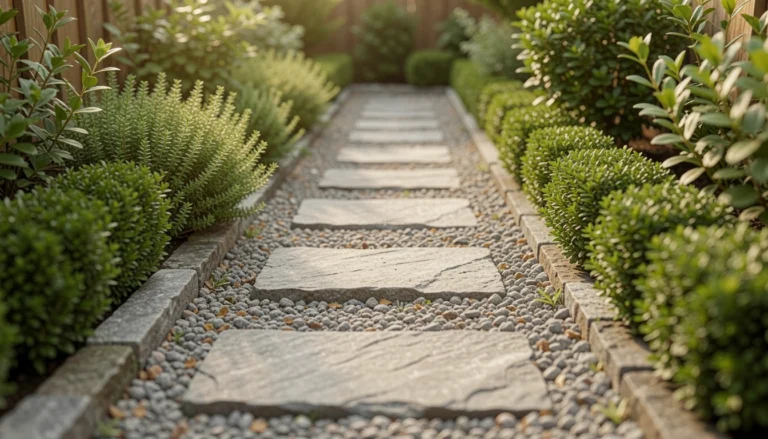
Step 2: Prepare the edge so the path reads intentional
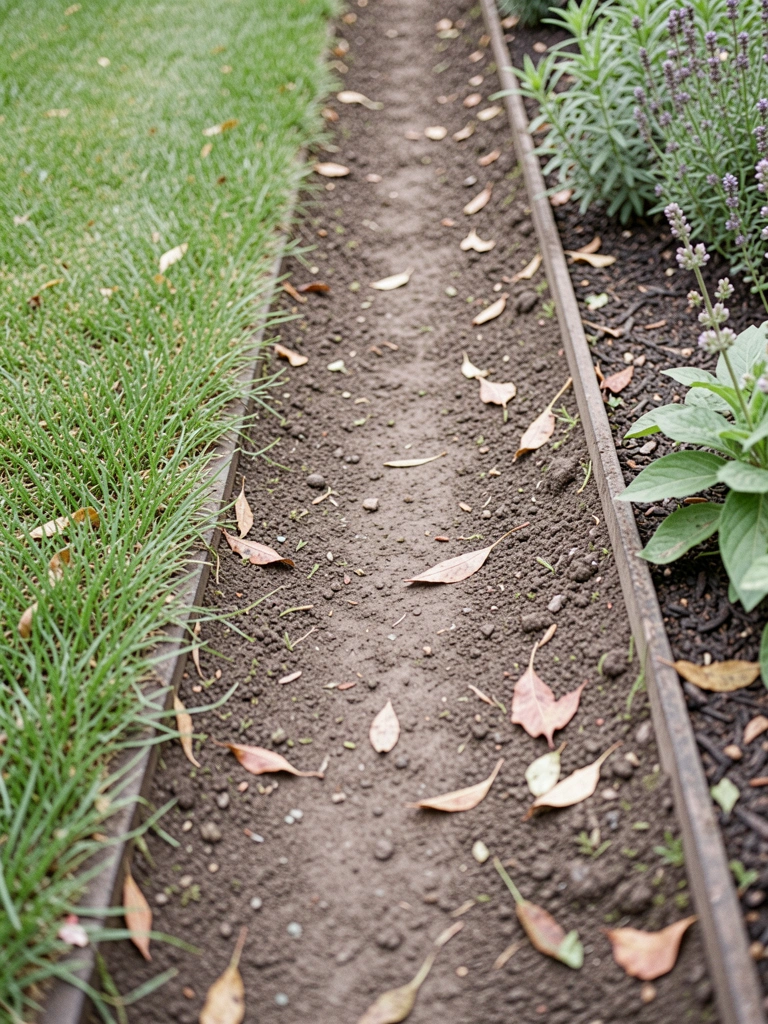
I clear a band where the path will sit and set the edge relationship in my head. I think about how the bricks will meet lawn or planting so the line looks tidy yet soft. This stage is about making the path belong.
Visually the cleared strip creates contrast — a walking line against softer beds. People miss how important the edge relationship is; a ragged edge makes the whole thing look accidental.
Avoid making the edge too perfect. A small, intentional irregularity makes the path feel lived-in and calm.
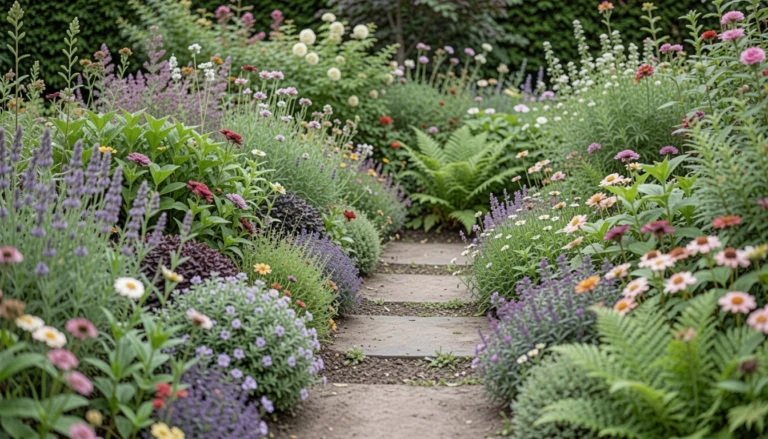
Step 3: Lay bricks with a rhythm that suits the planting
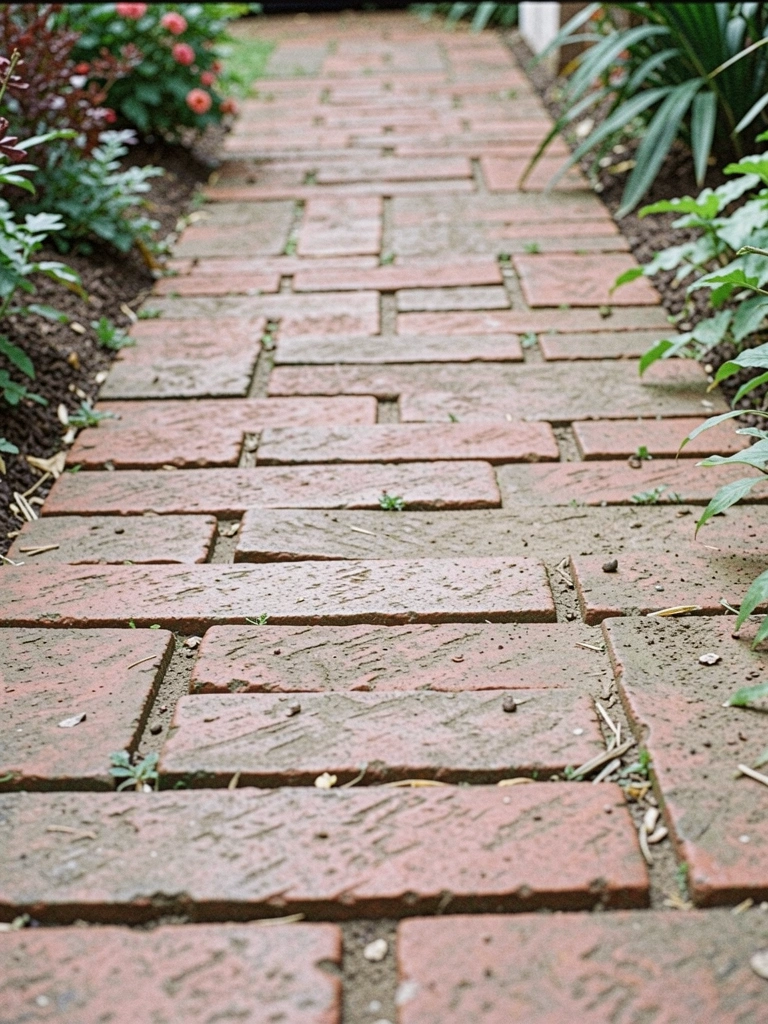
I place bricks so they read like a simple pattern, not a parade. I watch how the lines move with the garden and aim for a rhythm that matches nearby planting — tighter near formal beds, looser by cottage edges.
Visually the path gains texture and motion. The eye follows the brick lines toward focal points and seating.
A common insight is that slight variations in joint spacing avoid a mechanical look. The slip-up to avoid is forcing perfect uniformity; it makes the path feel manufactured, not lived-in.
Step 4: Soften hard edges with plants and gravel
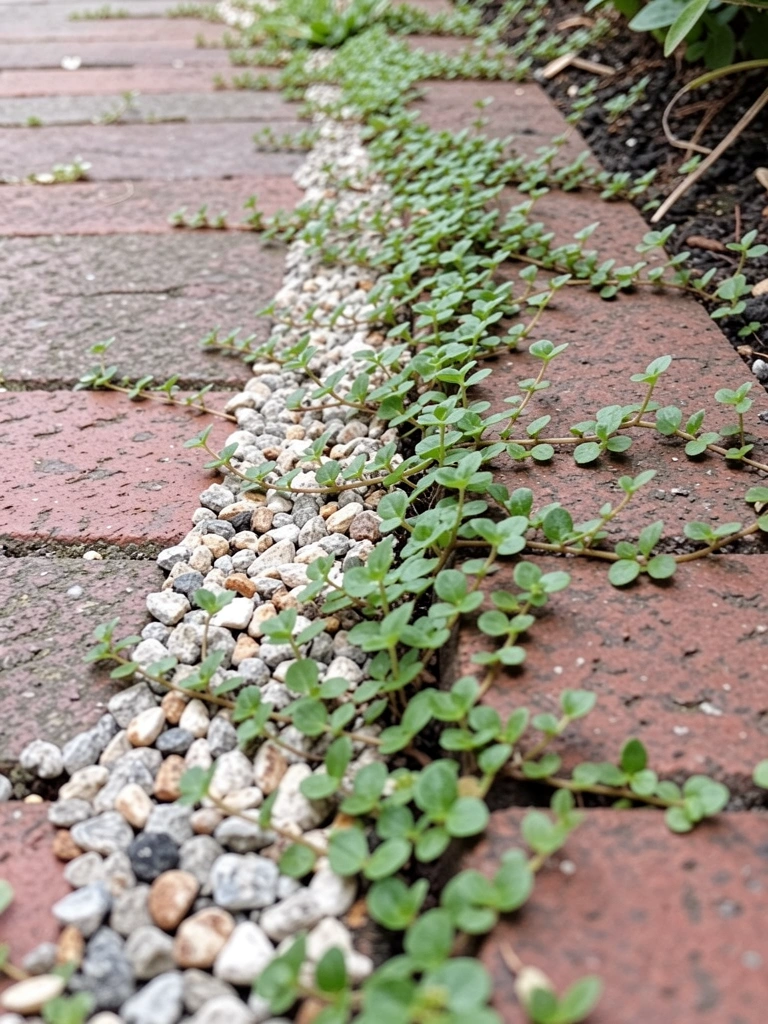
I tuck low plants and a narrow belt of gravel against the bricks to blur the edge. I use mat-forming foliage on one side and slightly taller perennials on the other. This layering makes the path feel intentional and calm.
Visually the hard line becomes a soft transition. Plants spill over and the gravel gives a lived texture.
Many people miss the power of small-scale contrast — tiny leaves next to brick make a big difference. Don’t plant tall, floppy things right at the edge; they’ll hide the line.
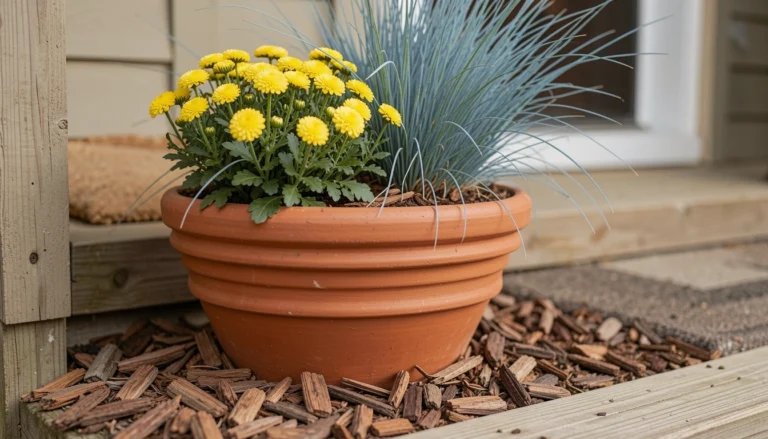
Step 5: Add small details that steady the composition
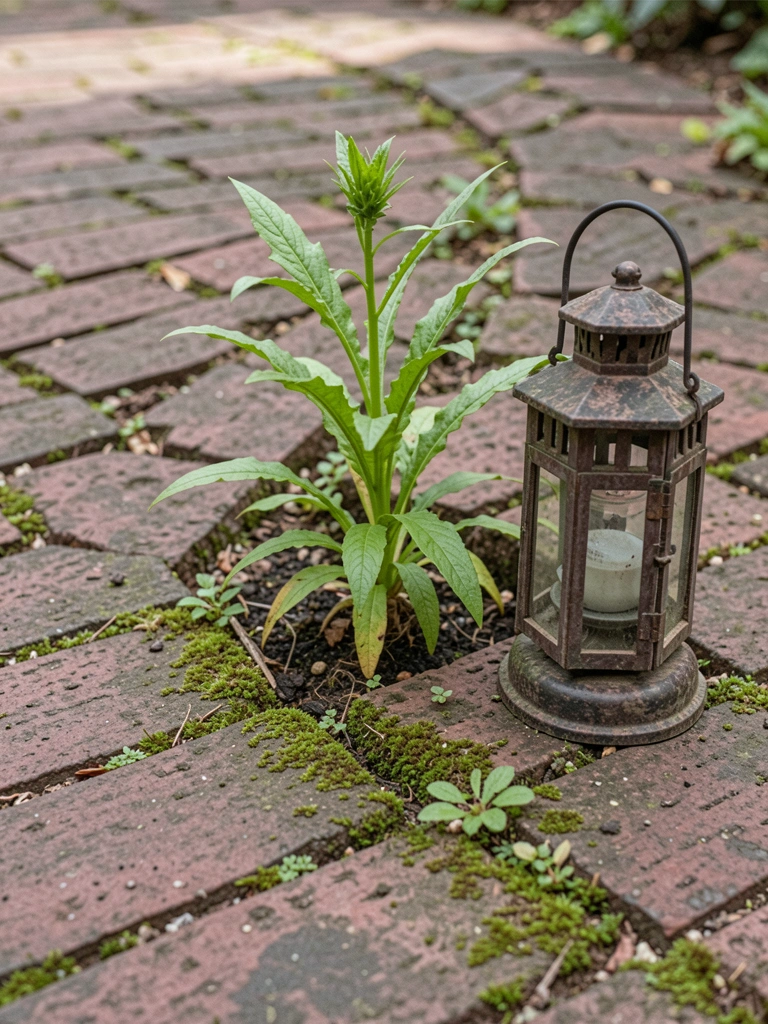
I finish by placing a single focal plant or a low lantern near a bend, then step back and read the line from different angles. I move a couple of bricks visually so the path settles into the beds.
The space feels balanced when one side holds more texture and the other reads simpler. I look for pauses—places where I want the walk to slow.
People often over-decorate the route. Keep details small so the path leads, not competes. I also let a few moss patches appear between bricks; that softness ties old and new together.
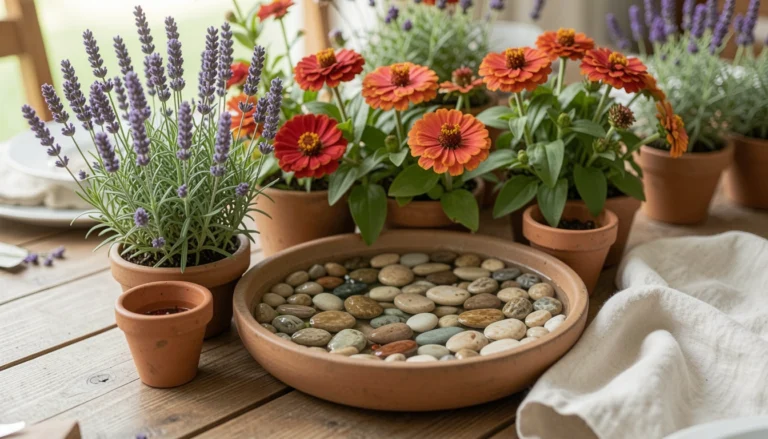
Choosing Brick Style
I pick bricks to match the garden’s tone. Warm red works with cottage beds; a cooler brick reads cleaner with formal plantings. I test a small stack on-site to see how light and soil change the color.
If you want variation, mix a few reclaimed shades. I prefer a slightly worn look that reads comfortable and lived-in.
Plant Pairings for Edges
I choose low, mat-forming groundcover up against the bricks and slightly taller perennials behind. This layering gives a calm, intentional fall from hard edge to soft planting.
Good pairings I use:
- Creeping thyme or sedum (low)
- Salvia or nepeta (mid height)
- Ornamental grass clumps (focal moments)
Keeping the Path Lived-In
I read the path through seasons and make small adjustments. A brick settled a touch differently is fine; I treat it like a character in the garden, not a machine.
Simple upkeep keeps the look lived-in:
- Sweep loose debris
- Pull a stray weed
- Let some moss appear between bricks
Final Thoughts
Don’t aim for perfect the first time. Start with a short run and see how it feels. Paths settle and the garden will tell you where to tweak.
I’ve redone curves after a season and never regretted it. Start small, keep the edges soft, and enjoy how the garden learns to welcome you.