How to Create a Pebble Path
I hated the empty strip between my deck and hedge. It looked unfinished and a little accidental.
I tried pavers and mulch. They never sat right.
A pebble path fixed that. It made the border feel complete and comfortable.
How to Create a Pebble Path
You’ll learn how to shape a path that reads intentional, how to pair pebbles with edges and plants, and how it will sit in the garden without looking forced.
What You’ll Need
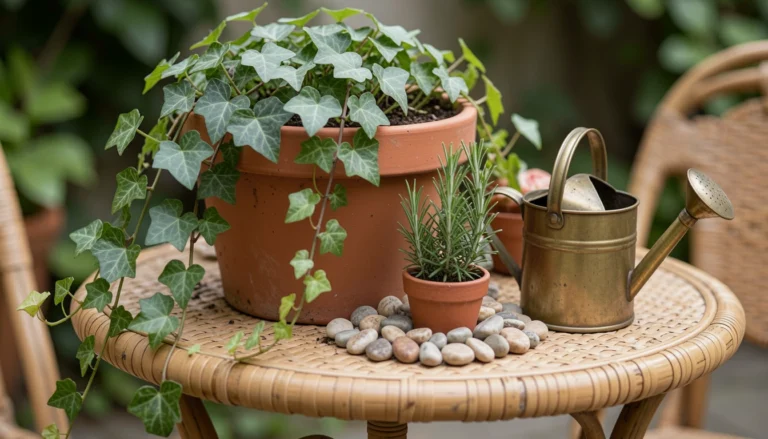
- 10–20mm mixed river pebbles (gray and cream tones)
- Low natural stone edging, limestone, 2–3 in height
- Coarse washed sand, light beige
- Breathable black landscape fabric
- Creeping thyme plugs (10–15 cm) or low sedum plugs
- Small ornamental grass clumps (Festuca-like, 20–30 cm)
- Aged terracotta planter (25 cm) for a focal pause
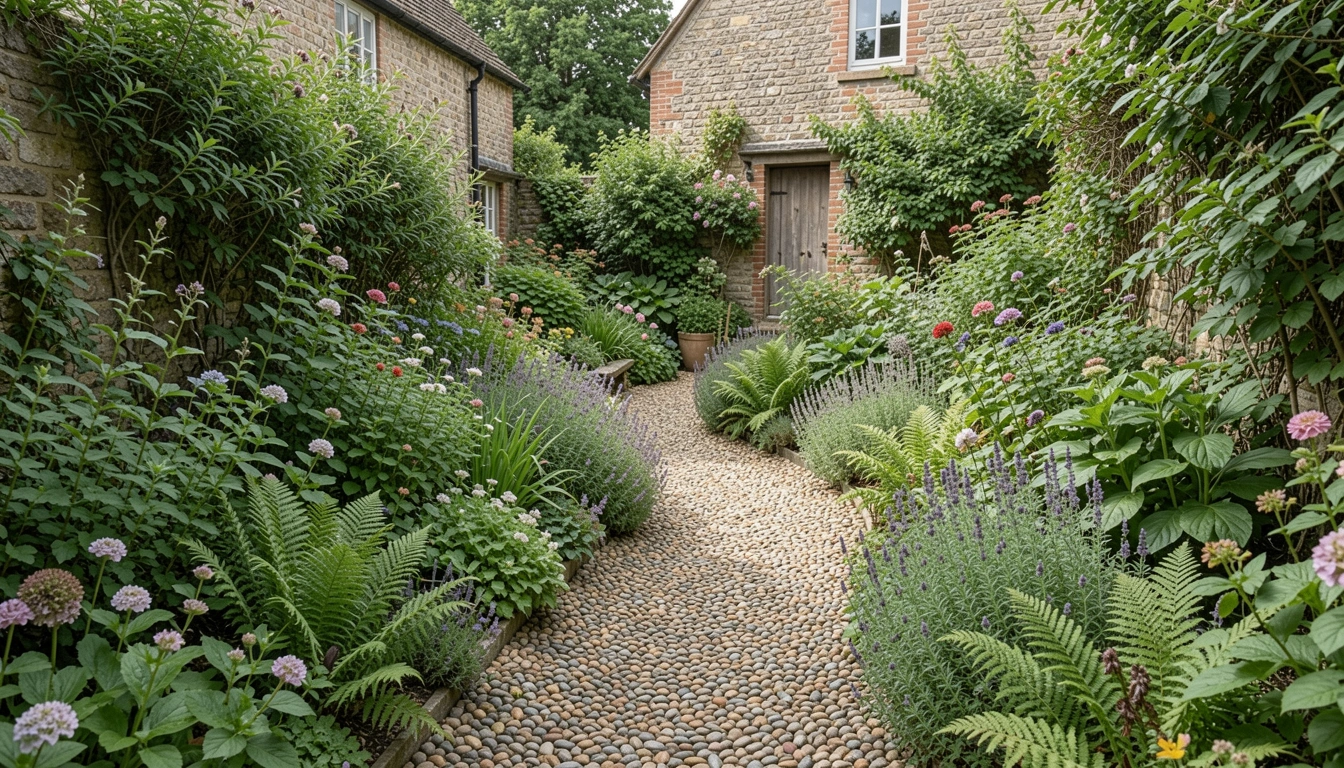
Step 1: Choose the Route so it Reads Natural
I start by walking the line. I let my feet decide the most comfortable route between points. I favor a gentle curve over a straight slash. Curves feel intentional and slow you down as you move through the garden.
Visually, a curved route softens hard edges. It creates nesting spaces for plants and gives the path a purpose. People often miss how the path should invite a pause, not just cross the garden.
Small mistake to avoid: forcing a direct shortcut. It will look like an afterthought. Let it breathe and bend.
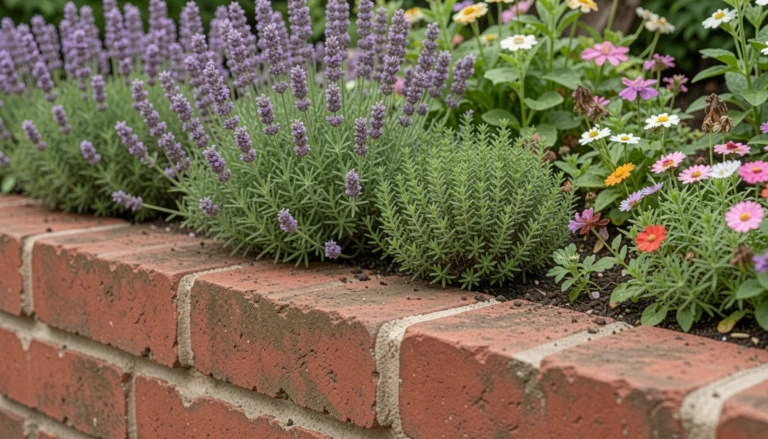
Step 2: Frame the Path with Low Edging
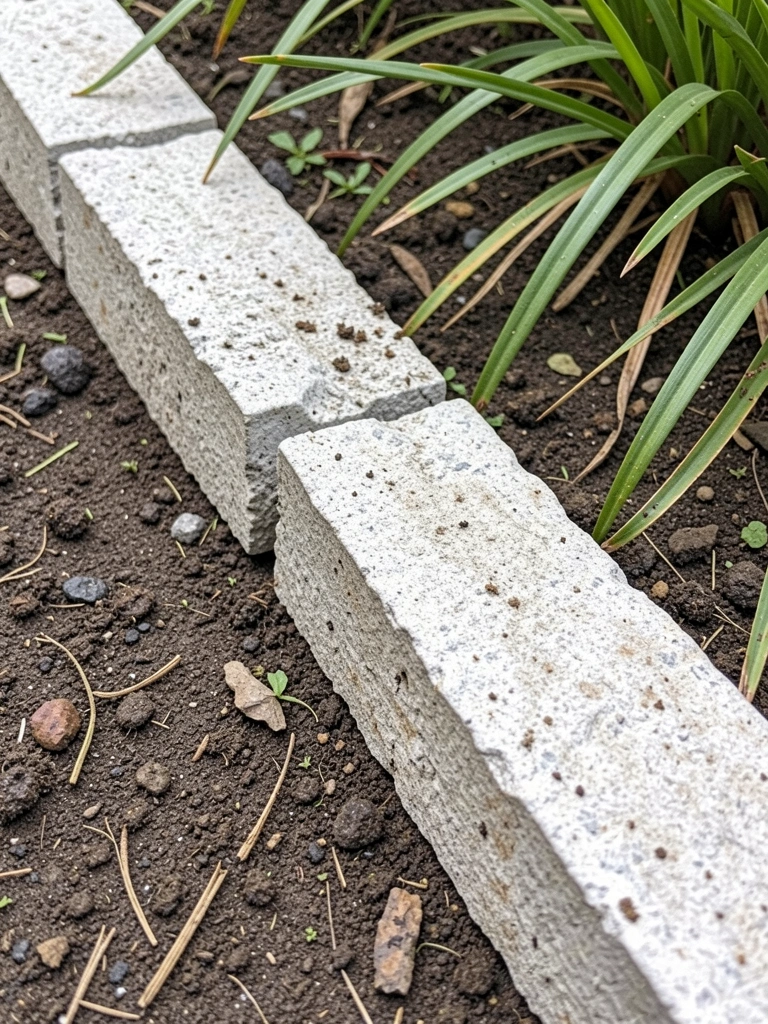
I set low stone edging to give the pebbles a frame. I want the edge to be visible but not dominant. The right edging keeps the path tidy and gives the pebbles a clear bed to settle into.
Visually, edging creates a crisp line that contrasts with soft planting. People often forget that edging is about dialogue with plants, not a hard wall. Choose stones that echo other materials in the garden.
Small mistake to avoid: making edging too tall. It reads formal and fights the casual pebble look.
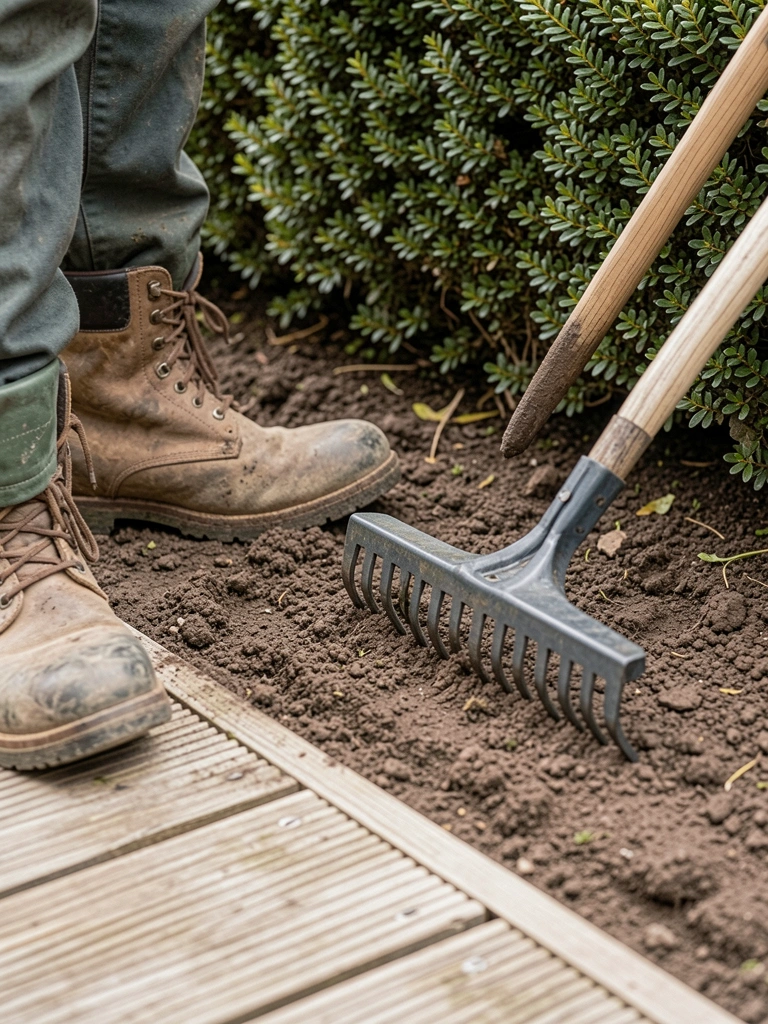
Step 3: Lay a Clean Base to Keep the Pebbles Calm
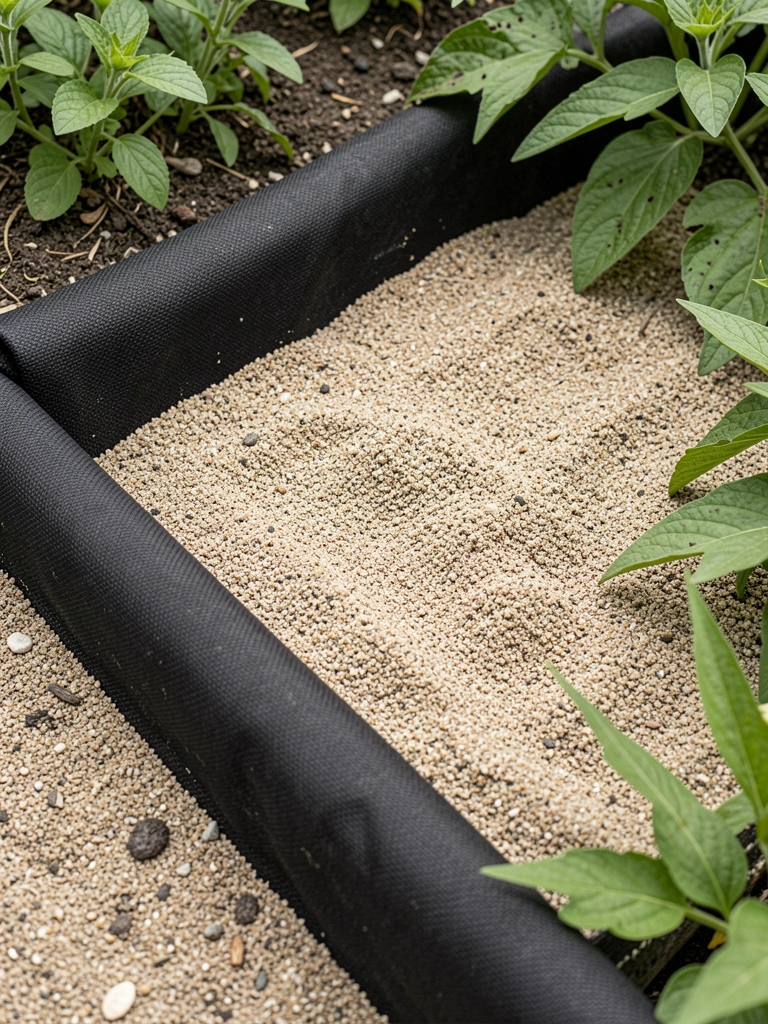
I smooth a breathable base so the pebbles sit calm and even. That base prevents wandering stones and gives the surface a gentle, uniform feel underfoot. It’s about making the path feel cared for, not rigid.
Visually the surface looks steadier. People miss how a steady base keeps the pebbles from spreading into planting beds. It keeps lines clean and maintenance low.
Small mistake to avoid: skipping the base and ending up with pebbles that sink or scatter into borders.
Step 4: Place Pebbles with an Eye for Color and Rhythm
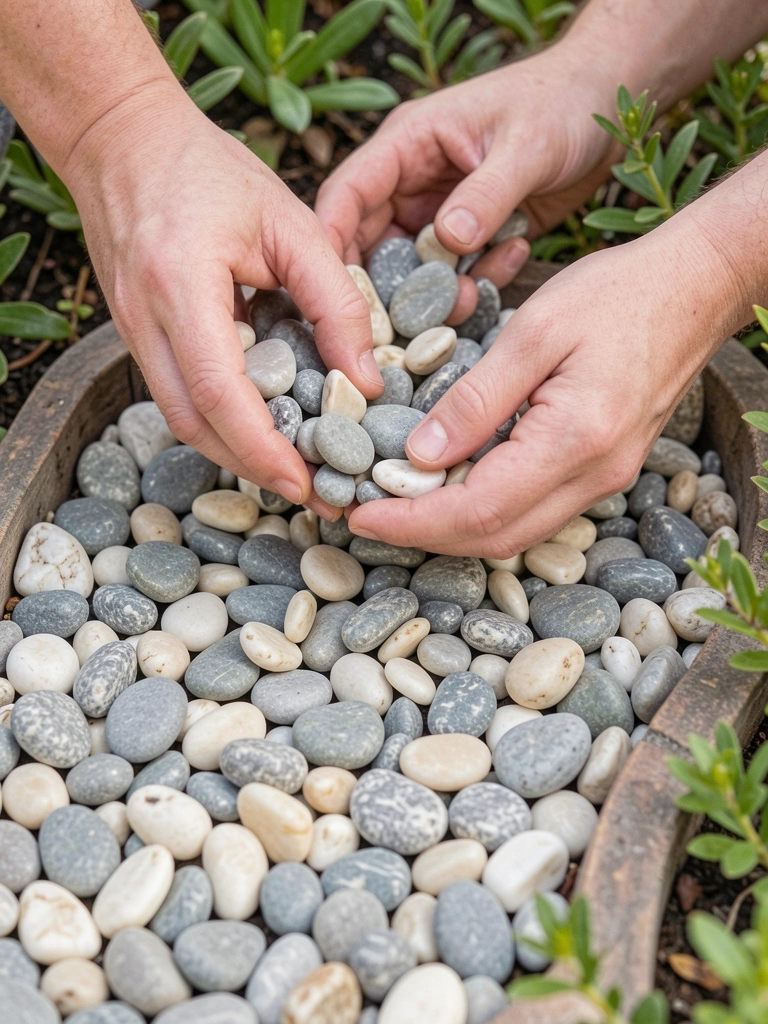
I lay the pebbles so color and grain read balanced across the path. I avoid single patches of one hue. I scatter and nudge until the mix looks even and relaxed. I watch how sunlight catches the stones at different angles.
The visual change is immediate. The path becomes a neutral ribbon that complements plants. People often miss rhythm — repeating the pebble tone elsewhere (a pot, a border) ties the space together.
Small mistake to avoid: piling too high. A flat, even surface reads more natural and comfortable.
Step 5: Soften Edges with Low Planting and Seasonal Touches

I tuck low groundcover at the edge so the path looks lived-in. A few thyme plugs and small grass clumps break the hard line. I leave tiny gaps for seed and leaf litter. That makes the path feel part of the garden, not an installation.
Visually the edge blends. The path breathes with the seasons. People miss how a little planting at the edge makes the whole thing softer. It’s better to plant sparingly than over-plant.
Small mistake to avoid: crowding tall plants against the edge. They’ll tip the balance and hide the path.
Choosing Plants and Edges
Keep plants low and repetitive along the path. Repetition helps the eye travel. Use three or four plant types max to avoid noise.
Pick edge materials that echo other garden tones. If your pots are terracotta, use warm pebbles. If nearby stone is cool gray, mirror that.
Tips:
- Use evergreen groundcover for winter structure.
- Add a few seasonal bulbs for spring surprise.
Lighting and Texture
Add subdued lighting for safety and mood. Low, soft fixtures keep the path intimate. Light should skim the pebbles and plants, not shout.
Texture comes from contrast. Pair smooth pebbles with rough limestone and soft grasses. That mix keeps things interesting and comfortable to look at.
Keeping It Looking Intentional
I sweep the path once a month and tuck back stray stones. I replace a few pebbles where the color thins. Small actions keep the path feeling cared for.
Accept small imperfections. A little leaf litter or a spilt pebble looks lived-in, not messy. That’s part of the charm.
Final Thoughts
Start with a short run and see how it sits in your garden. A small path gives a big sense of completion.
Work slowly. I adjust edges and plants over weeks. It’s about feel more than perfection.
A pebble path should look comfortable. When it does, the whole bed reads balanced and intentional.