13 Unique Stepping Stone Paths
I finally stopped trying to copy perfect show gardens.
I kept what worked and ripped out what didn't.
These paths are things I built, fixed, and still walk every day.
They’re practical, a little messy, and usable.
13 Unique Stepping Stone Paths
These 13 ideas are things I actually built in small, real gardens.
You’ll get straightforward ideas, the feel of each path, and honest tips.
Expect practical materials, plants that survive, and exactly 13 distinct looks.
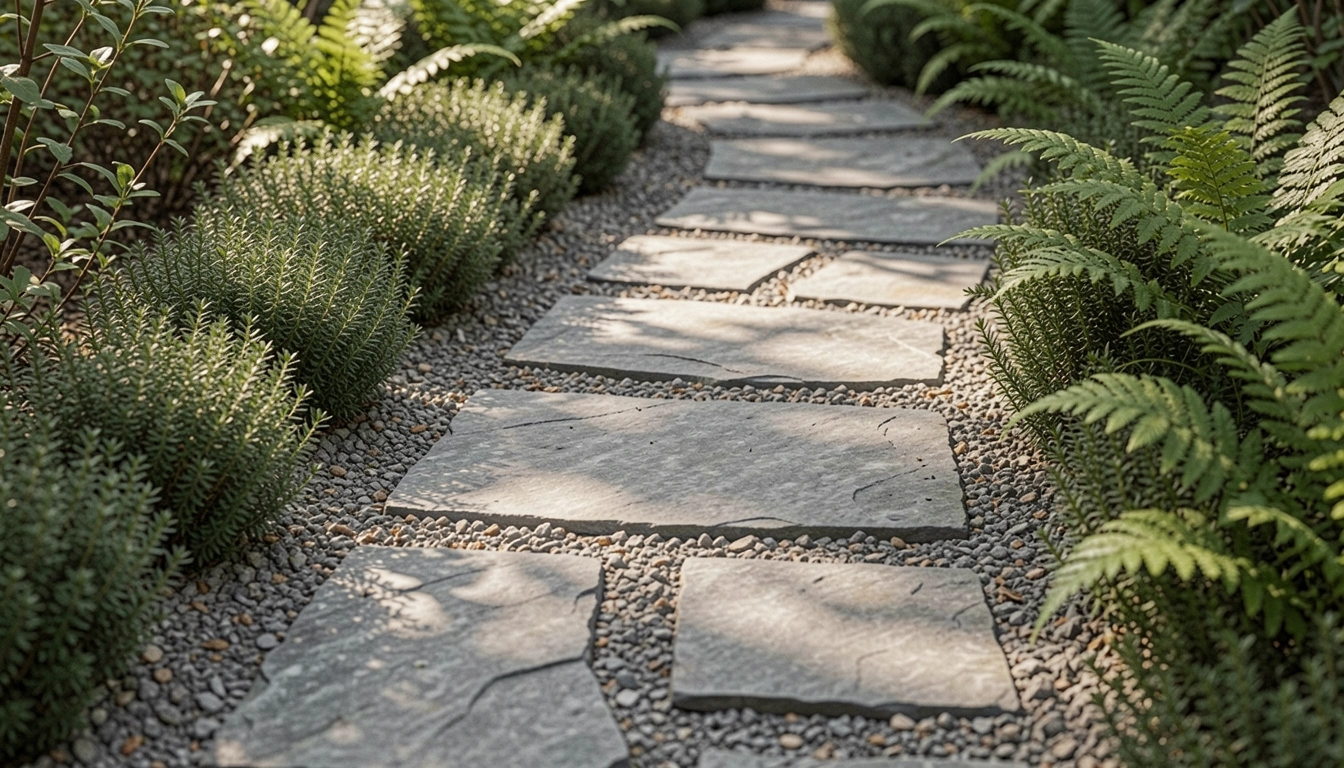
1. Moss-Soft Flagstone Stepping Trail
I laid irregular flagstones through a damp patch and learned moss wins the look.
At first the stones shifted because I didn’t tamp the base enough. I fixed that and let the moss move in.
Now the path feels quiet underfoot. It muffles sound and cools the area visually.
Pay attention to drainage and don’t over-clean the moss—you’ll kill the softness.
What You’ll Need for This Look
- Irregular flagstone (2–3 inch thickness)
- Pea gravel for base, 1/4 inch
- Cushioning sand, coarse
- Shade-tolerant moss plugs
- Hand tamper
2. Pebble-Infill Concrete Pavers
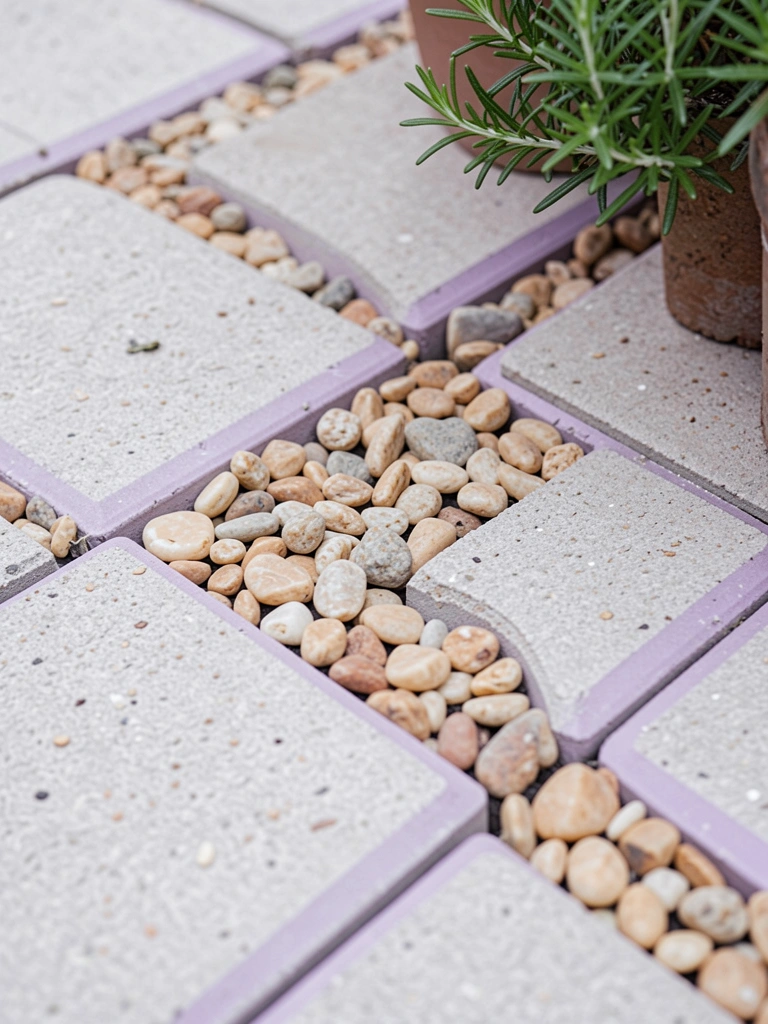
I cut poured concrete pavers into squares and packed pebbles between them.
It felt unfinished at first. I added a border of lavender to warm the edges and that sold it.
The pebbles stop weeds and shimmer after rain. The look is modern but relaxed.
Tip: Use a stiff brush and polymeric sand to lock pebbles in place; sweeping alone wasn’t enough when I first tried it.
What You’ll Need for This Look
- Concrete pavers, 18-inch square
- River pebbles, 3/8 inch
- Polymeric sand, beige
- Lavender plants (Lavandula)
- Narrow border edging (steel)
3. Reclaimed Brick Ribbon Path
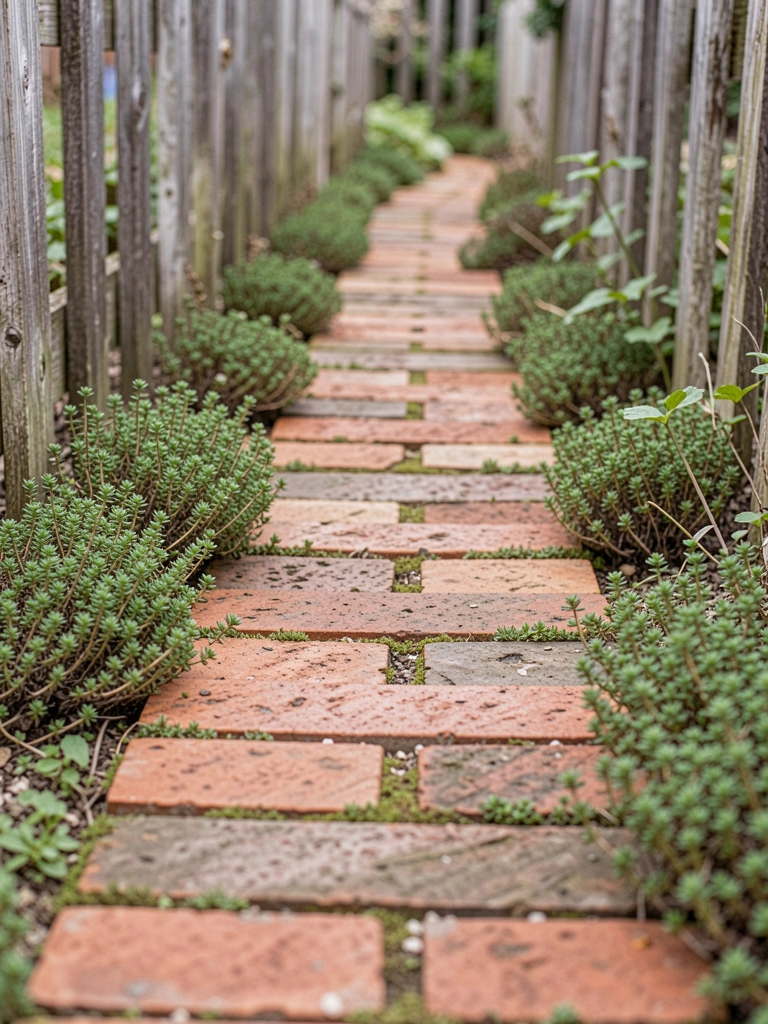
I scavenged old bricks and laid them in a single-file ribbon between beds.
It nearly looked like a mistake until plants crept over the edges and softened the lines.
The narrow width keeps it informal and forces you to slow down. I like the rhythm of clunky brick underfoot.
Watch for uneven edges; I tripped once before grinding a few high bricks down.
What You’ll Need for This Look
- Reclaimed brick (standard)
- Crushed stone base, 3/4 inch
- Low groundcovers (thyme, sedum)
- Masonry chisel and hammer
4. Stepping Stone Meadow Through Lawn
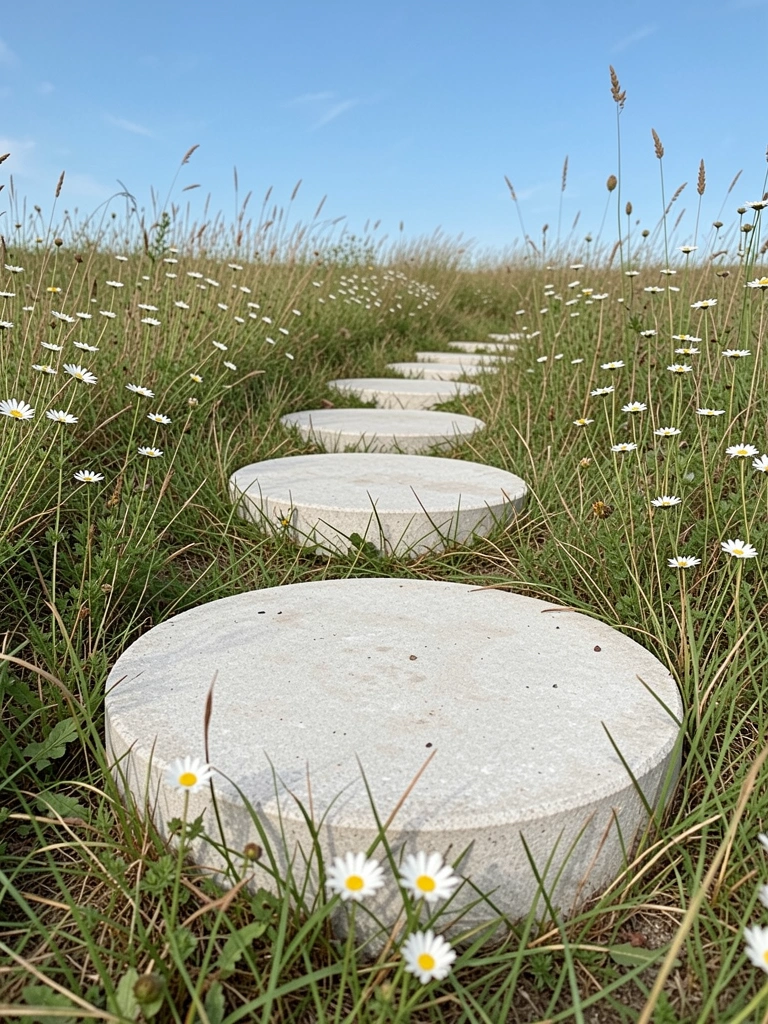
I set round stones across a wide patch of lawn and replaced grass with a meadow mix.
At first the spacing was off; I remeasured walking distance and adjusted. It now reads like a deliberate stroll.
The meadow flowers brush your ankles and hide worn edges. It’s airy and less formal than a paved route.
Pick a seed mix suited to your soil; mine struggled until I switched to a low-water native blend.
What You’ll Need for This Look
- Round concrete stepping stones, 18–24 inch
- Meadow seed mix (native, low-water)
- Garden rake
- Handheld soil knife
5. Mulch-Edged Stepping Logs
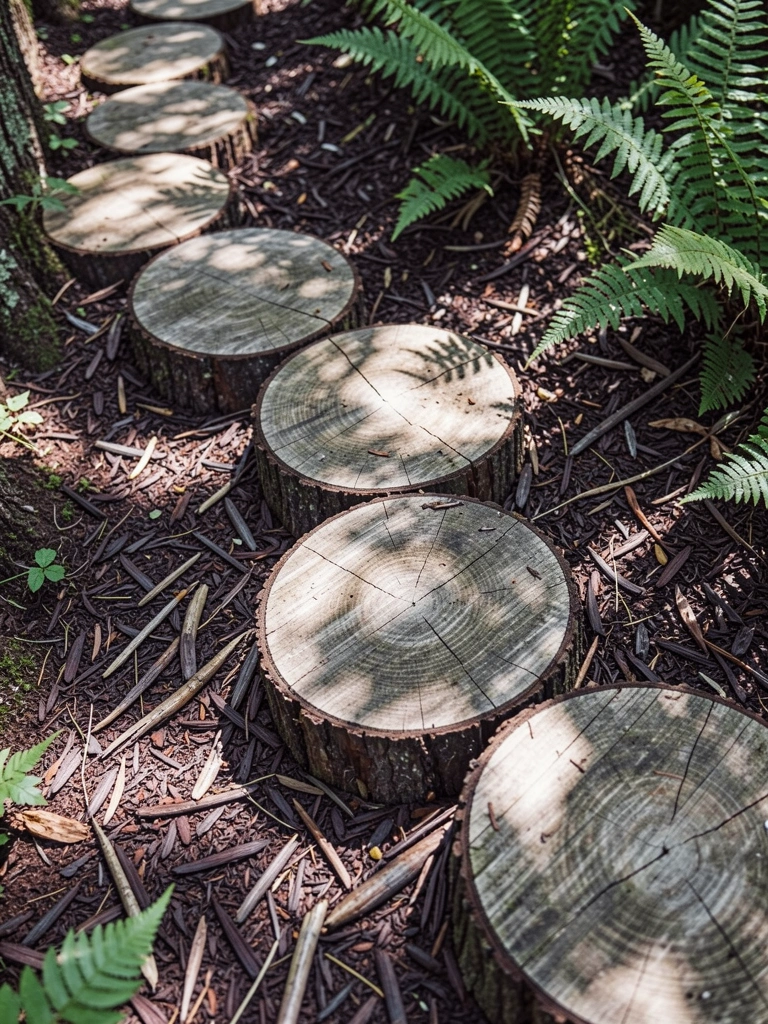
I used thick log slices through a shady corner and mulched between them.
They felt rustic immediately, but some cracked after a wet winter because I didn’t seal them. I learned to treat the ends with a natural preservative.
Now they settle into the soil and invite kids to hop across. The mulch keeps weeds down and the look cozy.
Avoid treated lumber; use naturally rot-resistant species like oak or cedar.
What You’ll Need for This Look
- Log rounds (4–6 inch thick)
- Dark brown mulch
- End-seal wood preservative
- Drill for drainage holes (optional)
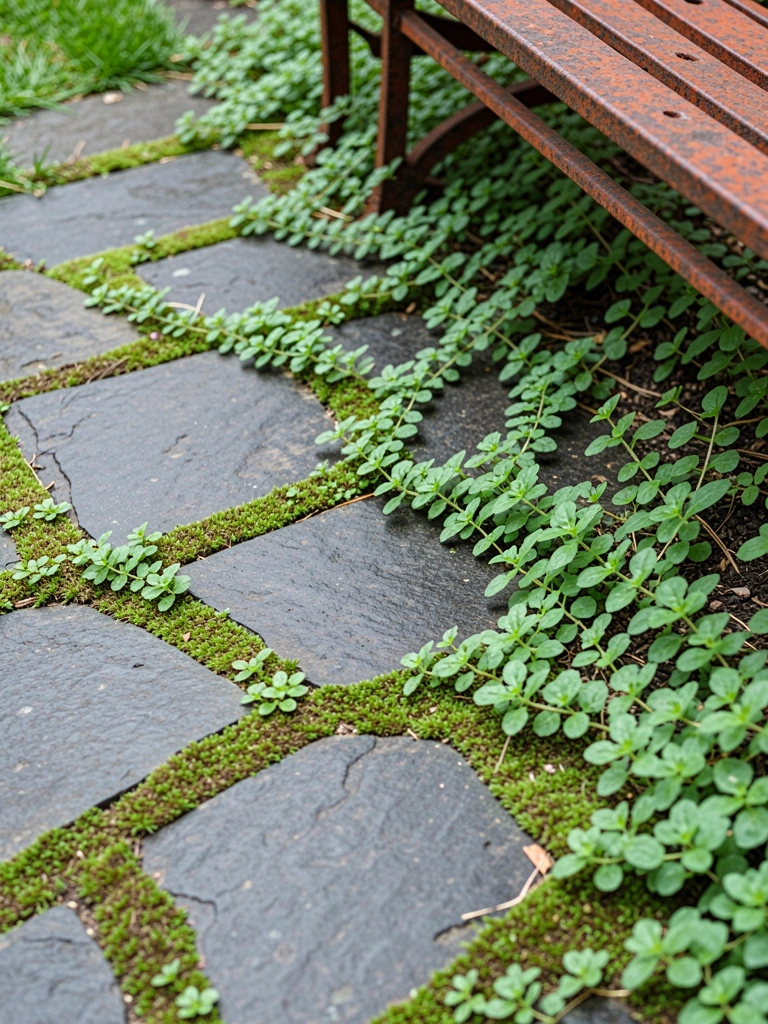
6. Geometric Tile Path with Groundcover Joints
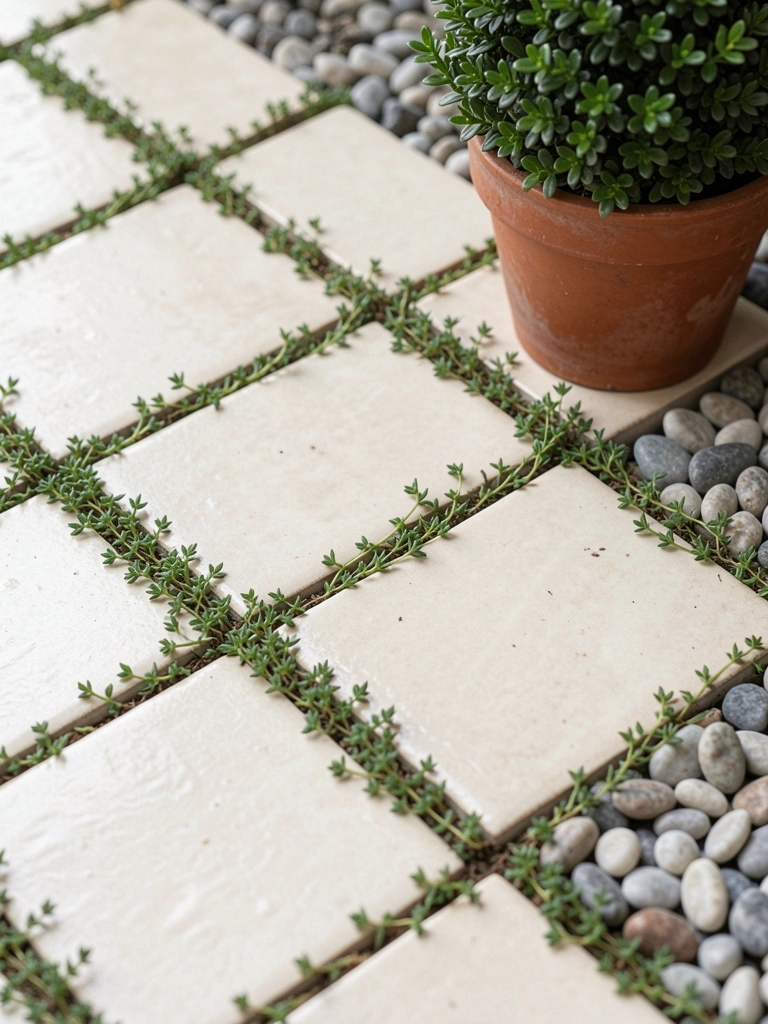
I splurged on porcelain tiles and planted thyme between them.
They looked too slick at first, so I roughened the surface with sanded grout. The thyme softened the hard geometry and smells lovely.
This is clean and modern, but feels lived-in when the thyme blooms and you see bees.
Use larger tiles for fewer joints if you want a calmer look.
What You’ll Need for This Look
- Porcelain outdoor tiles, 16–24 inch
- Thyme (creeping)
- Sanded grout or polymeric joint filler
- Anti-slip surface treatment
7. Salvaged Slate Stepping Mosaic
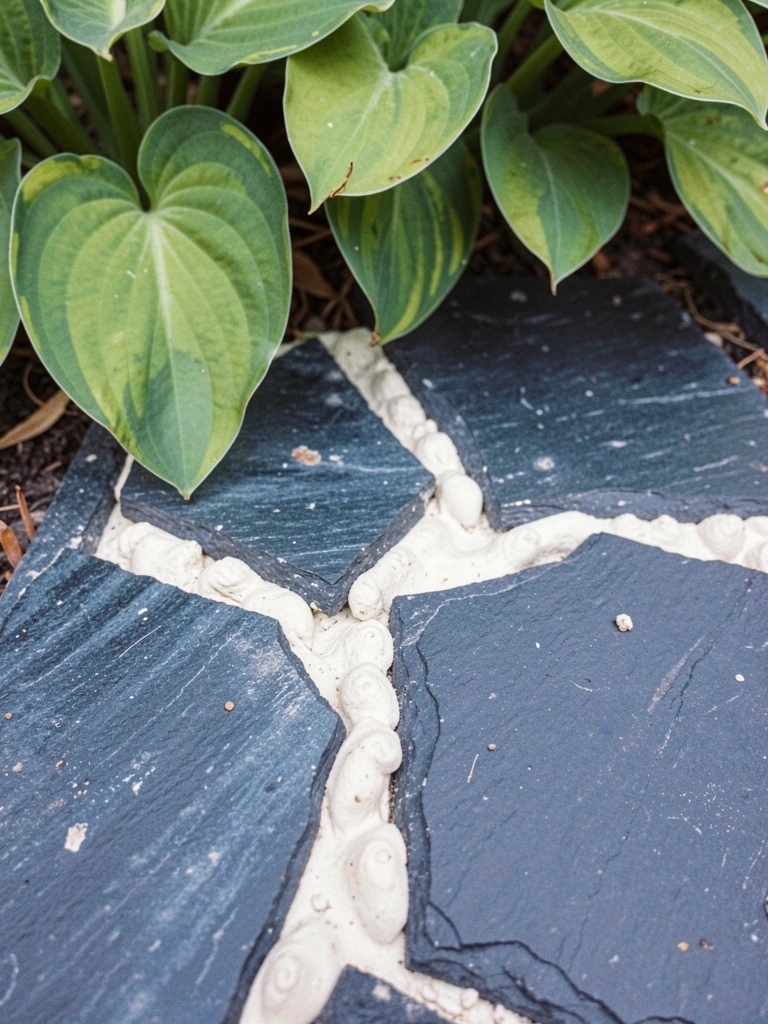
I collected broken slate and made a mosaic set into a concrete base.
The first set I made shifted because I used the wrong mortar. After switching to a flexible exterior mix, they held up.
The irregular edges create a handcrafted, artsy path that sits well among hostas and ferns.
Keep the surface flush to avoid tripping and use a sealer to keep colors rich through seasons.
What You’ll Need for This Look
- Broken slate pieces
- Exterior mosaic mortar
- Concrete base mix
- Clear outdoor sealer
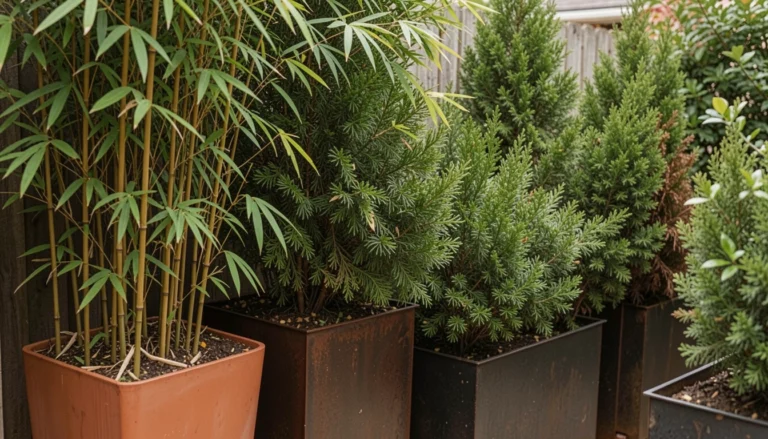
8. Low-Profile Steel Pavers on Gravel
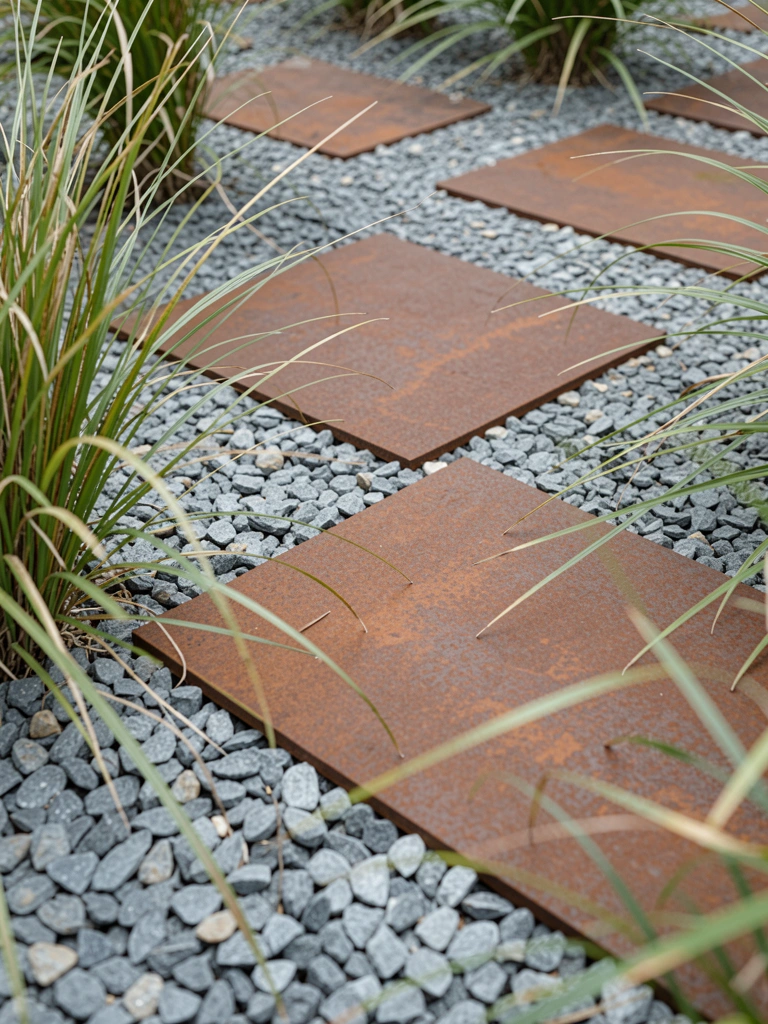
I used thin corten steel plates as steps across a gravel bed.
They started shiny and then rusted into a warm tone that matched the pots and birdbath. I love the contrast with fine gravel.
The low profile keeps the path sleek and modern without being cold. It threw off my neighbor’s neat lawn aesthetic in a good way.
Use geotextile underlayment to stop gravel migration and anchor the plates so they don’t wobble.
What You’ll Need for This Look
- Corten steel pavers, custom or standard sizes
- Compactable gravel, 3/8 inch
- Landscape fabric
- Ornamental grasses (carex, pennisetum)
9. Rustic Slate Split-Step with Fern Borders
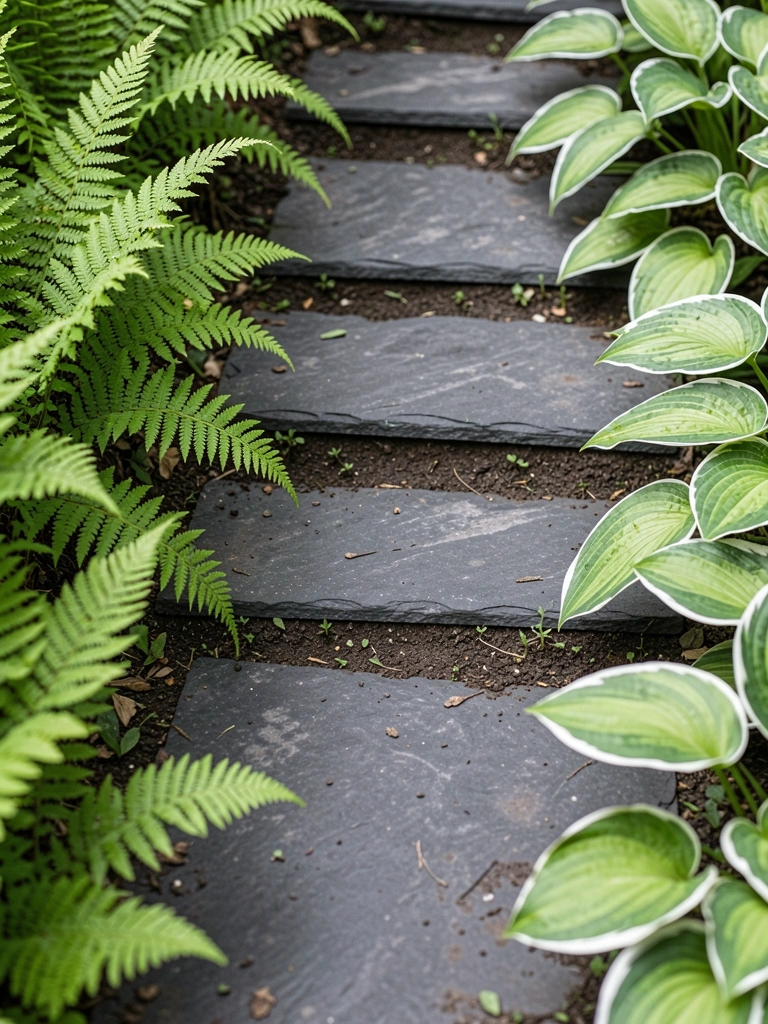
I split slate into narrow steps and tucked them into a shaded slope.
They were slippery at first when wet. I added coarse sand to the surface and the problem mostly disappeared.
The narrow, staggered steps feel intimate and encourage a slow pace. The ferns hide edges and make the path feel like a secret.
If you have a slope, stake each piece into compacted soil so they don’t migrate downhill over time.
What You’ll Need for This Look
- Split slate slabs, 12–18 inch
- Coarse sand for traction
- Shade-loving ferns and hostas
- Soil tamper
10. Circular Paver 'Stepping Islands' in Pebbled Bed
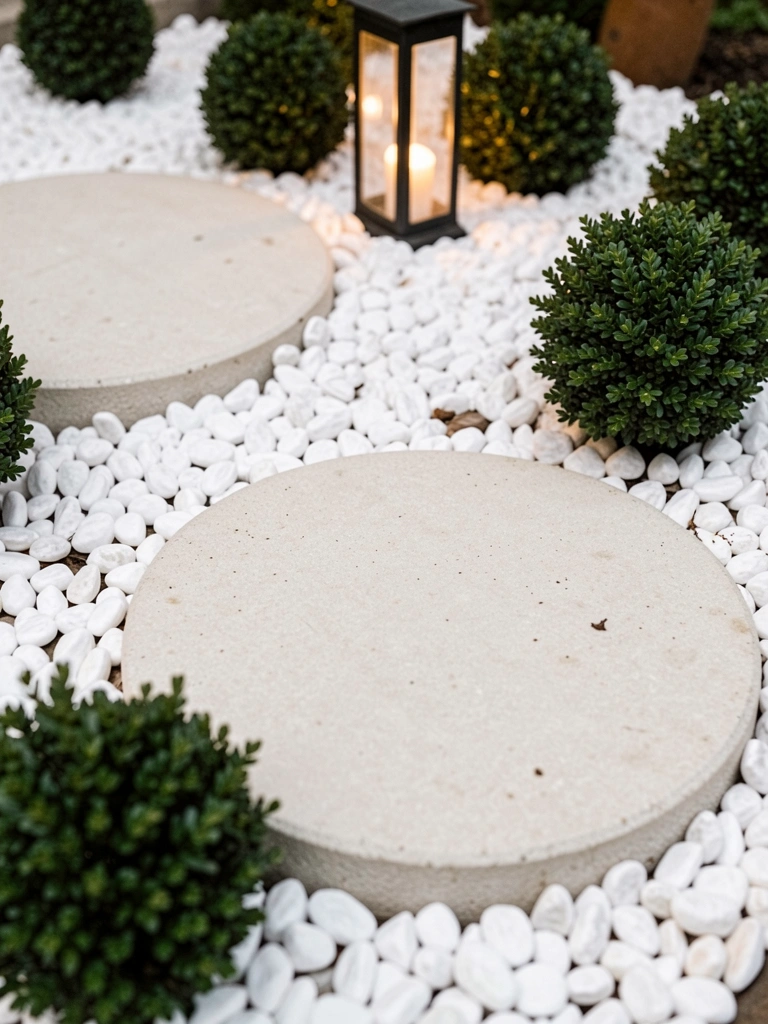
I laid circular pavers like stepping islands in a bed of white pebbles.
At first the bed looked too sterile. I planted dwarf boxwood and added a lantern to warm it. That fixed the vibe.
The islands guide movement without forcing a straight line. It’s a tidy, calm look great for small courtyards.
Keep pebble depth even to prevent rocking and pick pavers large enough for your stride.
What You’ll Need for This Look
- Circular concrete pavers, 20–24 inch
- White decorative pebbles
- Dwarf boxwood (Buxus)
- Solar lantern or low-voltage accent light
11. Broken Pot Stepping Mosaic Through Herbs
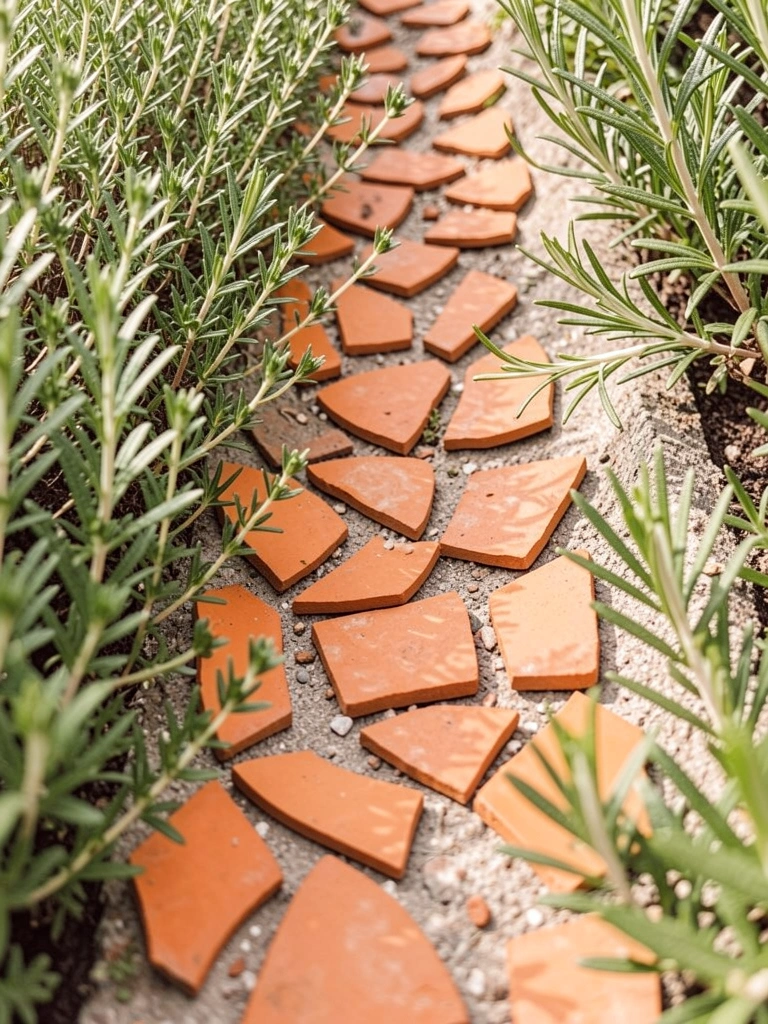
I smashed old terracotta and used the shards as a colorful mosaic for a garden ramp.
The first batch sliced a foot when I stepped on a sharp edge. I learned to round fragments and grout well.
Now the warm orange tones complement herbs and makes the path smell of rosemary when brushed. It’s playful and uses what I had.
Wear gloves while assembling and don’t be stingy with grout on sharp pieces.
What You’ll Need for This Look
- Broken terracotta shards
- Exterior grout
- Rosemary and thyme plants
- Protective gloves and safety glasses
12. Timber Steps with Gravel Infill (Raised Look)
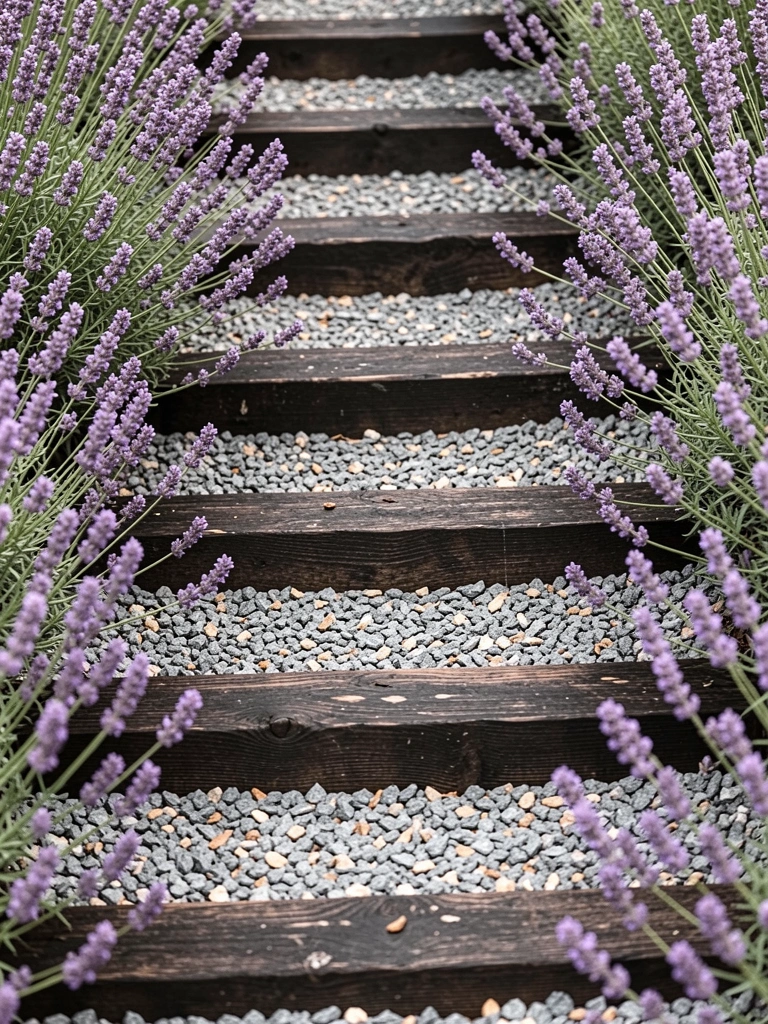
I used treated timber sleepers as long stepping slabs with gravel between them.
They felt heavy and deliberate. I over-sanded the first set and they faded too quickly; staining brought back the richness.
The result is structural and anchors a view. Lavender along the edges softens the line and scents the path.
Use pressure-treated or rot-resistant timber, and secure each sleeper with spikes so they don’t shift underfoot.
What You’ll Need for This Look
- Timber sleepers (6–8 inch thick)
- Crushed gravel, 3/8 inch
- Exterior wood stain
- Lavender plants
13. Mixed-Material Stepping Collage
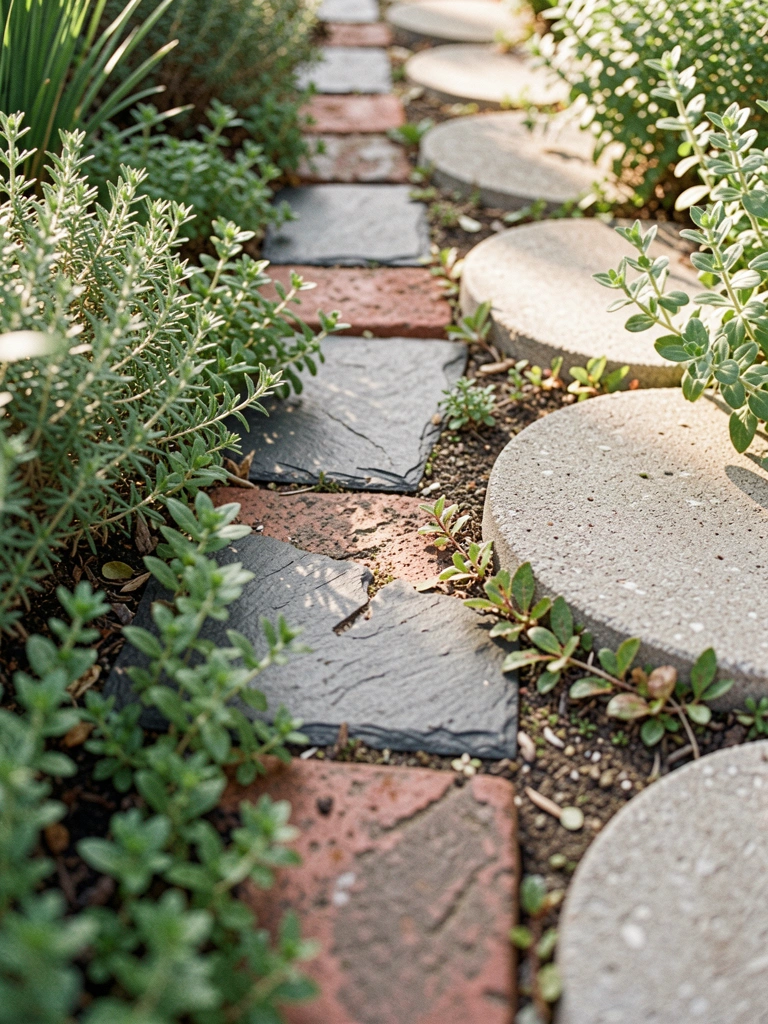
I finally stopped hunting for a single material and mixed what I had.
Bricks, slate, and a few concrete discs made a collage that feels like my house—rough around the edges and honest.
It was chaotic before I unified the grout color and added consistent spacing. That restraint made it read like intention.
If you can’t find a match, choose a single grout color and plant a common edging to tie diverse materials together.
What You’ll Need for This Look
- Mixed pavers (brick, slate, concrete discs)
- Neutral grout or polymeric sand
- Mixed herbs for edging (oregano, thyme)
- Rubber mallet and level
Final Thoughts
You don’t need perfect materials or a plan from day one.
Start small, expect a few mistakes, and adjust as you walk the path.
Pick one idea, use what you have, and let the garden tell you what needs fixing next.