How to Make a Butterfly Garden for Beginners
I used to plant a few flowers and wonder why no butterflies came.
The bed looked pretty but felt empty. I wanted color and movement, not a busy border.
Thinking like a butterfly — feeding, resting, laying eggs — changed how I arrange plants and paths.
You don't need a big yard. Small, sunny corners work.
How to Make a Butterfly Garden for Beginners
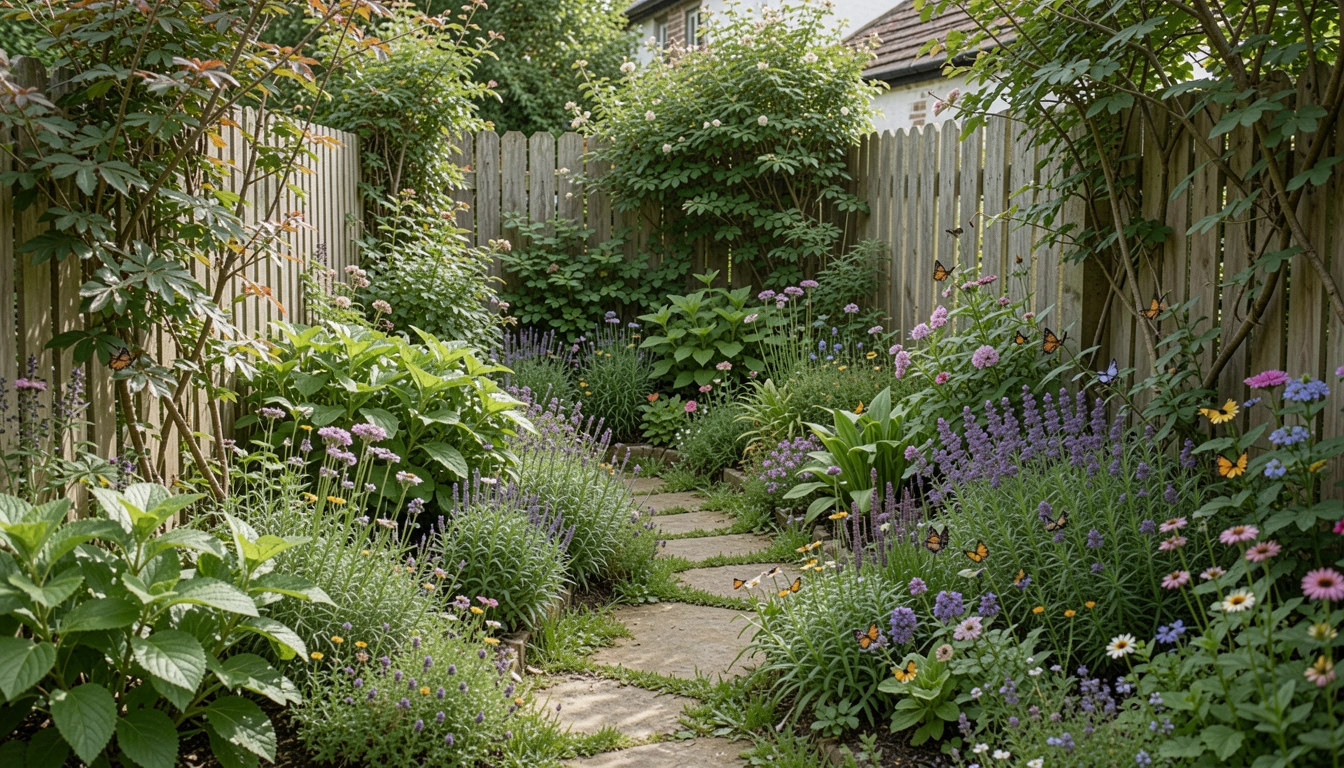
I'll show how I place nectar clusters, host plants, perches, and puddles so a small patch becomes a balanced spot that actually attracts butterflies and stays simple to care for.
What You’ll Need
- Mid-height native milkweed (Asclepias, 1–3 ft) — host plant
- Bright purple coneflower (Echinacea, 2–3 ft) — nectar source
- Long-bloom blue salvia (Salvia, 18–24 in) — continuous nectar
- Sunny 3–6 ft patch (full sun most of day) — site
- Shallow water dish (ceramic, 10–12 in) with pebbles — puddling spot
- Sunny flat stones (2–4, 12–18 in) — perches and warmth
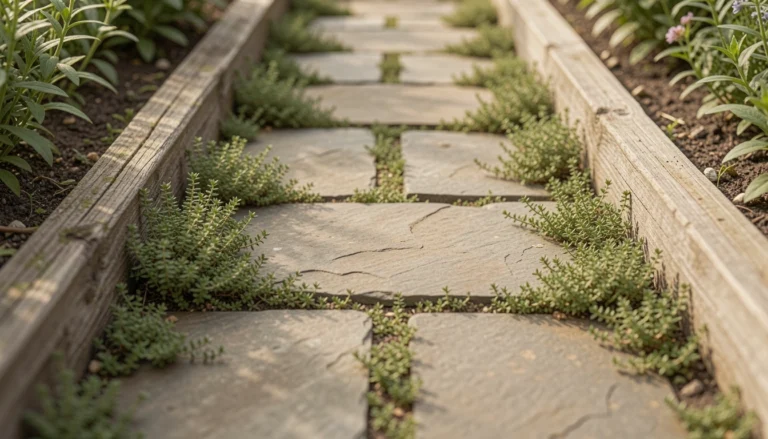
- Low creeping thyme (groundcover, 1–2 in) — landing substrate
- Native ornamental grass clump (2–4 ft) — shelter and texture
Step 1: Pick the Right Sunny Patch
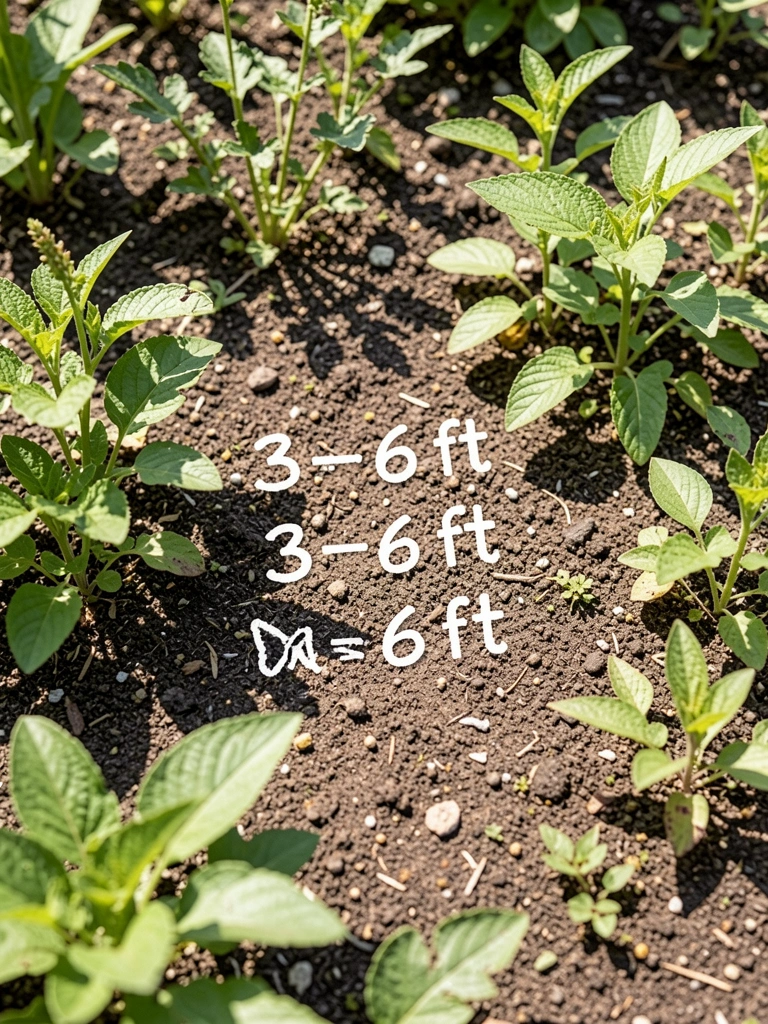
I stand in the yard and watch light through the day. I pick a 3–6 foot area that gets the most sun. Butterflies love warm spots for feeding and perching, so the location sets the whole feel.
Visually the space stops feeling like leftover lawn. It becomes a stage with room for clusters and perches. One insight I missed at first: a meter of shade can halve butterfly visits.
A common little mistake is choosing a spot near a dryer vent or constant foot traffic. I avoid that so butterflies feel safe.
Step 2: Plant Nectar Clusters for Visual Impact
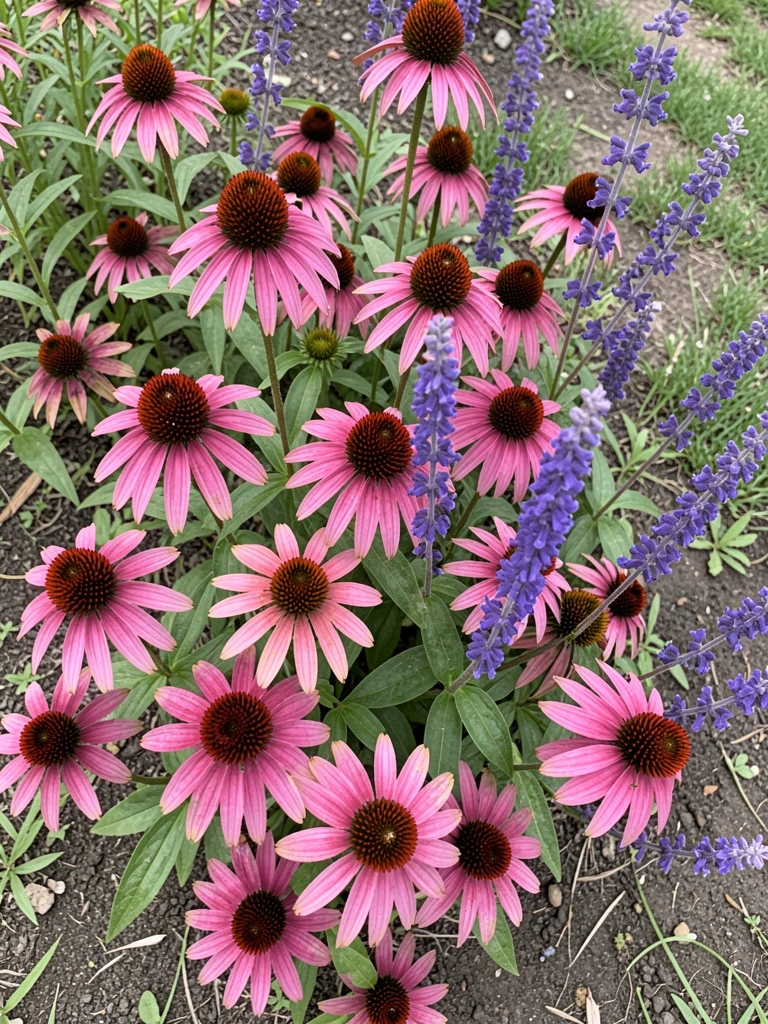
I plant nectar-rich flowers in tight groups rather than scattering single plants. Clusters read as a large signal to butterflies from a distance, and they create a clear color focal point in the bed.
The bed instantly looks intentional. Blocks of purple, blue, and pink give the eye somewhere to settle. People often miss that color grouping matters more than exact plant count.
A small mistake is spacing clusters too evenly. I allow slight irregularity so the patch reads natural, not regimented.
Step 3: Add Host Plants in Small Pockets
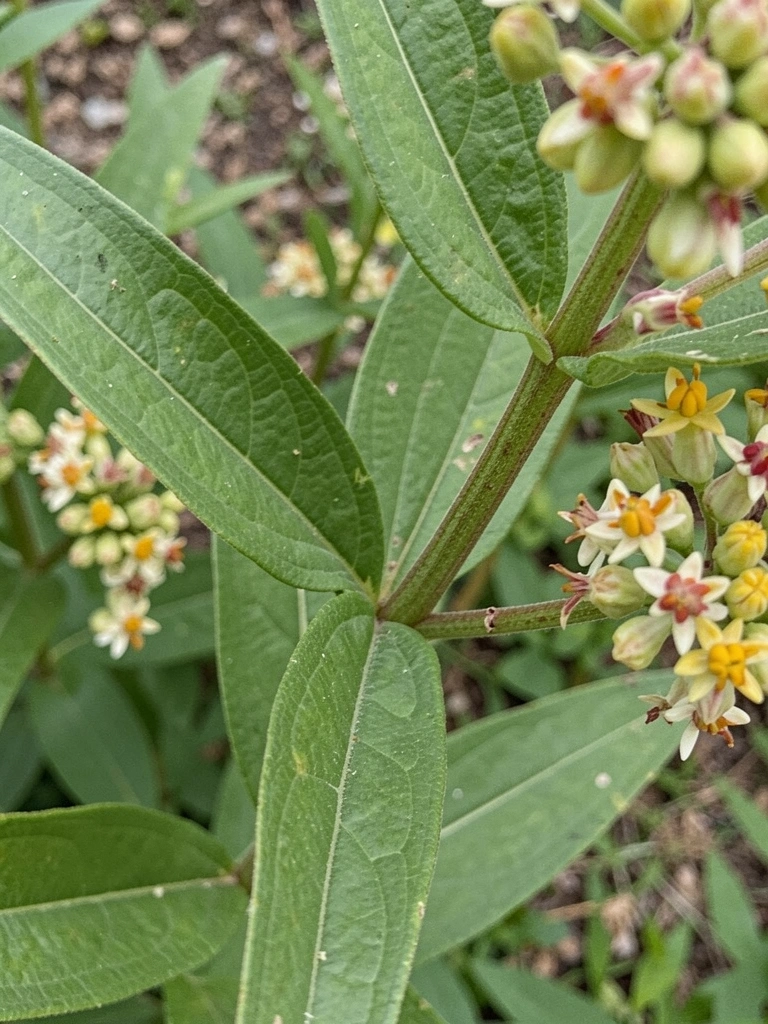
I tuck host plants like milkweed in pockets around the nectar clusters. Host plants are where butterflies lay eggs, so placing them near food sources keeps caterpillars close to what they need.
Visually it reads like a layered meadow: taller hosts at the back or middle, nectar shorter in front. One insight people miss is that hosts don’t need huge rows — a few well-placed plants work.
A mistake I avoid is putting hosts in full wind. I pick sheltered pockets so eggs and caterpillars aren’t constantly battered.
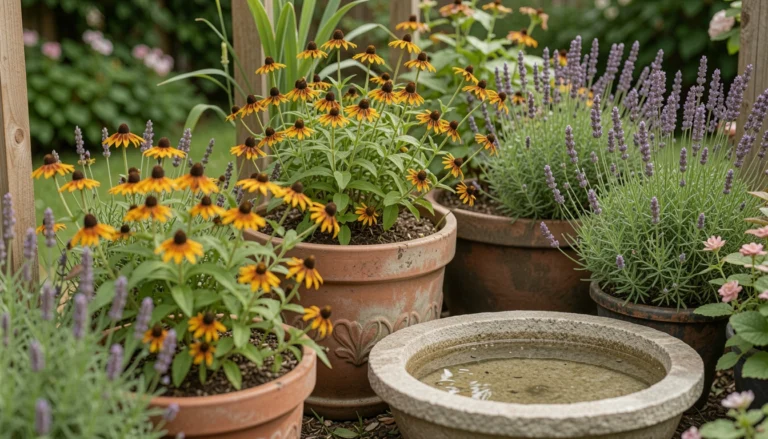
Step 4: Create Perches and Puddling Spots
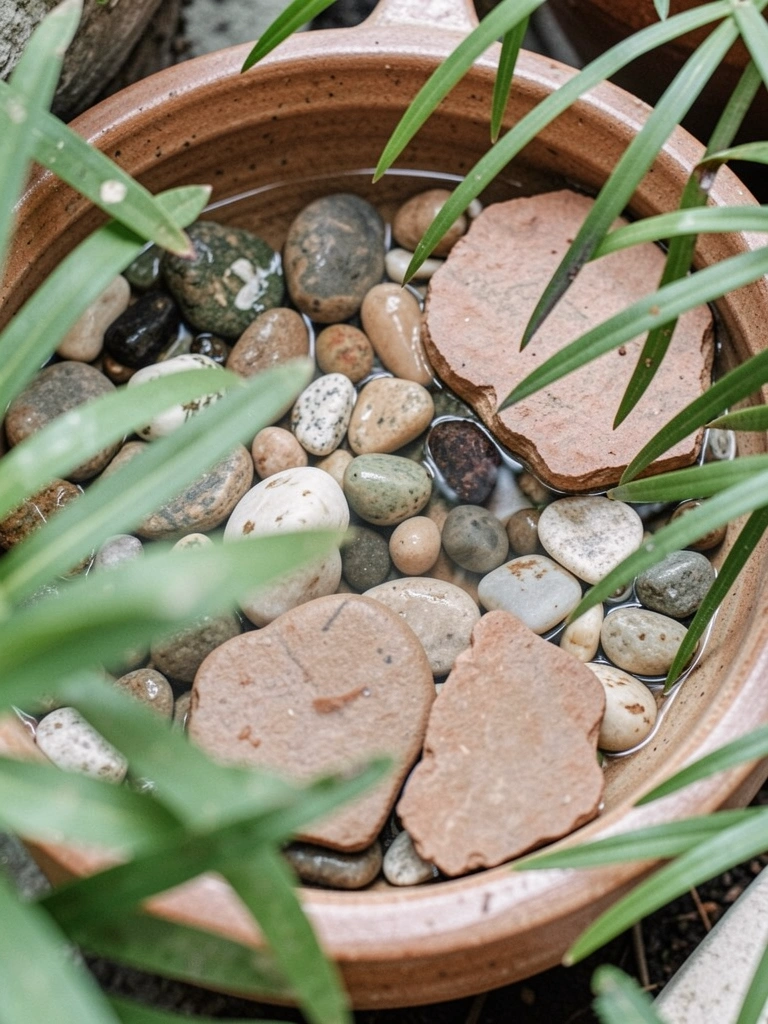
I place flat stones in sunny spots and a shallow water dish with pebbles. Butterflies land on warm stones to bask and use shallow water to sip salts and minerals. These small extras make the garden feel used and alive.
The scene feels inviting. Stones break the green and add hard texture, while the water catches light. Many gardeners skip puddling sites, thinking flowers are enough.
Don’t set the dish in deep shade or fill it too deep. I keep it shallow and visible so butterflies can easily use it.
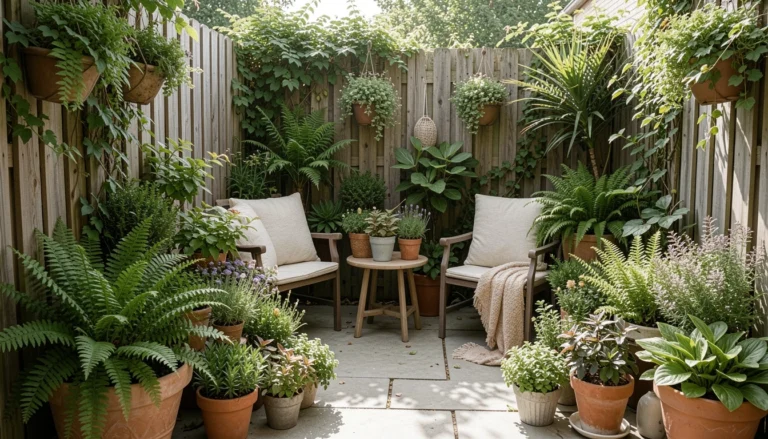
Step 5: Layer Texture and Plan for Season-Long Interest
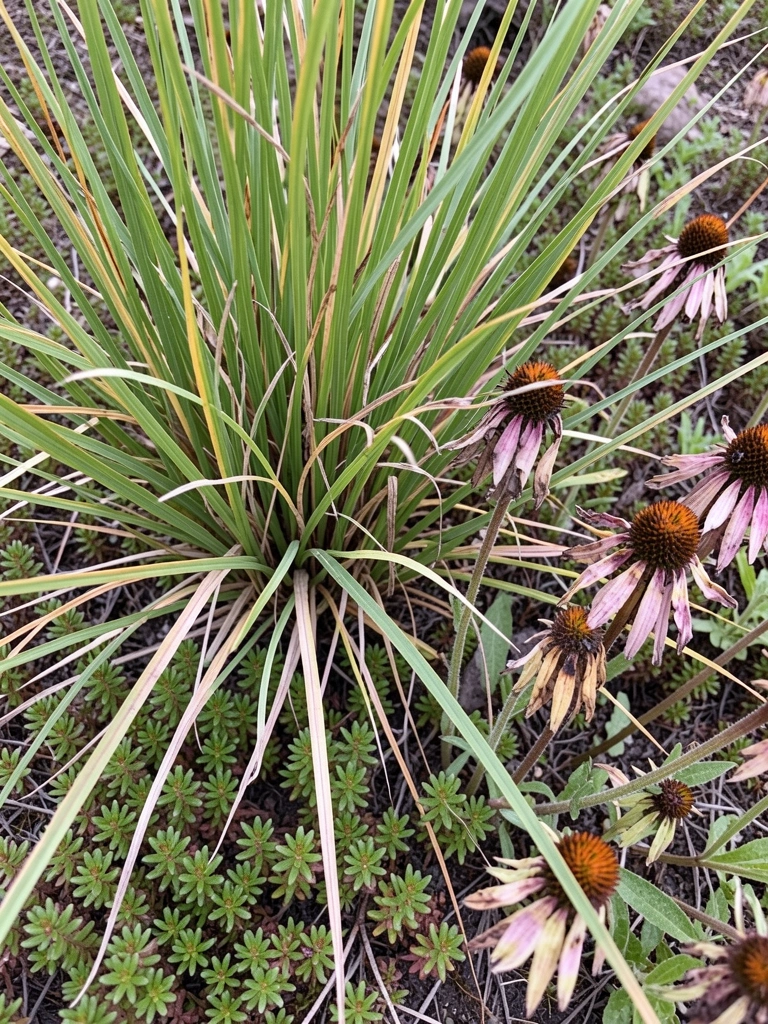
I mix grasses, low groundcover, and staggered bloom times so the bed looks good across the season. Grasses give shelter and seedheads give late-season food and interest. Groundcovers fill gaps and offer landing spots.
Visually the bed gains depth and a lived-in look. You see movement from grasses and steady color from long-blooming perennials. One insight I learned: early spring bulbs or low annuals keep the patch lively before perennials take over.
Avoid planting everything that blooms at once. I deliberately space bloom peaks so there’s always something for butterflies.
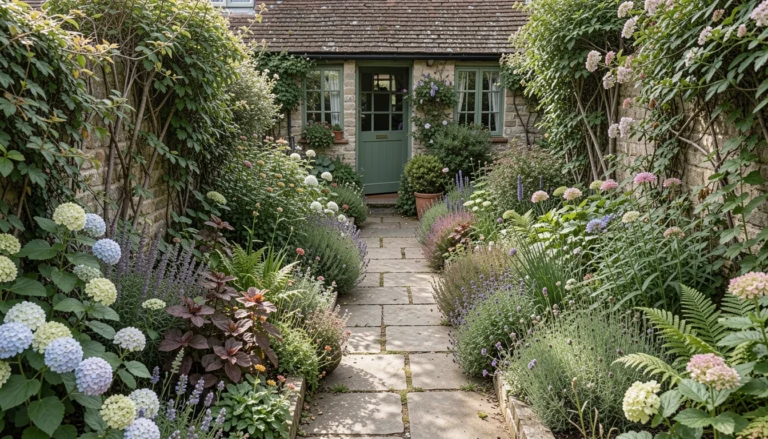
Plant Choices and Color
I favor a mix of strong colors that read from a distance. Purples, pinks, and blues tend to attract many species and sit well together in a small patch.
I balance taller forms with low nectar sources. That contrast creates depth and makes perches show up. Bulbs or early annuals can lift the look in spring when perennials are still small.
- Group 3–5 of each main nectar plant.
- Keep host plants in small clusters, not lines.
Watching and Tinkering
I watch the patch through the season and make tiny changes. If a plant isn’t visited, I move it the next year. Small shifts teach more than big overhauls.
I treat the bed like a conversation. Prune lightly, leave some seedheads, and replace one plant at a time. This keeps the feel consistent and avoids sudden loss of interest.
Common Problems and Fixes
I’ve had slug, deer, and dryer-vent issues. I handle them with placement and small barriers rather than heavy treatments. A raised bed or a narrow fence can protect hosts.
If a spot gets too dry, I swap a thirsty perennial for a tougher native. Keeping it simple keeps the garden honest and resilient.
Final Thoughts
Start with a single sunny patch and keep the list short. I build confidence by adding one cluster and one host at a time.
A little structure—stones, water, and layered plants—makes the patch read intentional. I don’t aim for perfection, just steady invitations for butterflies.
After a season of watching, the bed looks lived-in and balanced. That’s the goal I keep returning to.