How To Make Festive Easter Flower Pot Decorations At Home
I used to stare at empty pots every spring.
They sat there, feeling unfinished.
I wanted them to look festive but not fussy.
This method gives small, balanced Easter displays that read like part of the garden, not decorations dropped on top. You can do this in an hour with things from the yard.
How To Make Festive Easter Flower Pot Decorations At Home
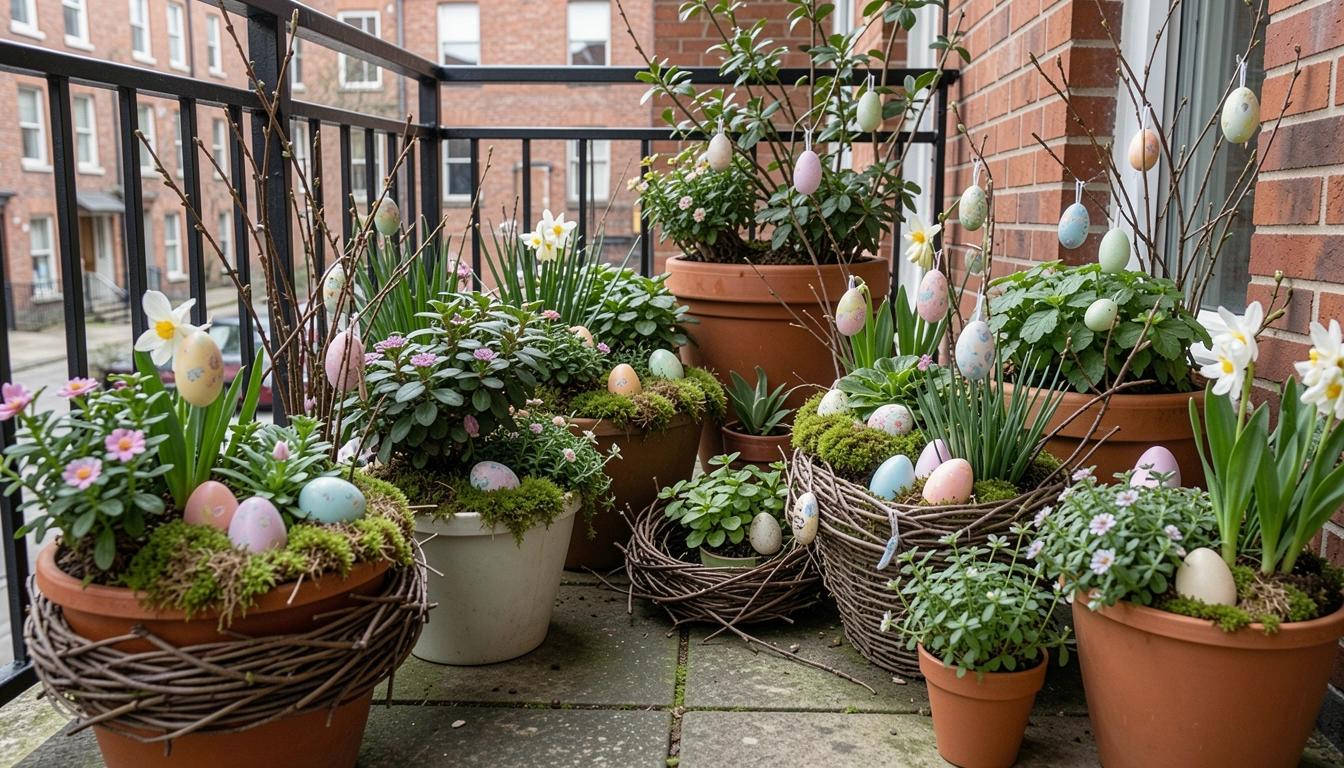
You’ll learn how to arrange pots with spring blooms, moss, eggs, and twigs for a cozy, balanced look that feels like part of the garden.
What You’ll Need
- Medium terracotta pot (8–10")
- Small galvanized planter for a paired look
- Pastel spring annuals (pansies, primroses, miniature tulips)
- Trailing thyme or small ivy for softness
- Small clump of ornamental grass (festuca or carex)
- Sheet moss or live moss for surface cover
- A few pastel decorative eggs (real blown or ceramic)
- 2–3 slender willow or pussy willow stems
- Soft pastel ribbon or natural twine
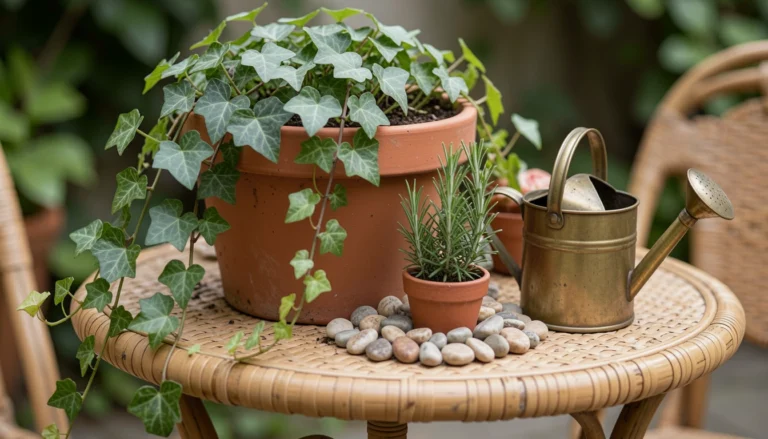
Step 1: Choose the right pot and spot
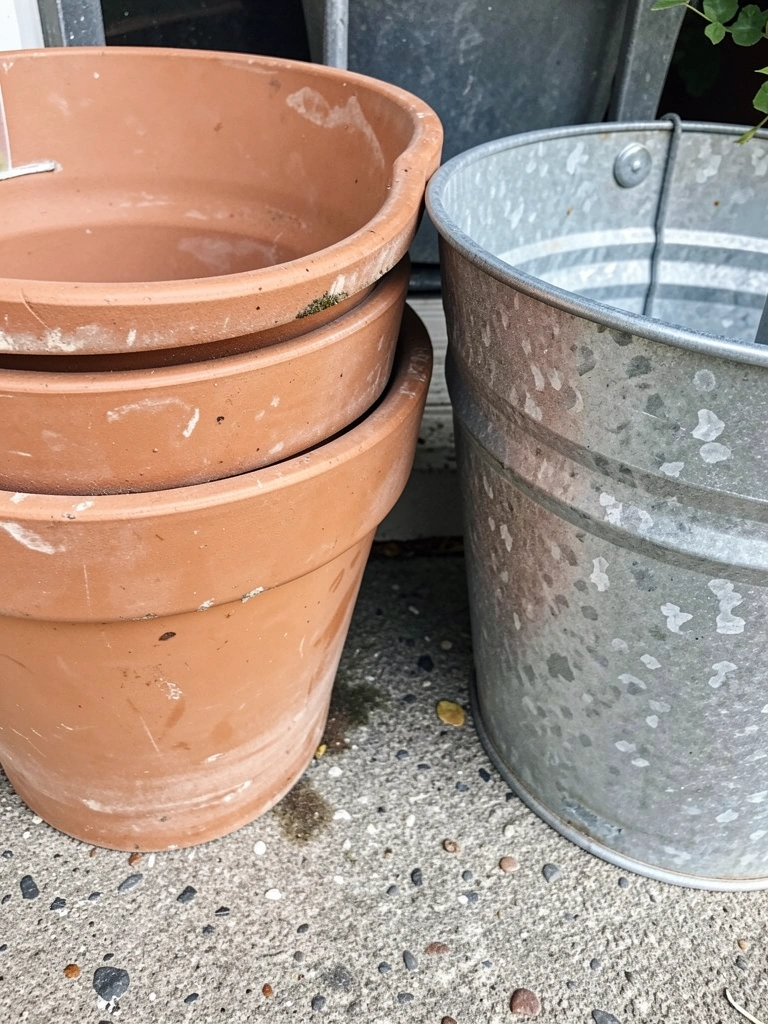
I start by standing where the pots will live and squinting a little. I choose a pot that fits the doorway or bench visually. A terracotta pot feels warm. A galvanized planter reads more casual. Changing the pot changes the mood more than changing the plants.
Visually, this step makes the whole vignette feel intentional. You’ll notice scale and material first. Many people pick plants without testing the pot’s look. Don’t choose a pot that fights the building or other containers. A too-bright container is the small mistake that ruins balance.
Step 2: Build a soft base with moss and trailing plants
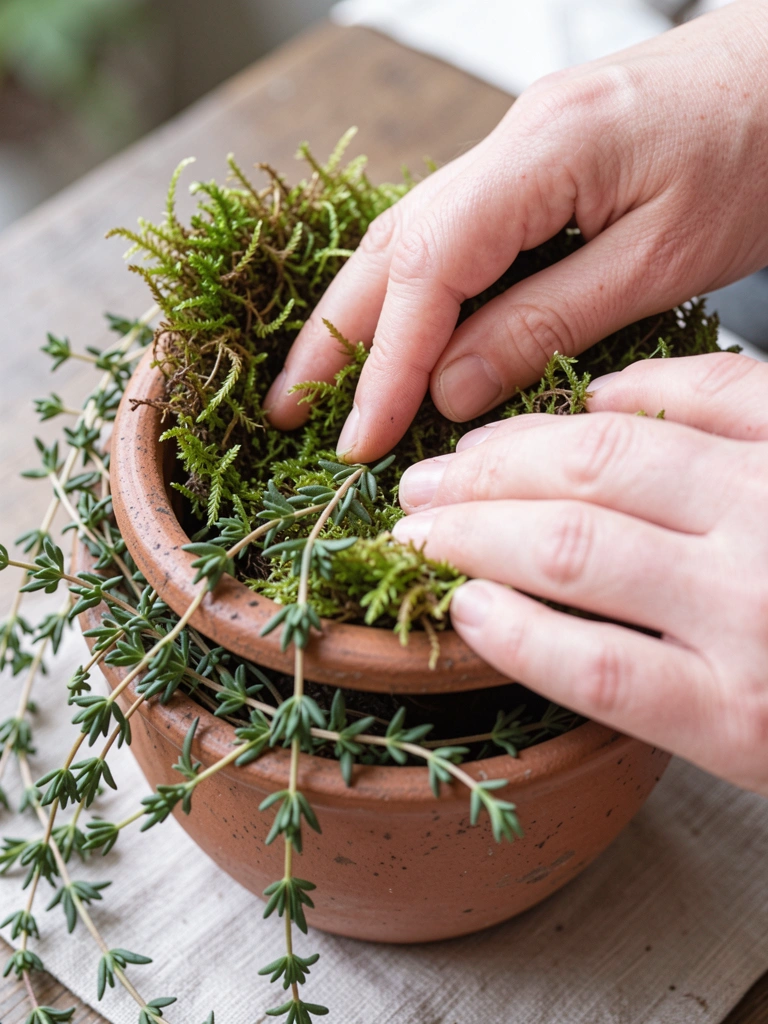
I lay a carpet of sheet moss across the pot’s surface to soften the first impression. Then I tuck a little trailing thyme over one edge. That softness tells the eye the pot is part of the garden, not a staged display. The moss also gives a calm, green background for pastel accents.
What changes visually is the contrast. Hard pots become warm. Many gardeners miss this step and rely only on flowers. The small mistake to avoid is covering the entire rim with things that hide the pot’s shape. Keep the moss and trail light and intentional.
Step 3: Place the anchor plants for height and mood
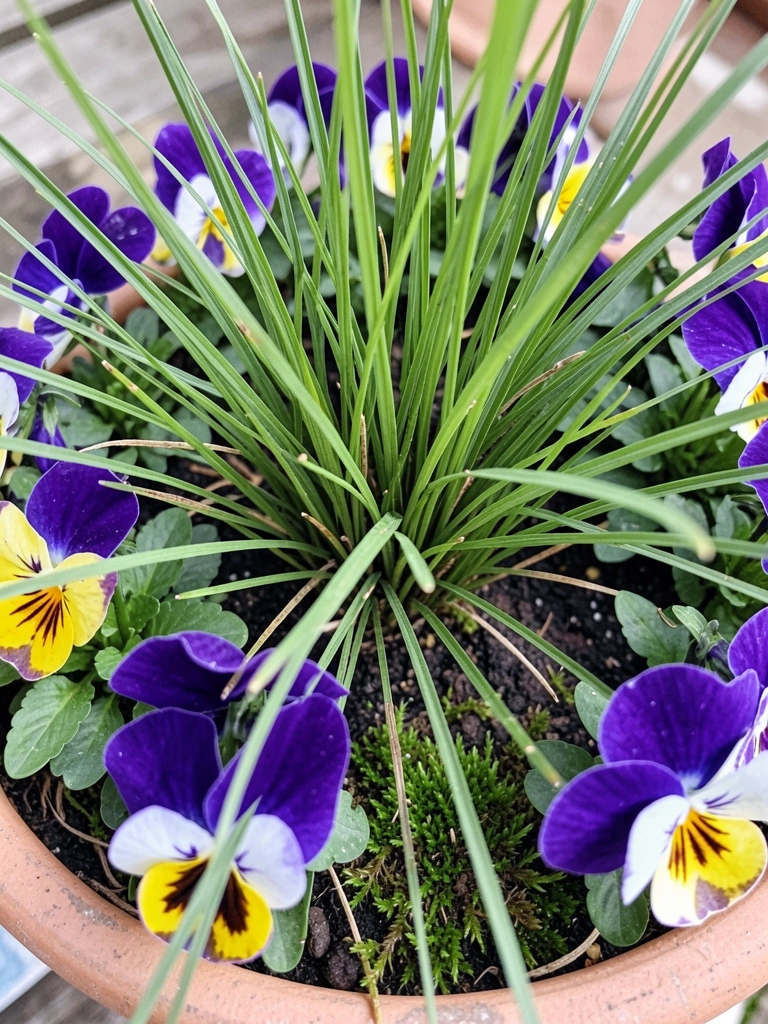
I choose one taller, architectural piece—a small clump of ornamental grass or a willow stem—to act as the anchor. I arrange lower, colorful pansies or primroses around it. The anchor gives vertical interest and a sense of purpose to the whole pot.
The visual change is immediate. The pot feels pulled upward and more garden-like. People often scatter plants evenly and lose a focal point. Don’t bury the anchor or make everything the same height. That flattened look is the common mistake to avoid.
Step 4: Add Easter accents with restraint
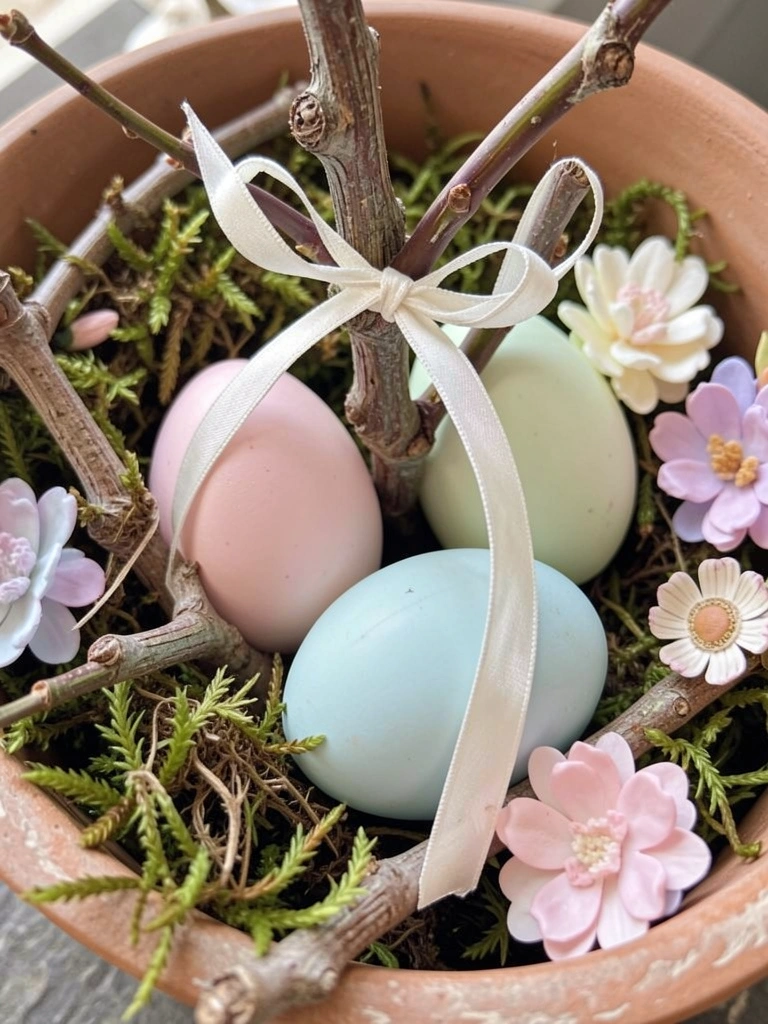
I nestle two or three pastel eggs into pockets of moss. I tuck them so they peek out rather than shout. I may tie a small ribbon to a willow stem for a touch of color. The aim is a hint of Easter, not a holiday costume.
Visually, the eggs create small punctuation points that catch the eye. A common insight is less is more; small clusters read as elegant. The small mistake is scattering too many eggs or making them the dominant element. Keep them as accents, not the main show.
Step 5: Step back, tweak balance, and pair pots
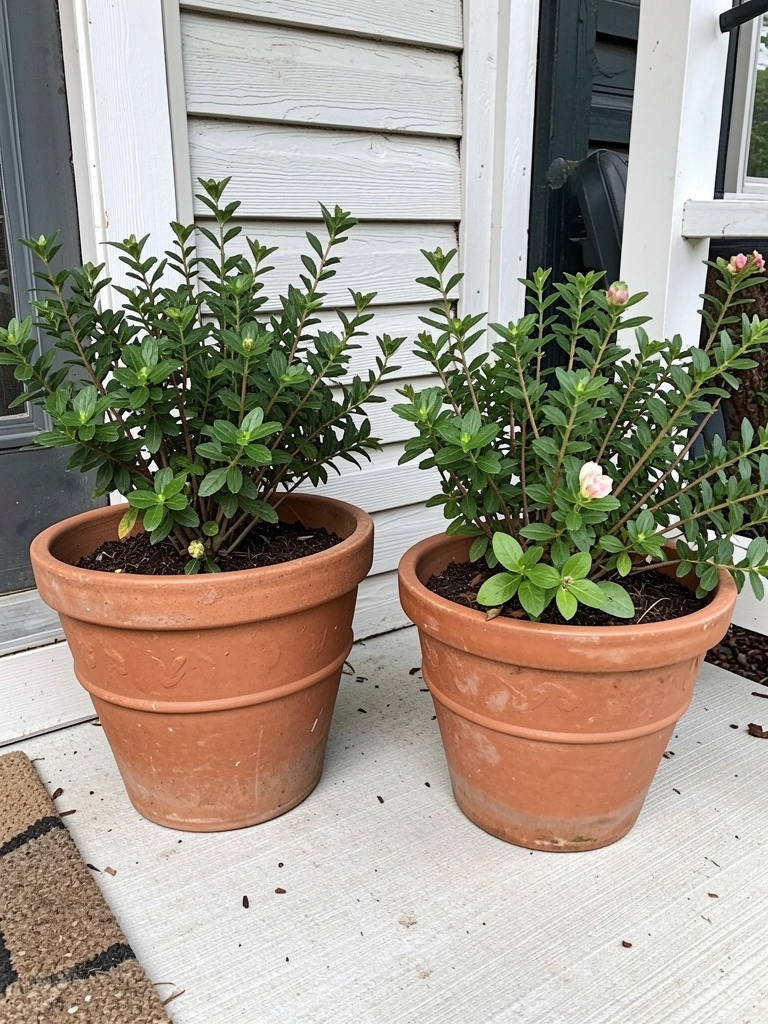
I always step back and look from the door or path. I adjust a trailing plant, nudge an egg, or loosen a ribbon. Then I consider pairing another pot nearby for rhythm. Two different pots with a shared color tie feel more intentional than a single isolated pot.
The visual change is subtle but critical. The display moves from “cute” to “comfortable.” A common oversight is leaving things symmetrically forced. The mistake I avoid is over-tidying; slight unevenness reads as lived-in and calm.
Color and Texture Tips
I aim for a simple palette. Two dominant colors plus a neutral look cleaner and calmer. I often choose a pastel and a darker leaf tone.
Texture matters more than many gardeners expect. Soft pansy petals next to wiry grass and rough terracotta creates interest. Use moss to bridge the textures and give a comfortable, layered look.
- Pair shiny leaves with matte petals.
- Repeat a color in a nearby pot to tie the space together.
Care and Longevity
I refresh the moss and rearrange eggs after heavy rain. Live moss can flatten; I fluff it back up with my fingers. Annuals will need replacing as they fade, but the basic composition can stay.
I don’t fuss daily. A quick weekly glance keeps things tidy. If frost threatens, I bring delicate accents indoors. That keeps the display feeling intentional and relaxed.
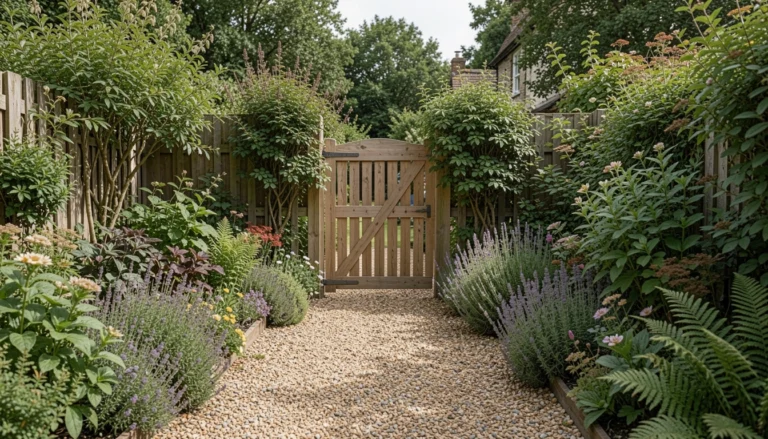
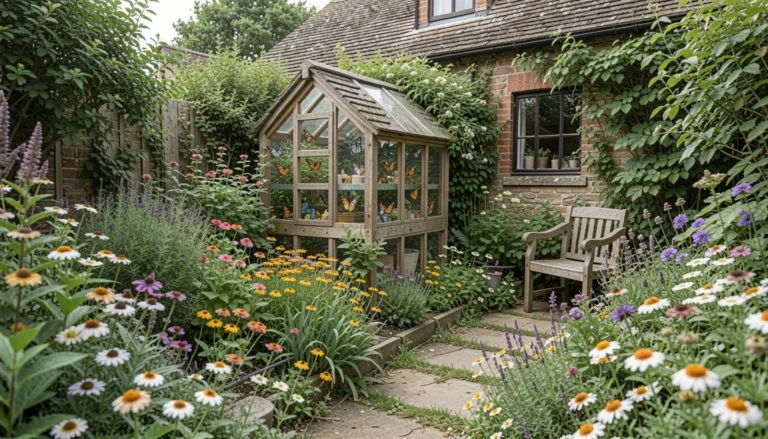
Best Places to Put Easter Pots
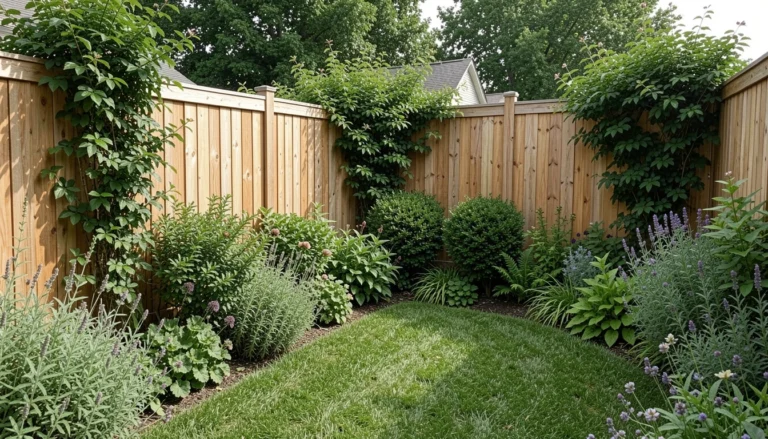
I like them by the front door, along a short run of steps, or beside a bench. These spots are seen up close and reward small details. Groupings work best when one pot is slightly taller.
If you have limited sun, choose shadier plants and focus more on texture and eggs than blooms. Placement is about the route people take through the garden. Put pots where they’ll be noticed but not in the way.
Final Thoughts
Start small. One pot corrected with moss, a focal plant, and a few eggs fixes that awkward spring feeling.
You don’t need perfect symmetry. Slight imperfection reads as lived-in and calm.
Give it a try this weekend. It’s simple, quick, and it will make the entry feel like part of the garden.