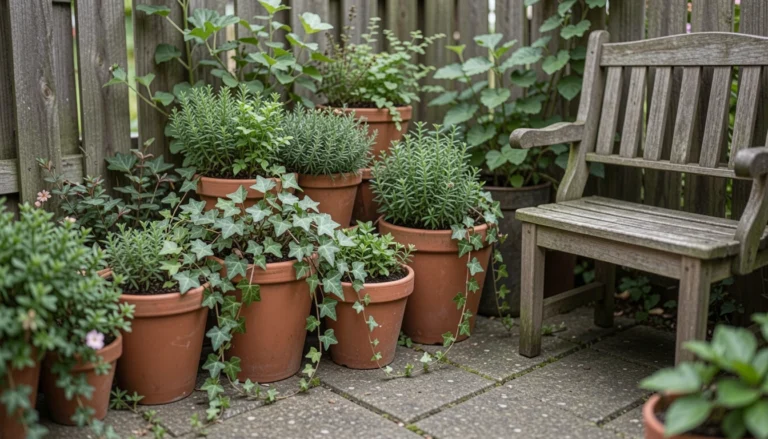

9 Outdoor Rock Garden Ideas With Pots for a Stylish Container Display
My backyard had one patch where nothing ever grew right. Too dry, too much sun, too rocky.
I stopped fighting it and built with it instead.
Now that patch is the part of my garden people actually stop and look at.
9 Outdoor Rock Garden Ideas With Pots for a Stylish Container Display
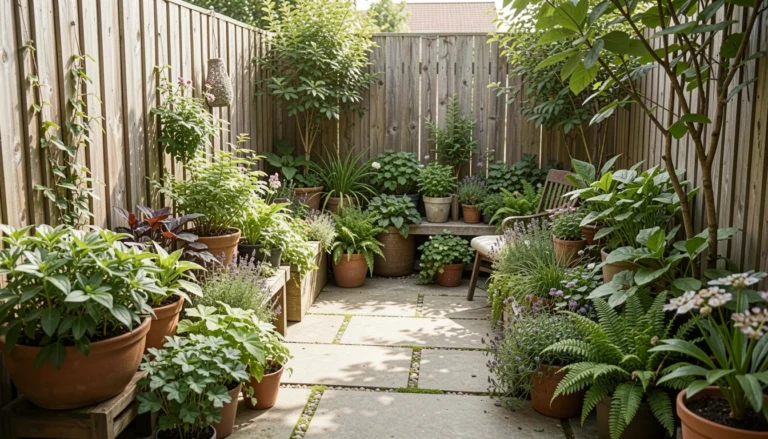
Rock gardens and pots work better together than either does alone. These 9 ideas cover what’s actually worked for me, bed by bed.
1. Grouped Terracotta Pots Set Into Gravel
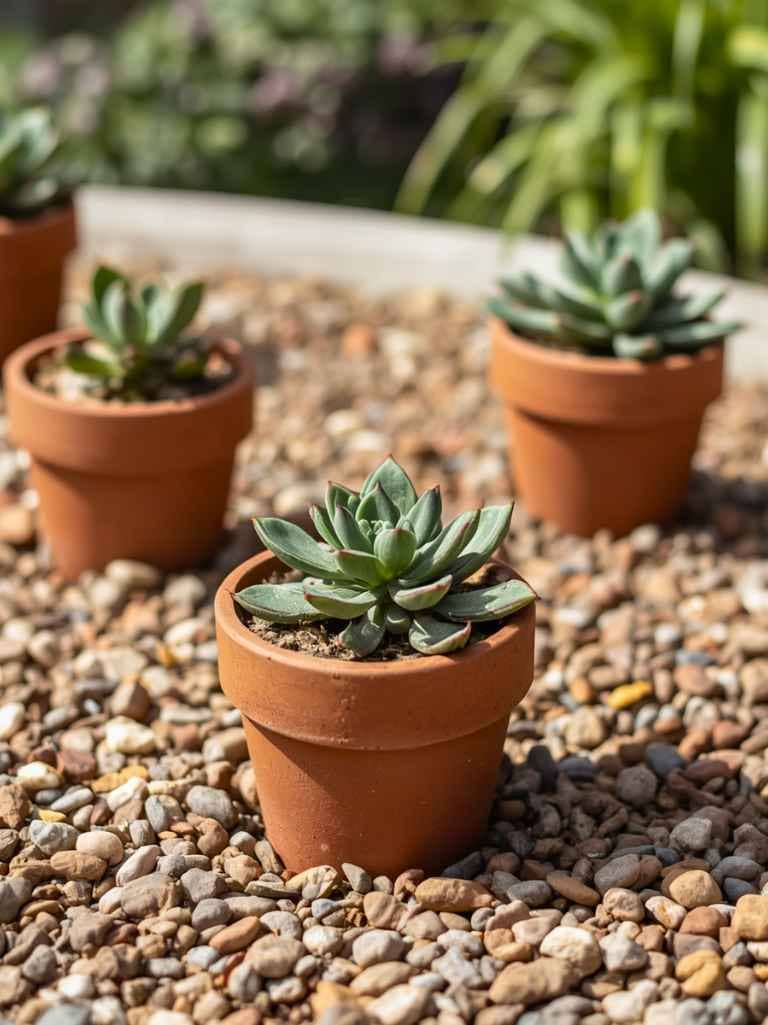
I had a gravel bed with nothing in it. It looked unfinished every time I walked past.
I started setting terracotta pots directly into the gravel instead of placing them on top.
It gave the pots a sunken, settled look, like they’d always been there.
The mistake I made first was using pots without drainage holes, and water just sat in the gravel around them.
Now I only use pots with proper drainage, and the bed drains clean every time it rains.
What You’ll Need for This Look
- Terracotta pots
- assorted sizes
- drainage holes Decorative gravel
- natural tone Landscape fabric for the gravel base
- Succulent or sedum starter plants
2. Succulent Pots Tucked Between Large Stones
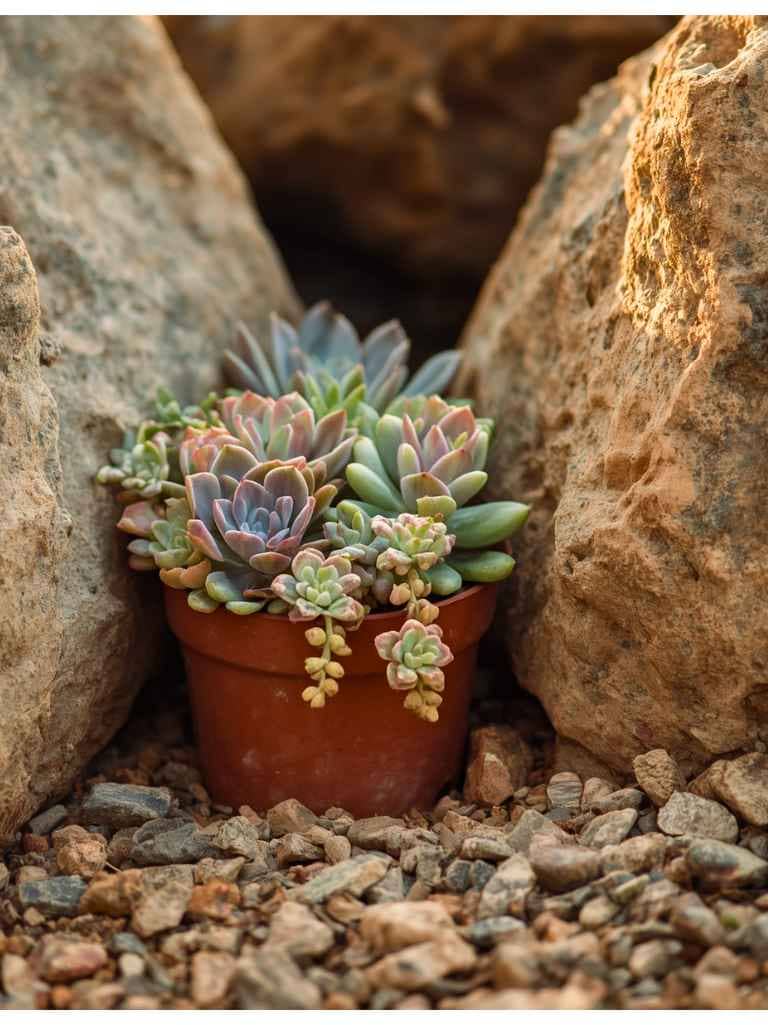
I had a few large stones left over from a landscaping job. They sat unused for months.
Then I started tucking small succulent pots into the gaps between them.
The contrast between hard stone and soft rosette shapes is what makes the corner work now.
I learned to angle the pots slightly so rainwater runs off instead of pooling against the stone.
That one adjustment kept root rot from becoming a problem.
What You’ll Need for This Look
- Large landscaping stones
- Small succulent pots
- 4 to 6 inch Mixed succulent varieties
- Cactus and succulent potting mix
3. Raised Stone Border Framing a Pot Cluster
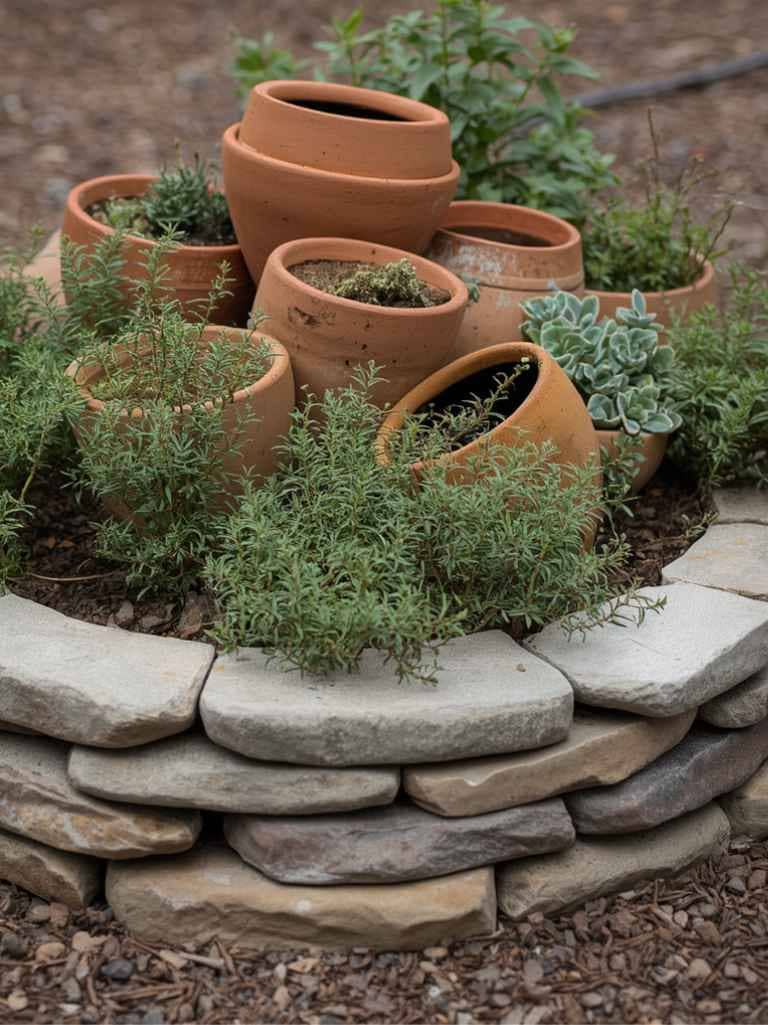
My pot collection looked scattered without anything tying it together.
A low stone border around the cluster gave it a frame, a clear sense of where the display starts and ends.
I stacked flat stones two layers high, just enough to read as a boundary without blocking the view.
It took an afternoon to build, and it’s held up through two winters with no shifting.
That small structure made the whole grouping feel finished.
What You’ll Need for This Look
- Flat stacking stones
- natural color Mixed terracotta
- ceramic pots Trailing thyme
- sedum Mulch for gaps between stones
4. Dry Creek Bed Lined With Potted Grasses
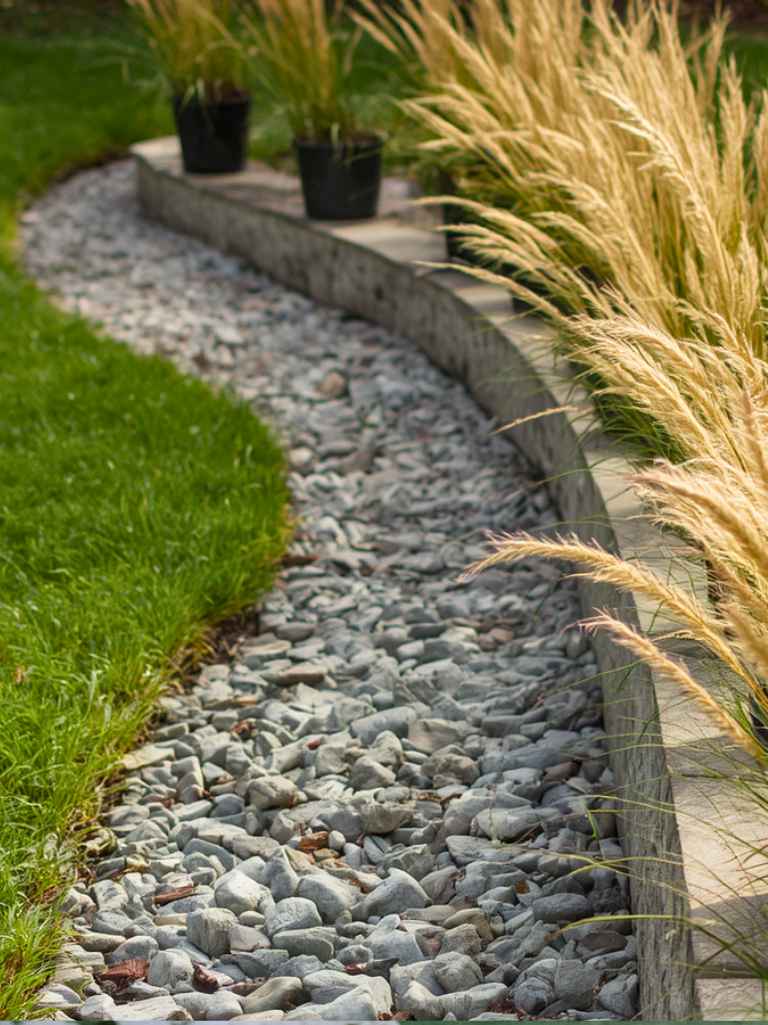
I had a low spot in the yard that collected water after every storm.
A dry creek bed of river rock solved the drainage, and I lined the edge with potted ornamental grasses.
The grasses sway with any breeze, which gives the whole dry bed a sense of movement it would otherwise lack.
I kept the pots slightly elevated on flat stones so they don’t sit directly in the rock bed.
That kept the pot bottoms from staying damp longer than they should.
What You’ll Need for This Look
- River rock
- mixed sizes Ornamental grass
- potted, 12 inch Flat riser stones
- Weed barrier fabric
5. Alpine-Style Trough Planters Among Gravel

I wanted something that looked like it belonged in a mountain garden, even in a flat backyard.
Shallow trough planters filled with alpine plants, set right into a gravel bed, gave me that look.
The troughs read as part of the landscape instead of separate containers sitting on top of it.
I used a gritty, fast-draining soil mix since alpine plants rot quickly in anything that holds water.
That detail made more difference than I expected for keeping them alive.
What You’ll Need for This Look
- Stone or concrete trough planters
- Alpine plant mix
- Gritty alpine potting mix Decorative gravel topdressing
6. Boulder Centerpiece With a Single Statement Pot
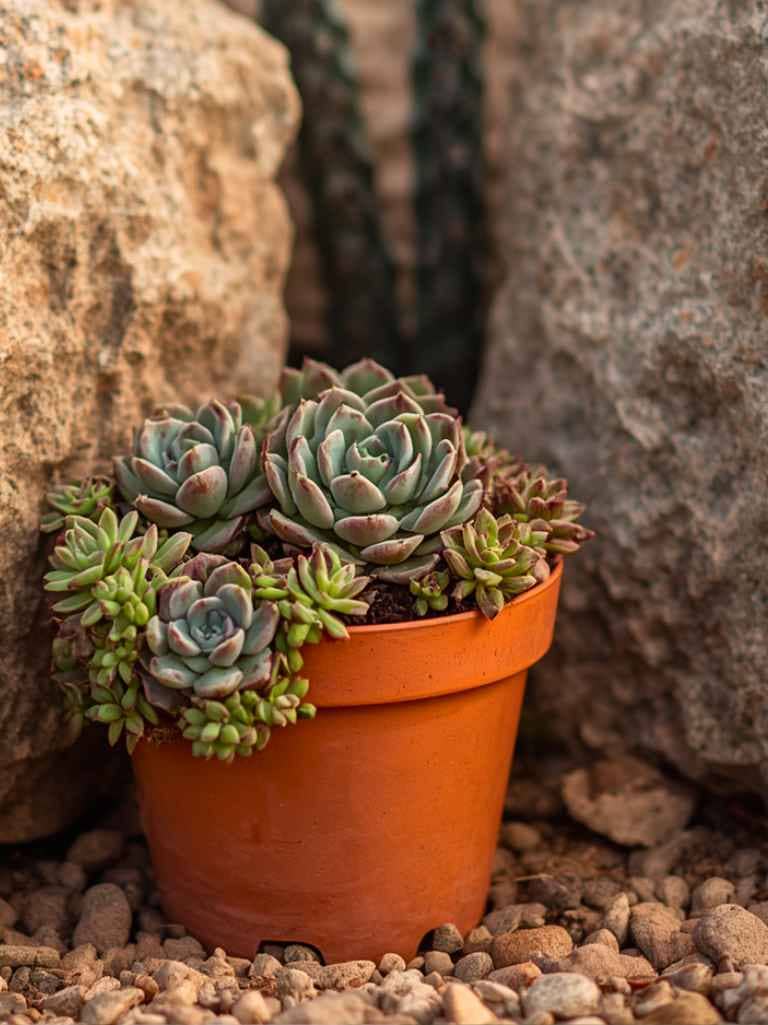
My rock bed had plenty of small stones but nothing that drew the eye.
I brought in one large boulder as a centerpiece and placed a single oversized pot beside it.
The size contrast does the work here. One big plant, one big stone, nothing competing for attention.
I chose a pot with bold, upright foliage so it holds its own next to the boulder’s scale.
It’s become the one spot in the yard that photographs well without trying.
What You’ll Need for This Look
- Large boulder or feature stone
- Oversized planter
- 18 to 20 inch Upright architectural plant
- Gravel mulch around the base
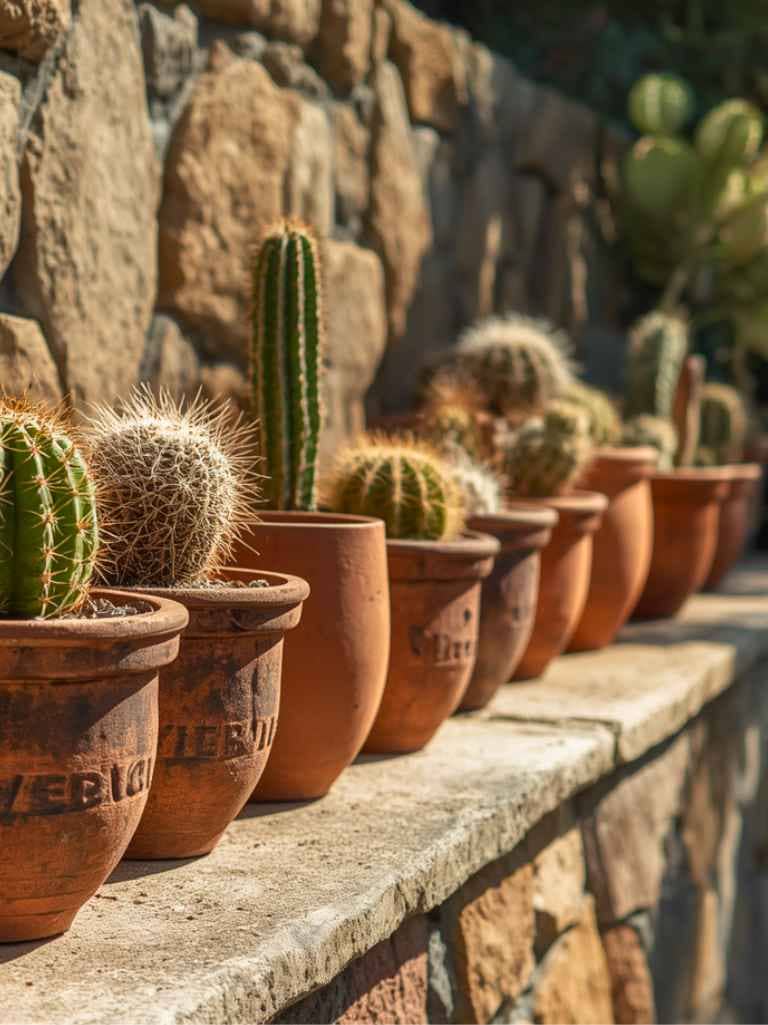
7. Mixed Cacti in Rustic Clay Pots on a Rock Shelf
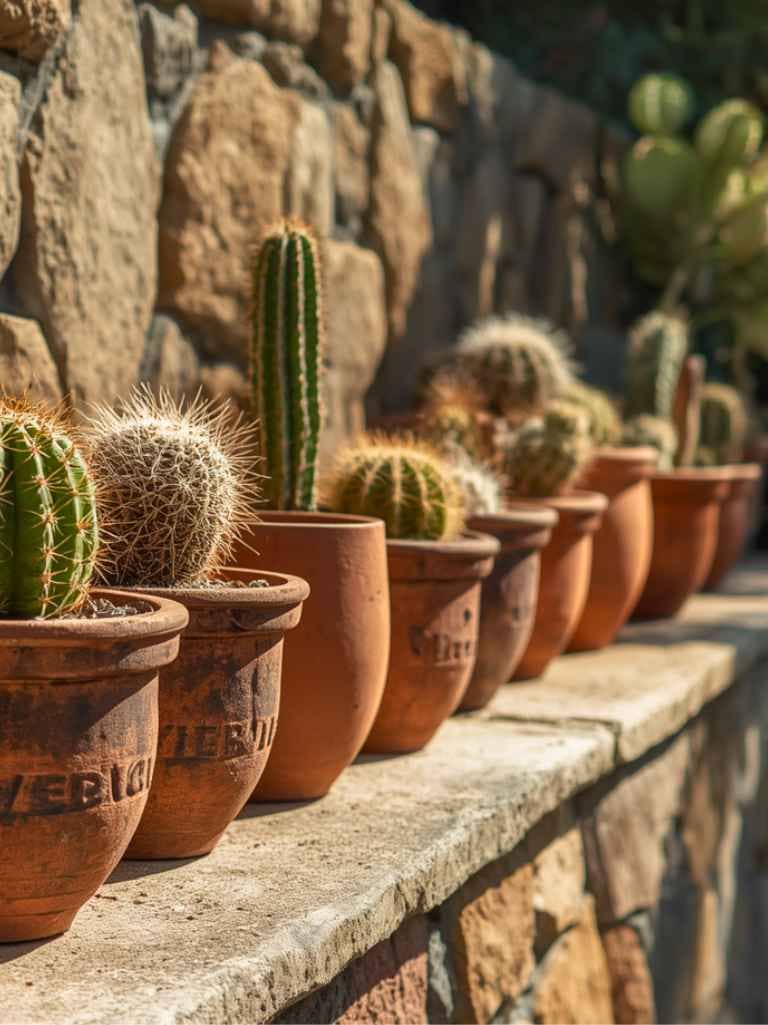
I built a small raised stone shelf along one wall, originally just to use up leftover stone.
Topped with a row of rustic clay pots filled with cacti, it became a real feature instead of leftover material.
Each pot is a slightly different shape, which keeps the row from looking too uniform.
I learned to leave gaps between pots for airflow, since crowding them together held moisture and invited rot.
Spacing them out solved that completely.
What You’ll Need for This Look
- Rustic clay pots
- varied shapes Mixed cacti
- 4 to 6 inch Raised stone shelf or ledge Cactus potting mix
- fast-draining
8. Pebble-Filled Pot Saucers for a Polished Finish
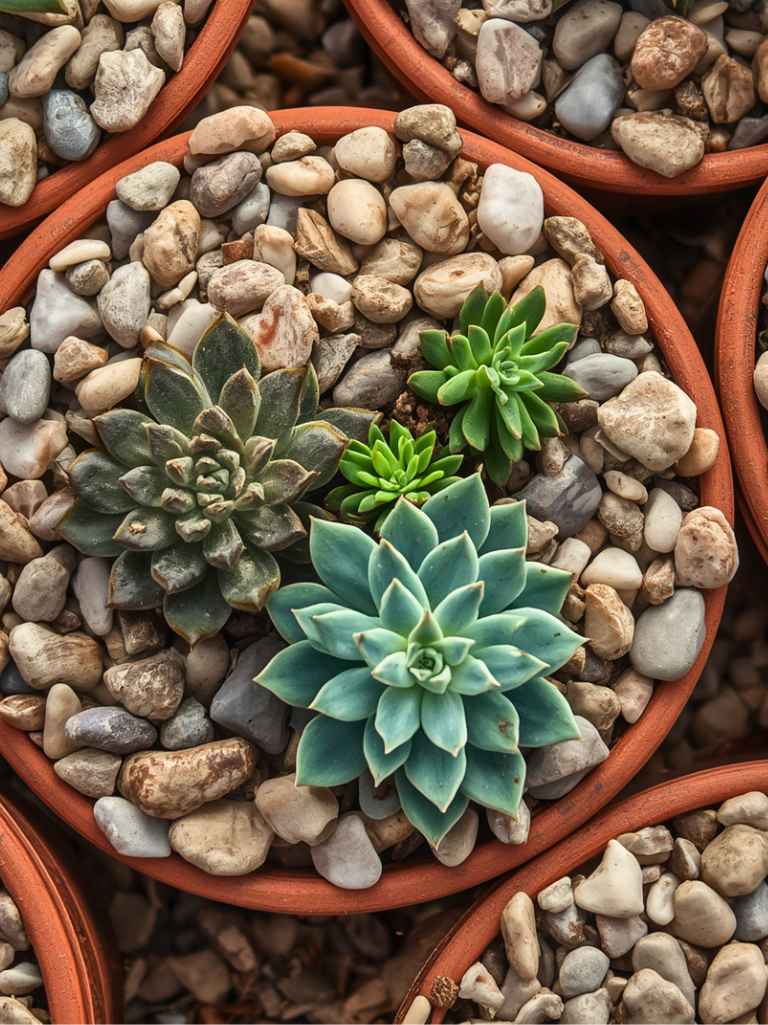
My pots always looked a little rough around the base, soil spilling over, gravel scattered unevenly.
Filling the saucers and surrounding gaps with smooth pebbles gave every pot a clean, finished edge.
It’s a small detail, but it’s the one that made the whole rock garden look deliberate instead of thrown together.
I use a slightly different pebble color for each grouping so the eye can tell where one display ends and the next begins.
That separation keeps a small space from feeling cluttered.
What You’ll Need for This Look
- Smooth river pebbles
- mixed neutral tones Pot saucers
- matching pot sizes
- Mixed potted succulents
- Small garden rake for leveling
9. Vertical Rock Wall With Cascading Potted Plants
I had a slope in the yard that was hard to plant directly into. It kept eroding.
I terraced it with stacked stone and set pots into the gaps at each level.
Trailing plants now cascade down from pot to pot, which hides most of the stone and stabilizes the slope at the same time.
It took real trial and error to find pots stable enough not to tip on the angled ledges.
Wider-based pots solved that, and nothing has shifted since.
What You’ll Need for This Look
- Stacking wall stones Wide-based pots
- 10 to 12 inch Trailing rosemary or creeping sedum
Final Thoughts
You don’t need a full rock garden to start. I built mine one stone and one pot at a time.
Pick the driest, hardest corner of your yard first.
That’s usually where this style works best.