How to Make Garden Privacy Easy
I hated sitting on my patio with every neighbor in view. It felt exposed and unfinished. I’d avoid using the space when I wanted quiet.
I wanted a green edge that read like a room, not a fence. Over time I found simple moves that make privacy feel natural. They’re small, visual, and easy to repeat.
How to Make Garden Privacy Easy
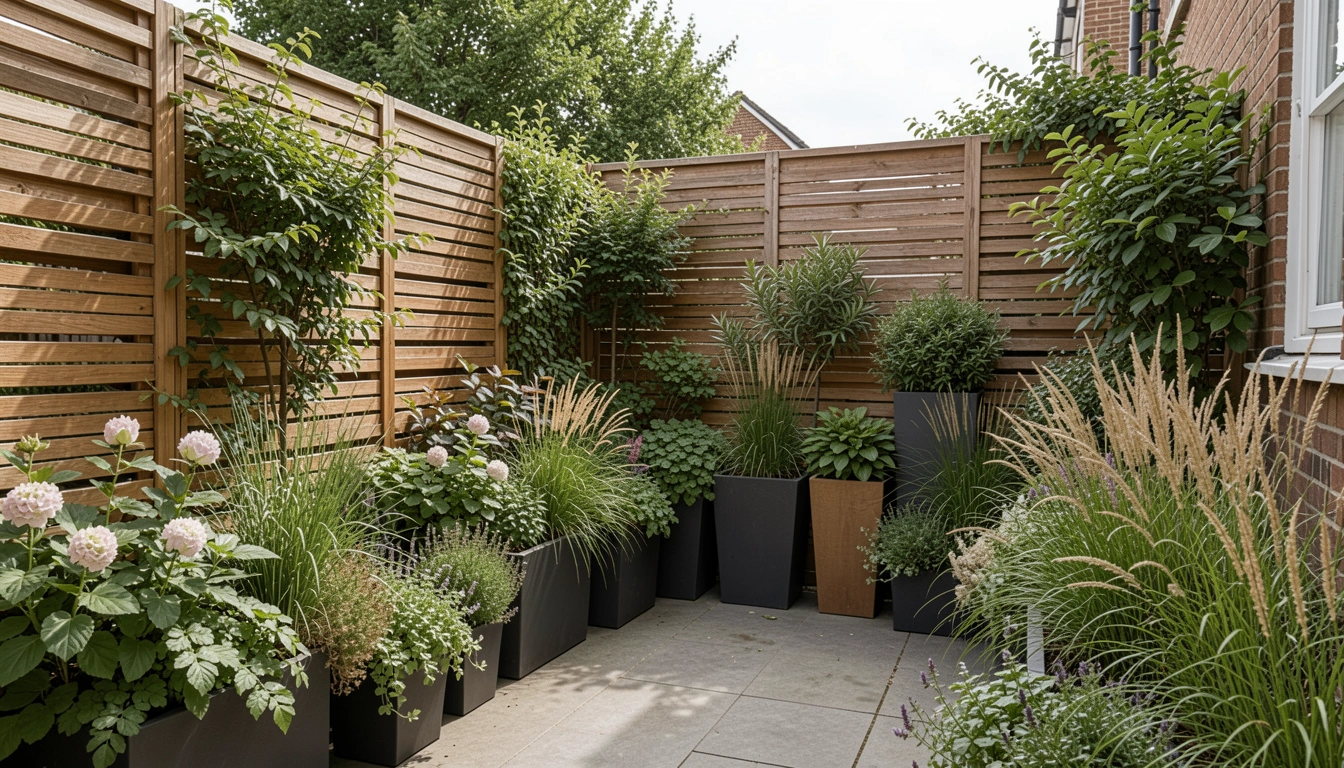
You’ll learn to create a private, balanced garden edge using screens, layered plants, and containers so the space reads as cozy and sheltered without heavy building.
What You’ll Need
- Slatted wood privacy screen (1.8 m, dark stain)
- Narrow columnar evergreens (1.8–2 m specimens)
- Climbing evergreen vine (small-leaved, winter cover)
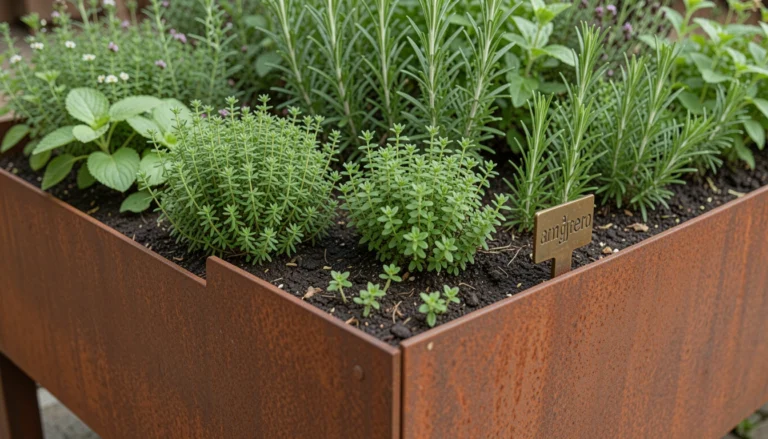
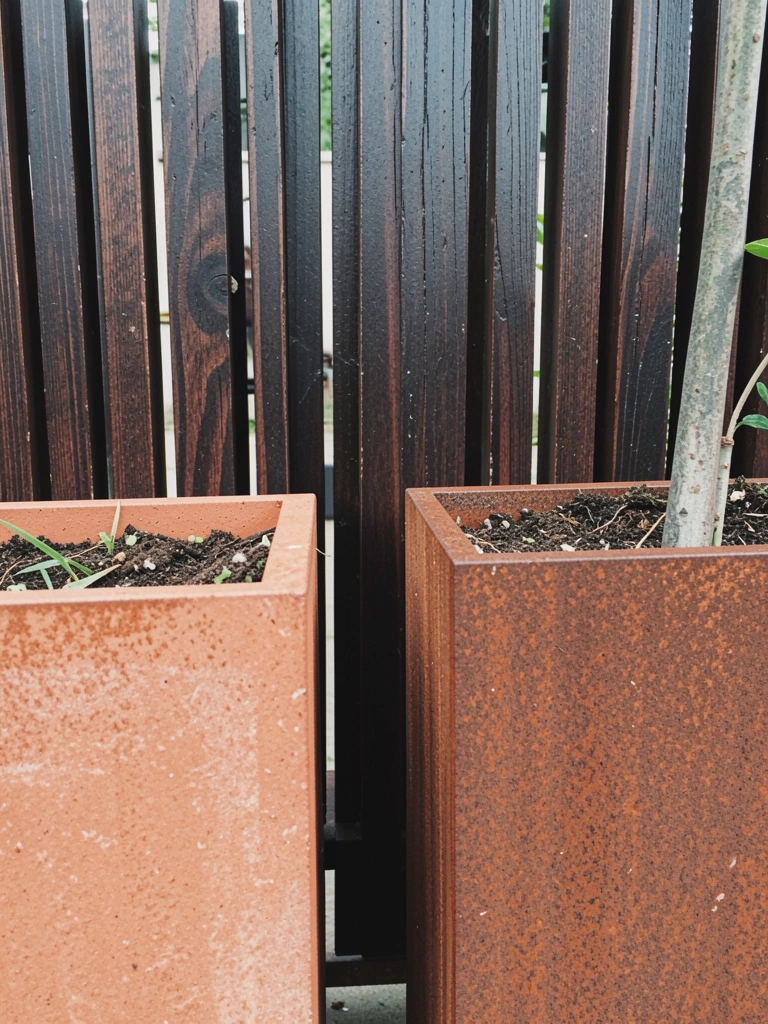
- Tall rectangular planters (corten steel or terracotta)
- Mid-height flowering shrubs (40–80 cm)
- Ornamental grasses (60–100 cm clumps)
- Dark bark mulch (40 mm)
- Soft garden lights (solar or low-voltage)
Step 1: Place a focal screen to anchor the space
I start with a single slatted screen where I want the eye to stop. It becomes an “edge” without feeling like a wall. The screen gives a focal point and a rhythm to place plants around.
Visually, the garden goes from scattered to intentional. The screen creates a backdrop and hides the least attractive sightlines. People often miss that one small screen readjusts how everything else feels.
A common mistake is putting the screen directly in the middle. Shift it slightly off-center so the view can breathe.
Step 2: Layer columnar evergreens for year-round backbone
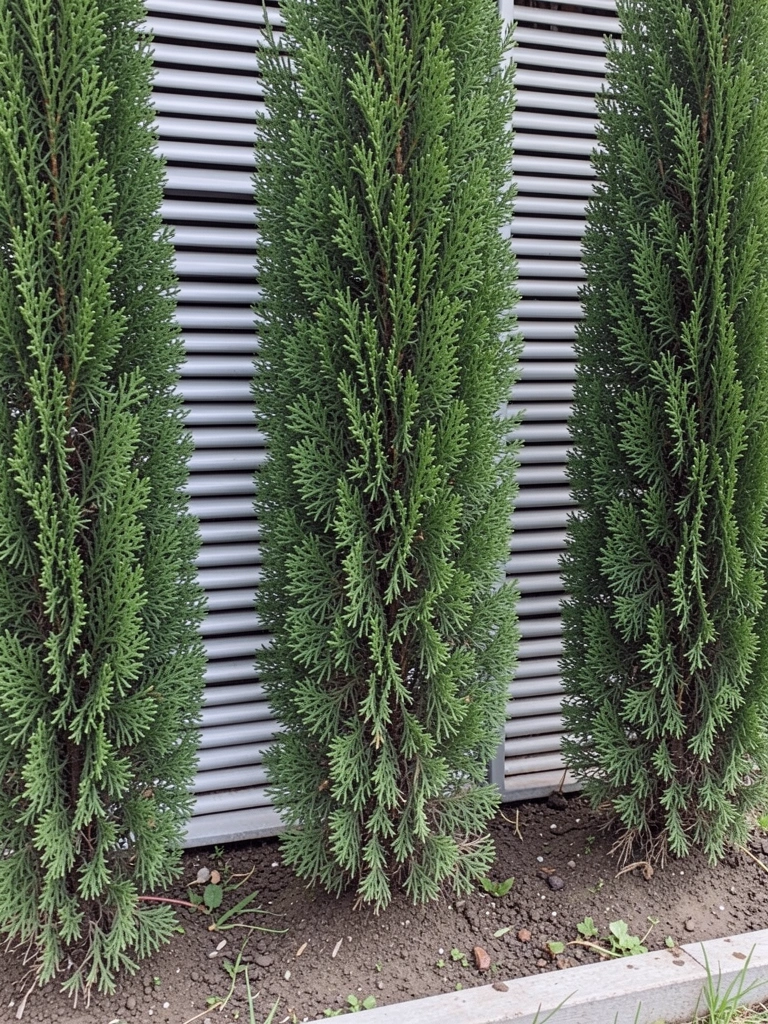
Next I add narrow evergreens behind or beside the screen. They provide height and cover in winter. I think about rhythm — not a hedge but a few vertical notes that guide the eye.
The change is immediate: the garden reads deeper and more private. Those vertical shapes give the sense of walls without mass. People often forget to space them so they read as separate pillars, not a dense block.
Avoid planting a single continuous line. Staggered groups feel softer and more lived-in.
Step 3: Soften the screen with an evergreen climber
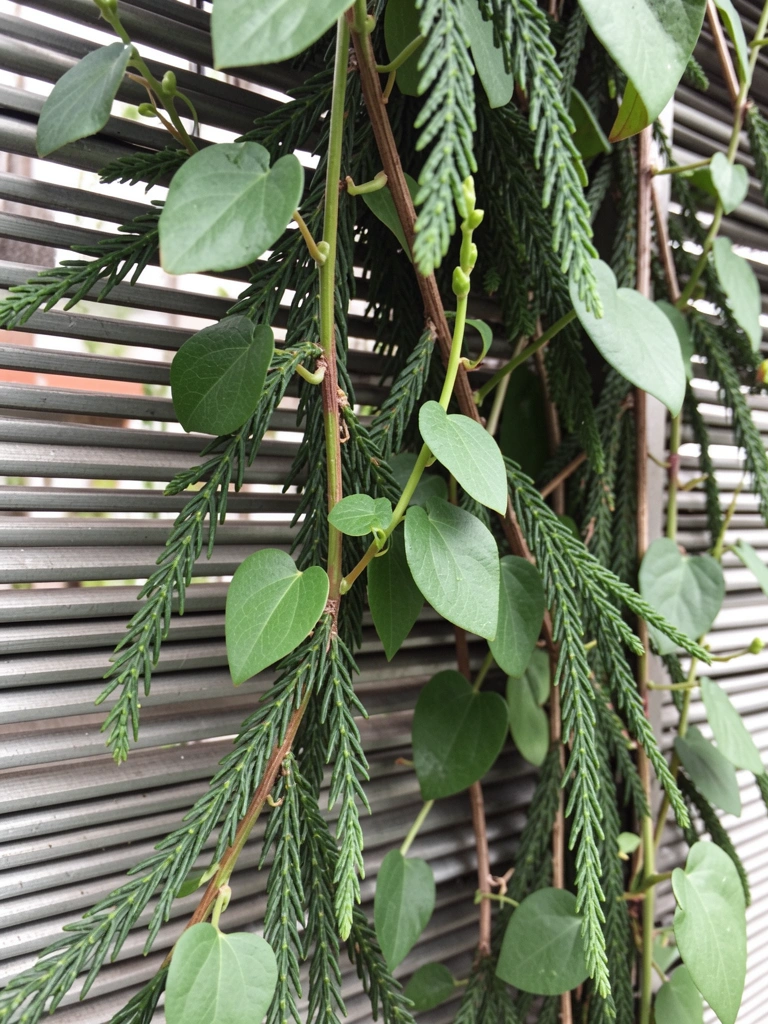
I train an evergreen climber across the screen to soften the geometry. It breaks the hard lines and adds a friendly, lived-in look. The vine fills gaps and gives a year-round green veil.
Now the screen feels like a background fabric, not a barrier. The planting makes the space look finished and intentional. A missed insight is choosing a climber that keeps shape; some overrun and look messy fast.
Don’t let the climber swallow the screen. Keep it controlled so the structure still shows through.
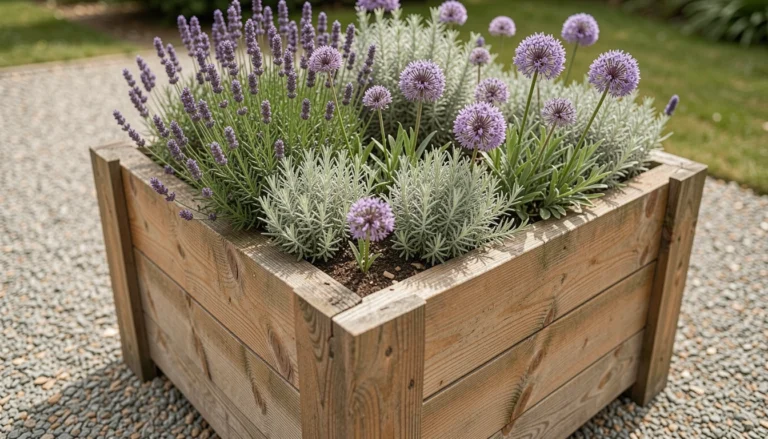
Step 4: Plant mid-height shrubs and grasses for depth

I place shrubs and grasses in staggered groups in front of the screen and evergreens. They create a middle layer — soft, flowering, and moving. These are the elements people touch and sit beside.
The garden gains texture and a softer edge. Grasses give movement; shrubs give seasonal interest. The insight most miss is mixing heights and spacing in odd numbers so it reads natural.
A pitfall is a single straight row. Stagger plant groups and vary sizes for a comfortable, layered look.
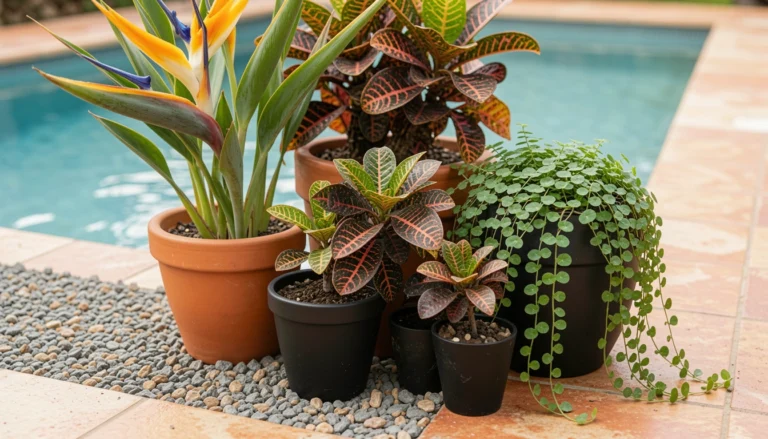
Step 5: Anchor with planters and soft lighting for a cozy finish
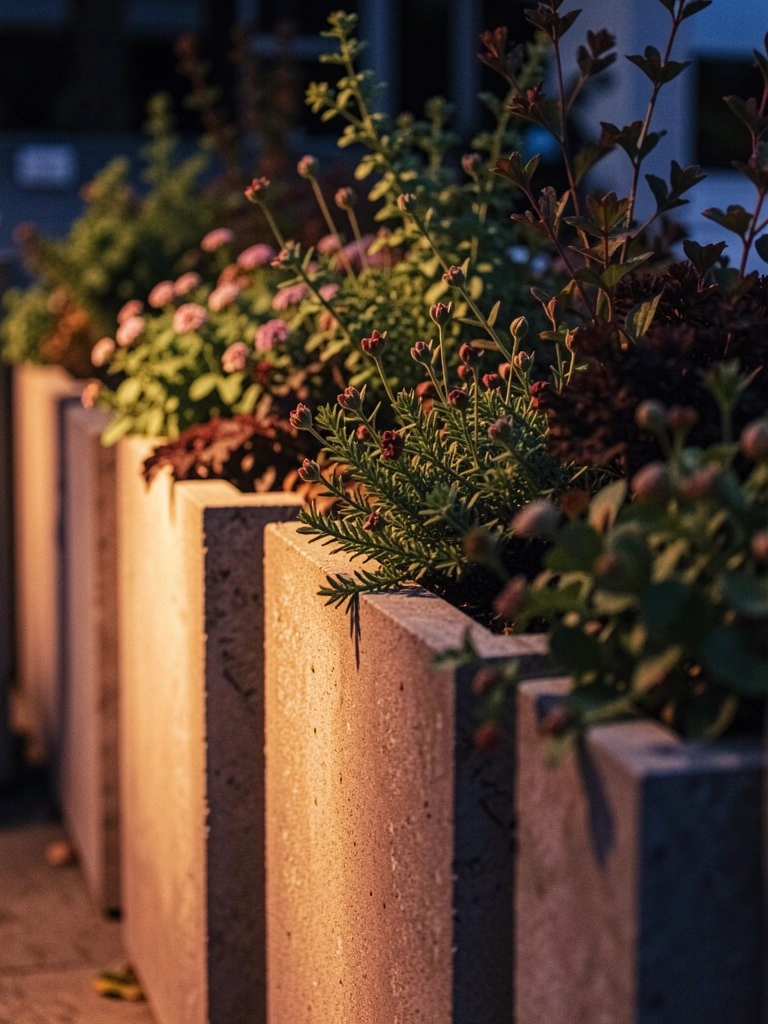
Finally I use tall planters and subtle lights to draw the eye and make the area feel like a room at dusk. Planters tuck beside paths or the screen to repeat materials and add intimacy. Lighting gives depth after dark.
Visually, the space becomes usable and inviting. Small accents make the privacy feel intentional rather than defensive. One insight is that lighting should highlight edges, not blind you.
Avoid harsh bright lights aimed at the garden. Keep the glow low, warm, and directional.
Choosing plants that suit your climate
Pick evergreen forms that tolerate your winter lows and summer heat. Columnar evergreens and small-leaved climbers are forgiving and keep the structure through seasons. Choose shrubs and grasses native or proven in your area to reduce fuss.
I like to test a single specimen first. If it settles in well, I repeat it in a small group. That repetition gives cohesion without monotony.
Placement tips for small spaces
Work in thirds: a backdrop (screen/evergreen), a middle (shrubs/grasses), and a foreground (planters). Use narrow, tall elements rather than wide masses to save space. Keep paths clear so the garden still feels open and comfortable.
When you use containers, move them seasonally. They let you tweak balance and fix awkward corners fast.
Quick fixes when you need privacy now
Temporary screens, large pots with tall plants, or a row of bamboo can buy you time while perennials settle. I use temporary elements to test sightlines before planting long-term. They help me see how light and views change through the day.
Treat these fixes as experiments. If something looks off, I move it and try again until it feels right.
Final Thoughts
Start with one screen or a single planter. Small moves create the biggest sense of shelter. I’ve rehung the same corner twice until it felt comfortable.
Privacy should feel cozy, not closed-off. Layering, rhythm, and soft light get you there without heavy building. Go slow, look from the seat you’ll use, and adjust until it reads like a room you want to be in.