How to Install Fence for Garden Privacy
I was staring at my backyard one evening, annoyed by the blank strip between my path and the neighbor’s yard.
The space felt exposed and unfinished.
I wanted a fence that read like part of the garden, not a wall. I learned to think about sightlines, plants, and simple structure before any heavy work.
How to Install Fence for Garden Privacy
You’ll learn how to place and style a privacy fence so it reads as part of the garden. It’s achievable. The end result is a comfortable, private edge that feels balanced.
What You’ll Need
- Cedar slatted panels (6 ft, natural finish)
- Wooden trellis inserts (2 ft, cedar)
- Climbing plants (clematis or honeysuckle, mixed colors)
- Compact evergreen shrubs (columnar yew or boxwood, 3–4 ft)
- Mulch (dark bark, 2–3 in depth)
- Narrow gravel path edging (charcoal)
- Low solar path lights (warm white)
Step 1: Choose the fence line that respects sightlines and flow
I walk the yard and stand at the main viewpoints — the kitchen window, the patio, and the garden path. I imagine how the fence will look from each spot. This helps the fence feel like part of the daily view instead of an abrupt divider.
Visually, the right line makes the garden feel composed. People often miss how a slight jog or set-back can create a place for a plant or bench. One small mistake to avoid is forcing a straight line where the garden already has a curve; that creates tension.
Step 2: Pick the fence look to suit the garden’s scale
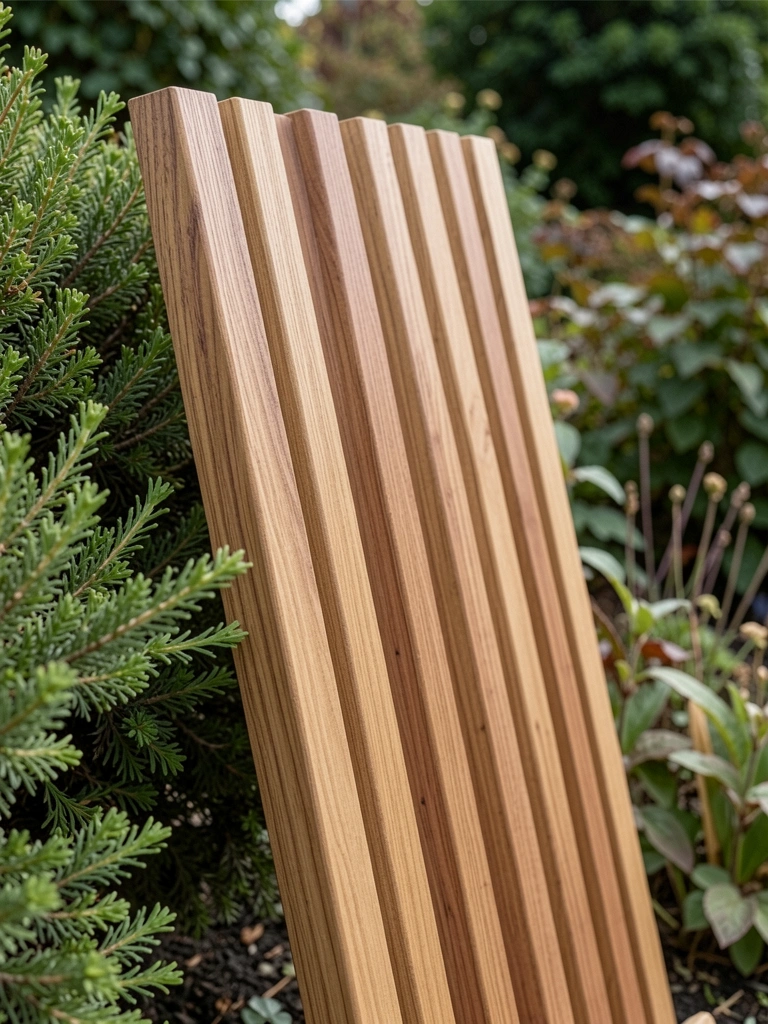
I think of rhythm and scale next. Tall solid panels give seriousness; slatted panels give a lighter feel. I match the panel style to the house and the garden’s furniture. This choice changes the mood more than the height alone.
The visual change is immediate: a heavier panel anchors the space, a slatted panel reads as part of the planting. A missed insight is that repeating a material in small elements (trellis, post caps) ties the look together. Don’t pick a style that overwhelms small plants at ground level.
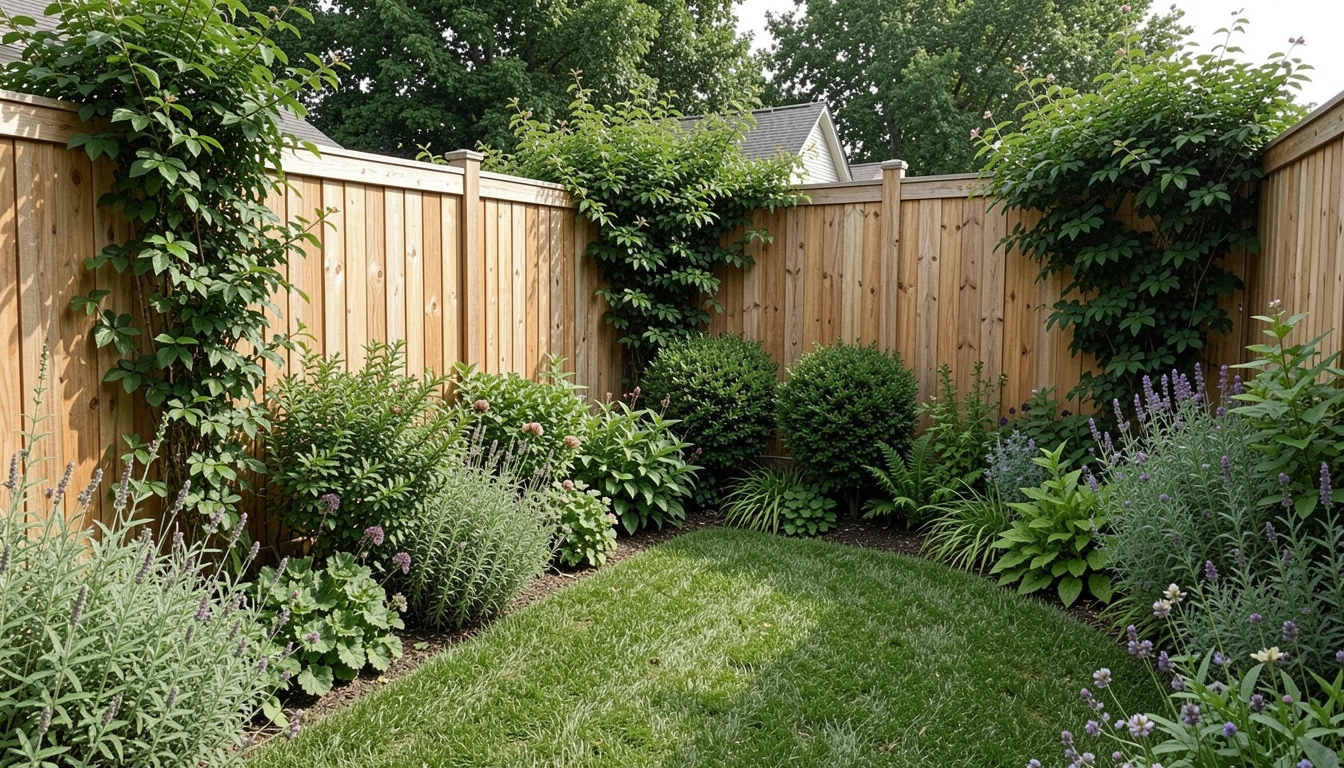
Step 3: Anchor the fence with structure and evergreen forms
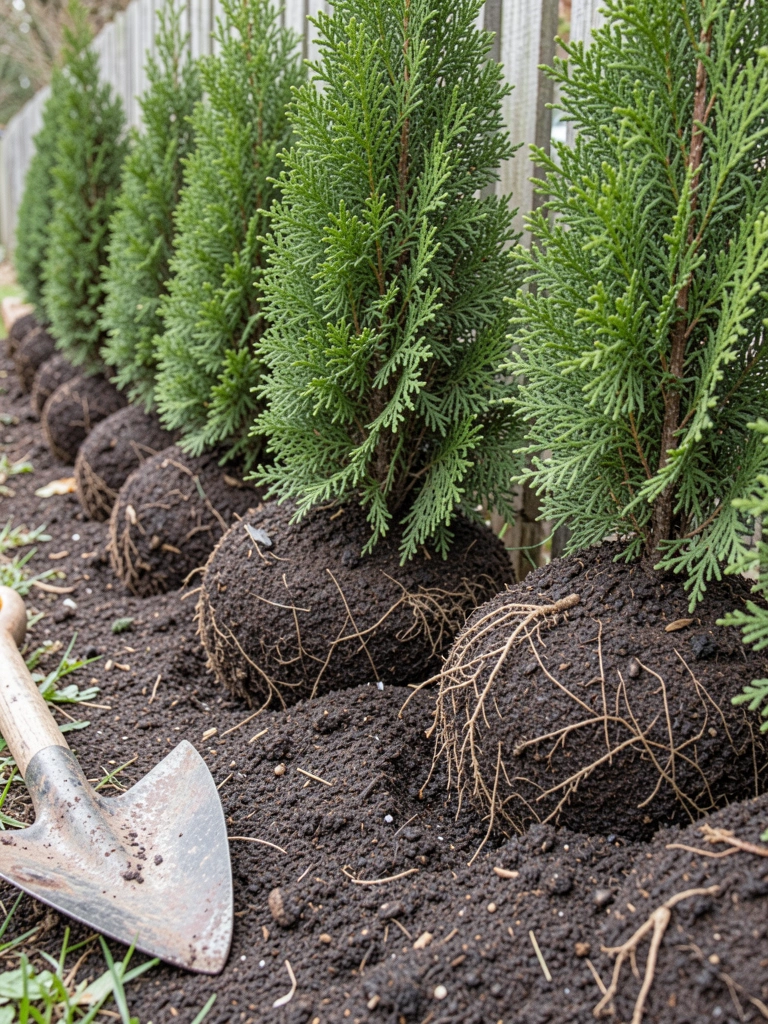
I place compact evergreens at regular intervals to break the fence visually. They act as steady green punctuation and give winter structure. The evergreens make the fence feel intentional rather than a hard edge.
You’ll see the fence soften as plants fill vertical gaps. Many people underestimate spacing; too-close planting looks crowded immediately. Avoid planting large shrubs that will swamp the fence or block key sightlines.
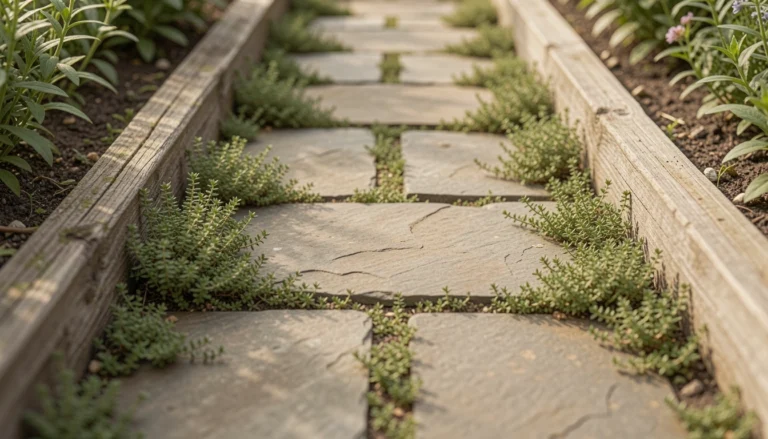
Step 4: Soften with climbers and a low planting edge
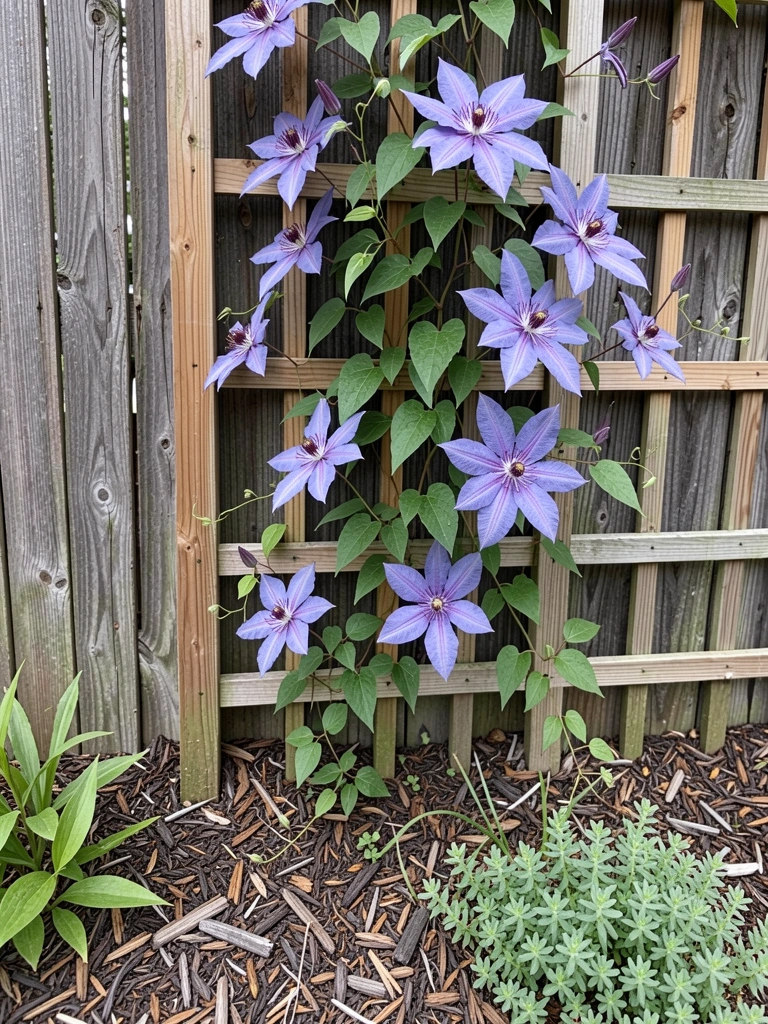
I add trellis inserts and choose climbers that suit the light. Climbers break up the panel planes and add seasonal interest. At the base I plant a low band of perennials and add dark mulch to read like a border.
The fence moves from backdrop to layered garden scene. One insight I use: mix evergreen and seasonal climbers for year-round texture. A small mistake to avoid is planting climbers that need more light than the spot provides; they look sparse instead of lush.
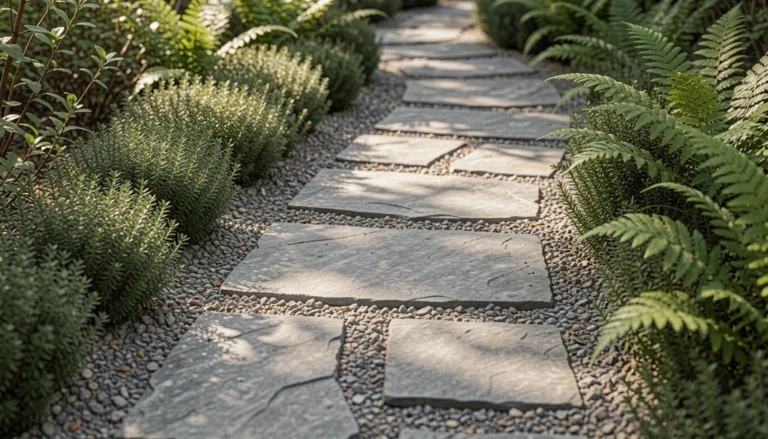
Step 5: Finish with edges, lighting, and small details
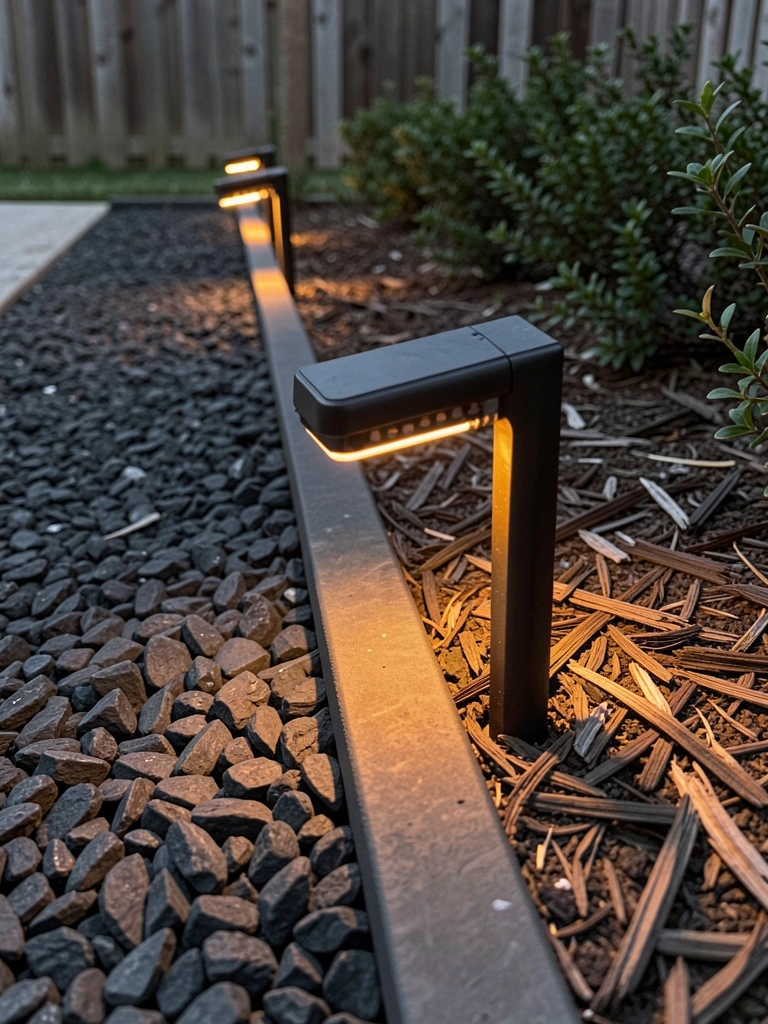
I define the base with narrow gravel edging and place low solar lights for soft evening glow. These details read as intentional and help the fence feel like the garden’s frame. A tidy base keeps the eye moving along the line.
You’ll notice the fence stops feeling like a boundary and starts feeling like an outdoor room edge. People often skip lighting or edging and then feel the project is unfinished. Don’t over-ornament; simple repeats work best.
Choosing the Right Fence Look
I pick a style that matches the home and the garden’s mood. A slatted cedar fence suits a relaxed, modern yard. Solid panels suit a more formal or sheltered garden.
Think about proportion. In a small yard I favor lighter, narrower panels. In larger properties I allow broader, heavier panels. Keep things simple so the fence supports the plants, not competes with them.
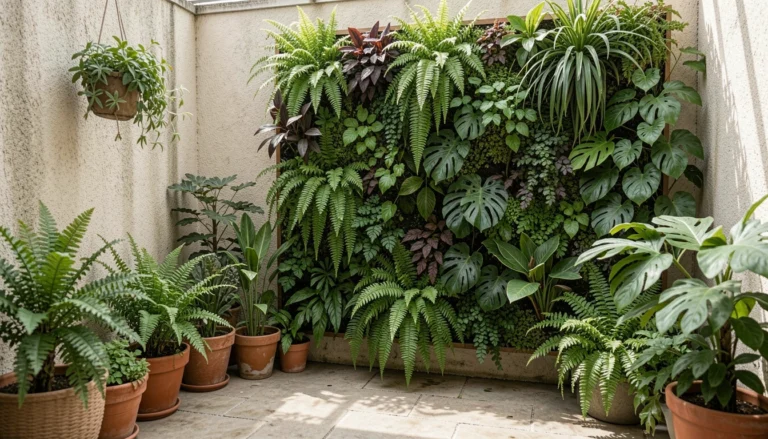
Planting to Soften and Screen
I aim for layers: low perennials, mid shrubs, and tall evergreens or climbers. This reads as natural and private without feeling closed-in.
Bulleted approach I use:
- Evergreen anchors every 6–8 ft
- Trellis with climbers every 4–6 ft where needed
- A continuous low planting band and mulch
This gives year-round interest and keeps the fence softened visually.
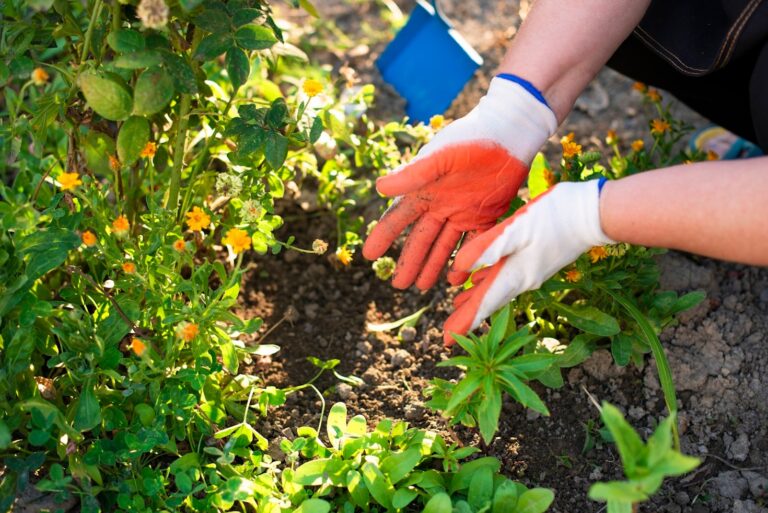
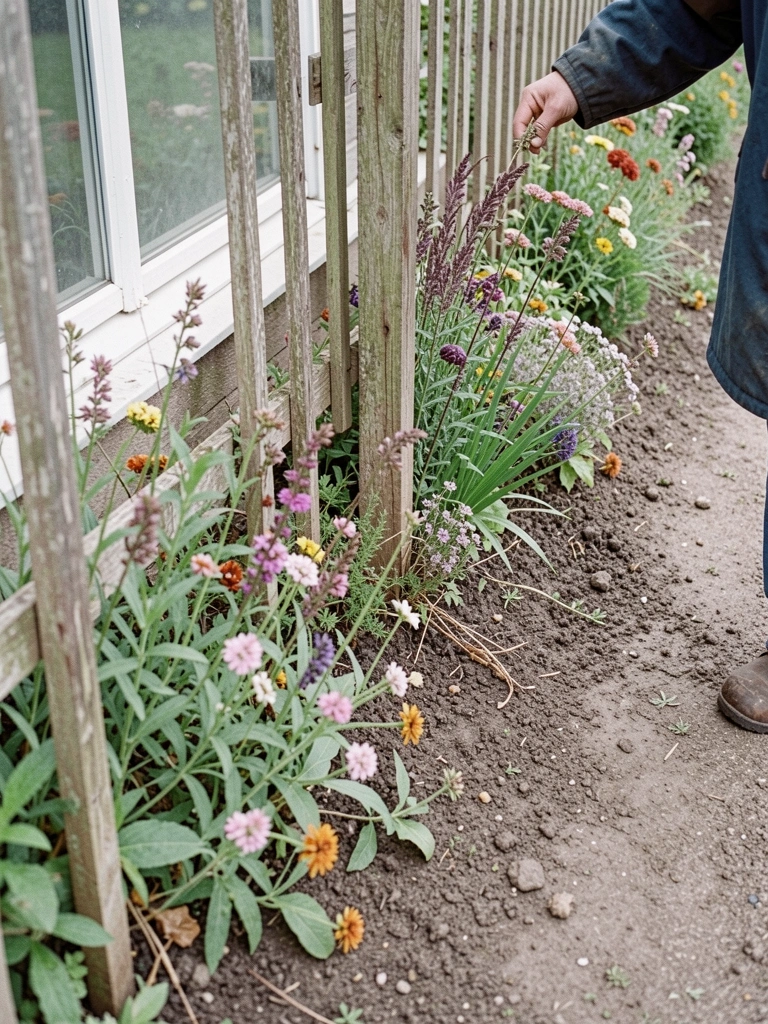
Maintenance and Seasonal Care
I check the base each season. Mulch refreshes in spring and I tidy climbers after flowering. Evergreens get a light prune in late winter to keep a neat silhouette.
A small routine keeps the fence feeling cared for. Replace any broken boards or worn trellis early. It’s less trouble than a big repair later.
Final Thoughts
Start with the sightlines and the feel you want. Small moves — a trellis, an evergreen, a gravel edge — make a big difference.
Work in stages. I usually do the structure first, then plantings, then lighting.
You don’t need perfection to get privacy that feels calm and lived-in.