How To Make Circle Flower Bed For A Beautiful Focal Point
I used to stand in the yard and not know where to look. One corner felt unfinished while the rest had rhythm. I wanted a single shape that would hold the eye without shouting.
A circle bed did that. It made the garden read as a whole. It felt calm and purposeful.
How To Make Circle Flower Bed For A Beautiful Focal Point
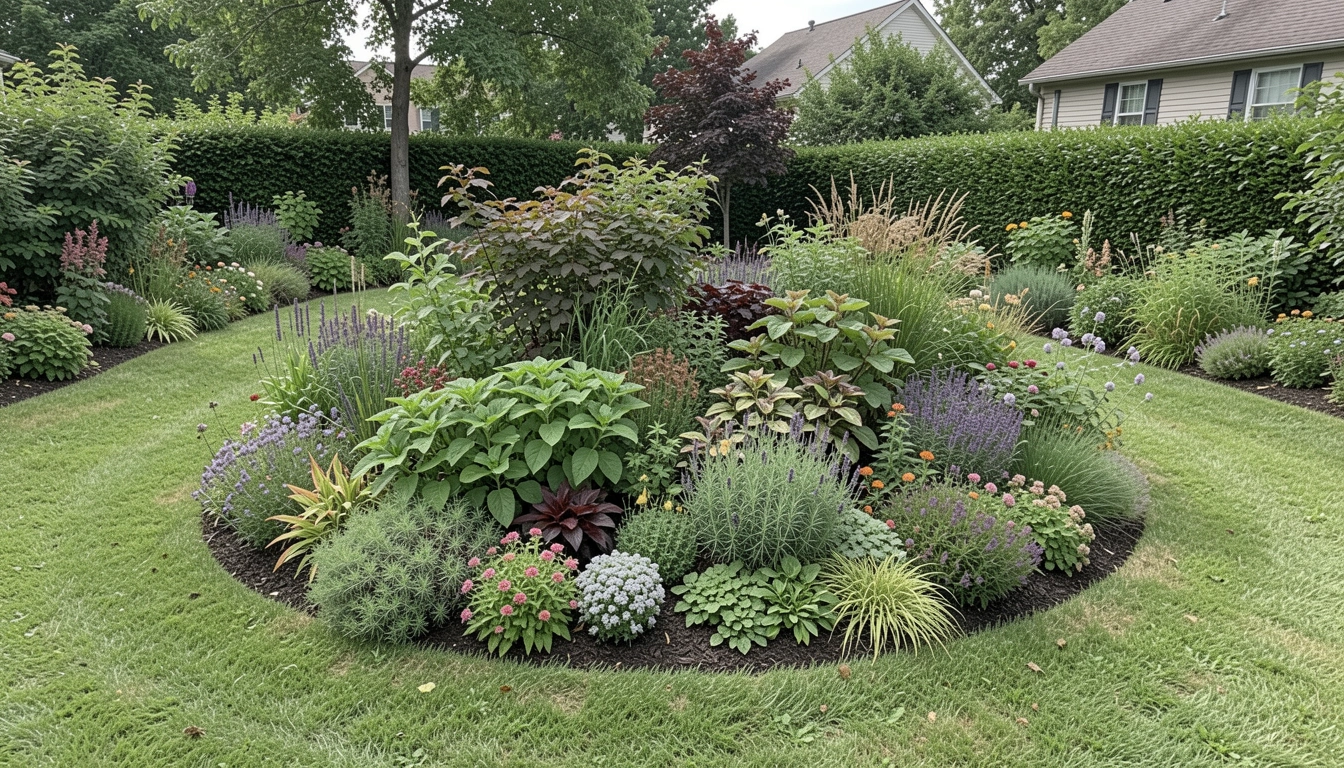
You’ll learn how to place plants and shapes so a simple circle becomes the garden’s anchor. It’s achievable and will read naturally balanced from the path and porch.
What You’ll Need
- One small focal shrub (3–4 ft, evergreen boxwood or dwarf hydrangea)
- Two mid-height perennials (18–24 in, e.g., salvia, asters)
- One clump-forming ornamental grass (24–36 in, soft texture)
- Low groundcover (6–8 in, thyme or sedum)
- Two contrasting foliage plants (dark-leaved heuchera, silver artemisia)
- One seasonal bulb pack (spring bulbs like tulips or daffodils)
- One simple round stone birdbath or flat stepping stone (natural stone)
- A low, informal accent (reclaimed wooden stump or small ceramic pot)
Step 1: Choose the Spot and Find the Right Scale
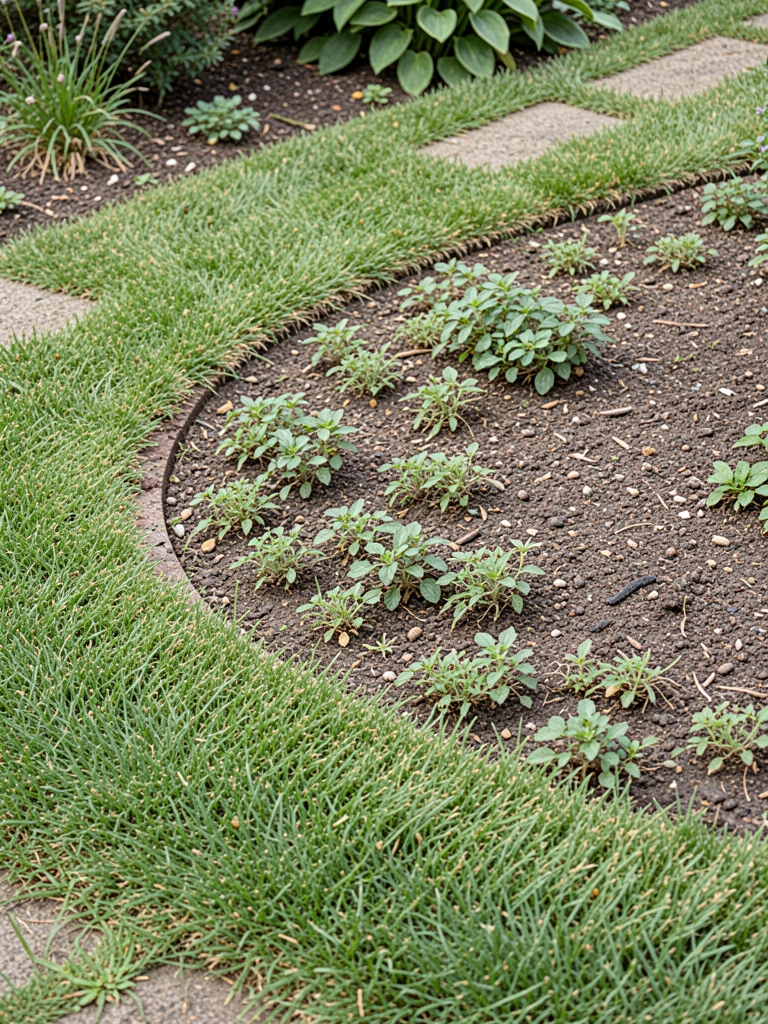
I start by standing where people already walk or look. The circle should feel like it belongs there. That makes it read as intentional instead of an afterthought.
What visually changes is the yard’s rhythm. The space that was an empty patch becomes a quiet pause. The circle gives the eye a place to rest.
One thing people miss is how nearby lines—paths, fences, the slope of the lawn—tell you the scale. A small mistake is making the circle too tiny or plonking it dead-center; it needs a little offset to breathe.
Step 2: Define the Edge and Place the Focal Plant
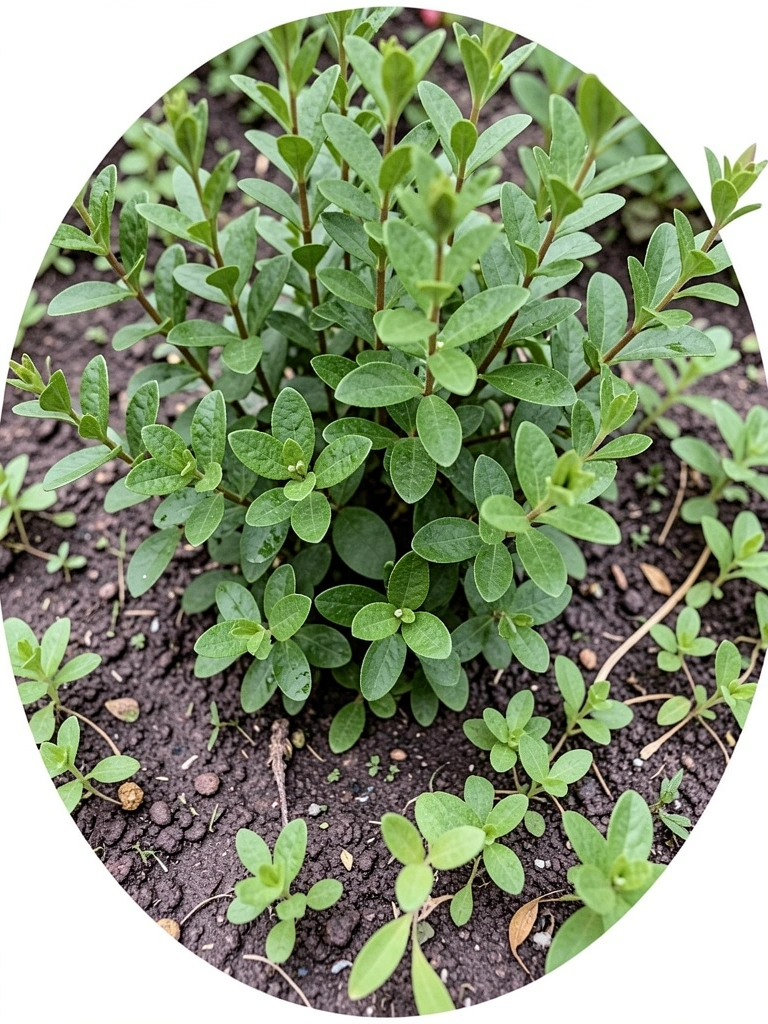
I mentally draw the edge and visualize the focal shrub at the heart. The shrub anchors the circle and gives a vertical cue for the rest of the planting.
Visually the bed shifts from amorphous to shaped. The eye immediately understands this is a deliberate feature. The focal plant becomes the “why” of the circle.
An insight I use: a slightly imperfect, hand-shaped edge looks more comfortable than a mechanically perfect ring. Avoid the mistake of placing the focal shrub too far forward; it should sit so other plants can frame it.
Step 3: Layer Heights and Group for Rhythm
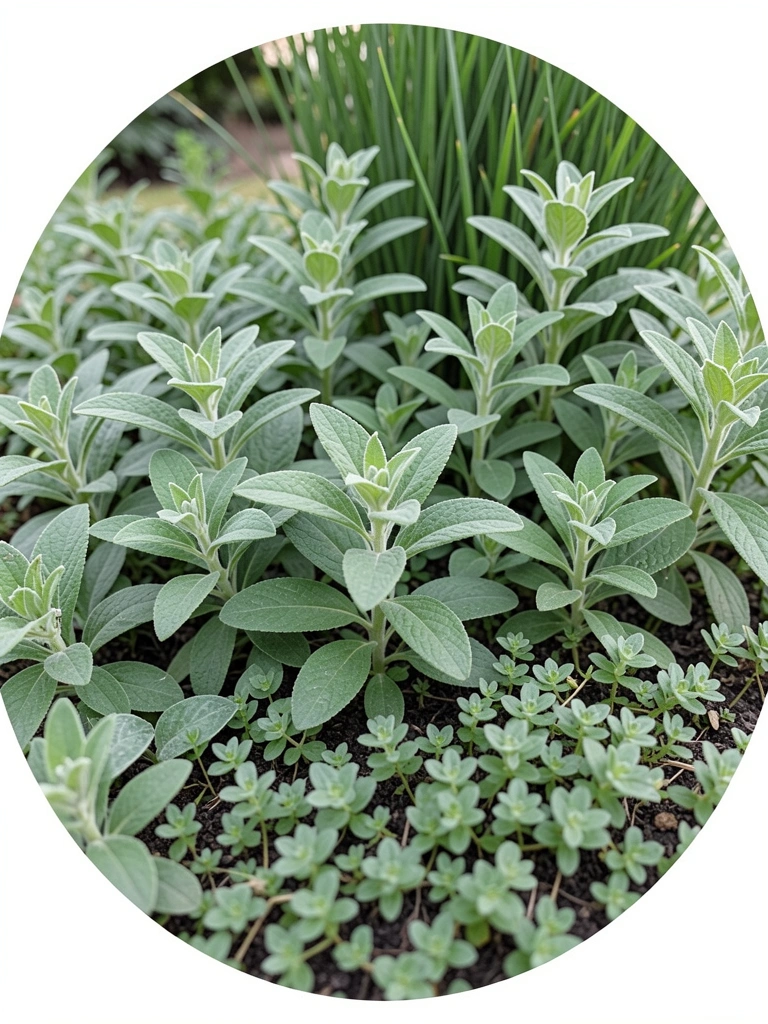
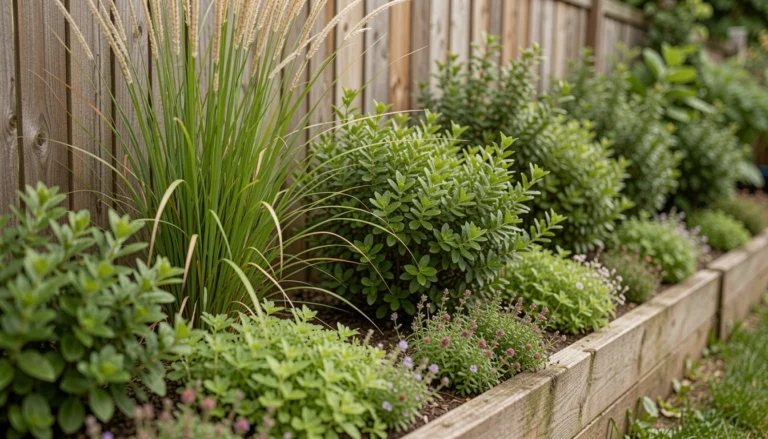
I plant in layers: low spreaders at the front, mid-height perennials behind, and the grass or shrub at the back. That gives depth and a reading order for the eye.
What changes visually is a sense of movement. The bed no longer reads flat. It has a front, middle and back that guide the gaze.
People often forget small groupings. I plant in odd numbers and small clusters to make a natural rhythm. A common mistake is scattering single plants evenly; that rhythm looks too planned and thin.
Step 4: Add Seasonal Pops and Subtle Accents
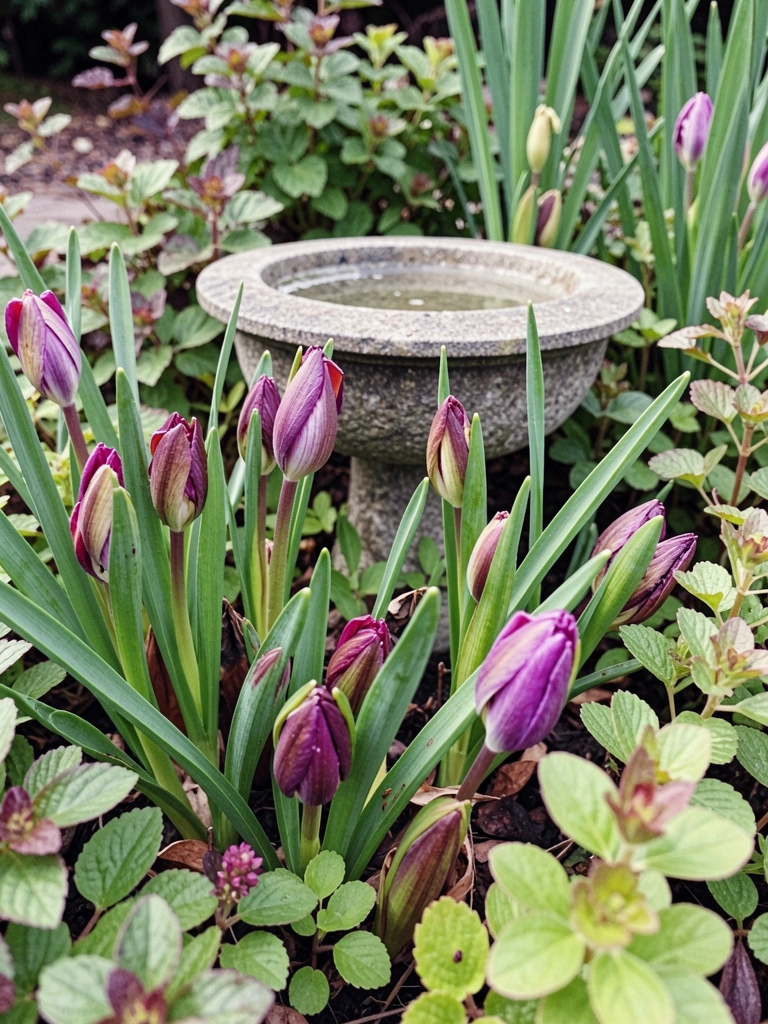
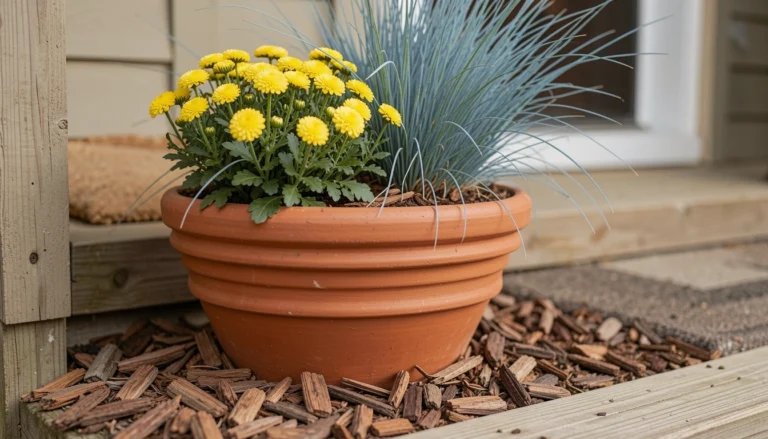
I tuck spring bulbs under perennials and place one small stone accent off-center. Those touches give seasonal surprises and a point of focus at different times of year.
Visually you get little bursts of color and a sense that the circle changes over seasons. The birdbath or stone catches light and adds a quiet pause.
One insight: bulbs look best when hidden slightly by surrounding foliage. Don’t overdo color variety; too many competing tones make the circle shout instead of whisper.
Step 5: Soften the Edge and Tie It to the Garden
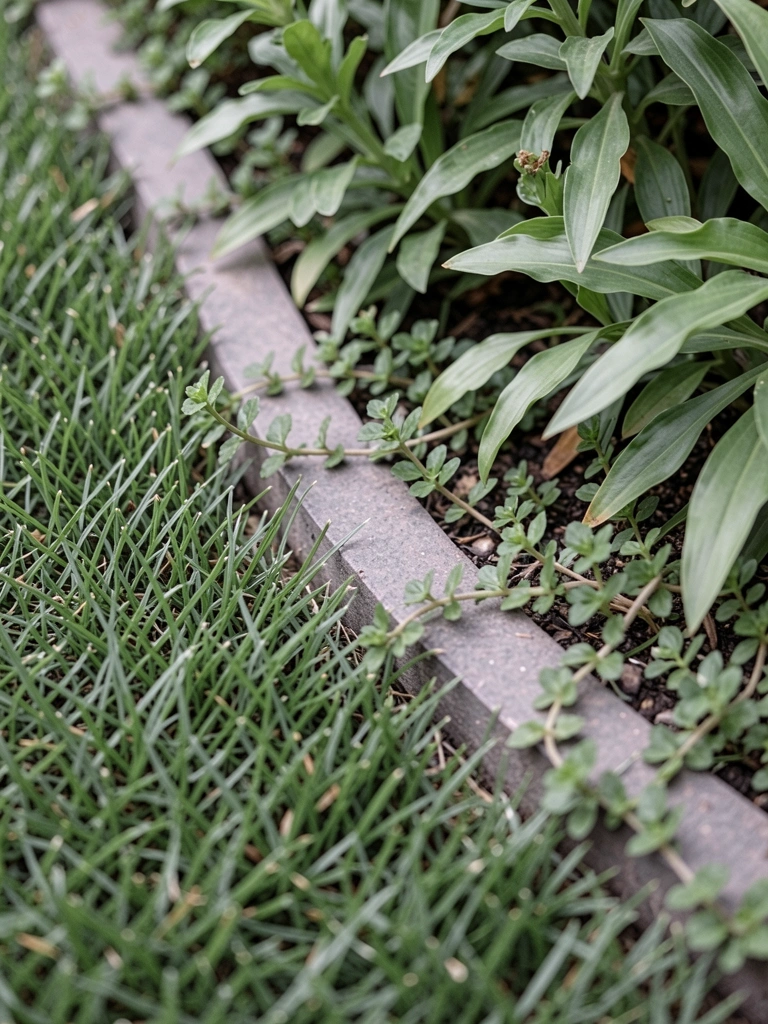
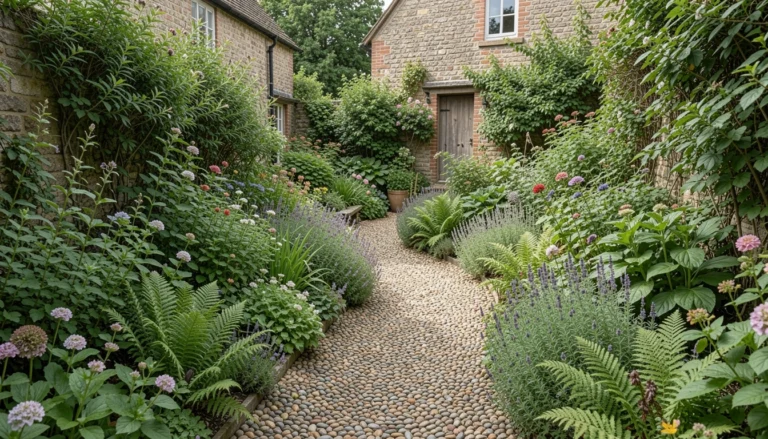
I let a few low plants spill over the edge and add a short groundcover ring. That softens the border and connects the circle to the lawn or path.
Visually the bed reads as part of the garden, not an island. The transition matters more than exact symmetry.
A common insight is to leave small gaps where the eye can move in and out. Avoid a hard, isolated edge that makes the circle feel stuck or carved out.
Plant Combinations That Work
I lean on contrast and repetition. Dark foliage next to silver leaves, upright spikes beside soft grasses, and repeated clumps of a single perennial to create beats.
Good combinations:
- Boxwood + salvia + thyme
- Dwarf hydrangea + heuchera + spring bulbs
- Miscanthus or carex + asters + low sedum
Repeat one or two plants to make the circle read as one piece. That keeps it simple and calm.
Scale and Proportion Tips
Think of the circle in relation to nearby elements. A small circle suits a porch approach; a larger one can anchor a midlawn space. Match plant height to the view: taller at the back toward the house, lower toward paths.
I often step back and adjust groups until the balance looks right. If it feels crowded, remove rather than add. Simplicity plays well.
Seasonal Care and Small Adjustments
A circle bed is forgiving. I deadhead, lift stray bulbs, and let seasonal foliage settle. In late autumn I step back and judge if shapes read clearly; that tells me what to tweak next spring.
Make small edits each season: shift one clump, lift a bulb, replace a tired yearly. Those tiny moves keep the circle fresh without redoing it.
Final Thoughts
Start small and commit to a single shape. A modest circle that sits well will hold attention more than an oversized, fussy scheme.
Trust your eye. Adjust in stages and let the bed settle into the garden’s rhythm.
When it reads balanced, you’ll find the whole yard feels more intentional.