9 Pretty Clay Flower Pot Painting Ideas For Beginners
I remember the first time I painted a clay pot and it felt like breaking the rules. Paint on raw terracotta, no perfect strokes—just trial and error.
I’ve ruined finishes and re-painted more than once. I learned to keep things simple.
These ideas are things I actually used. They’re doable, calm, and useful.
9 Pretty Clay Flower Pot Painting Ideas For Beginners
These 9 ideas are things I’ve tried in real gardens. Each one is practical, simple, and made for everyday pots. You’ll get clear steps and what to buy.
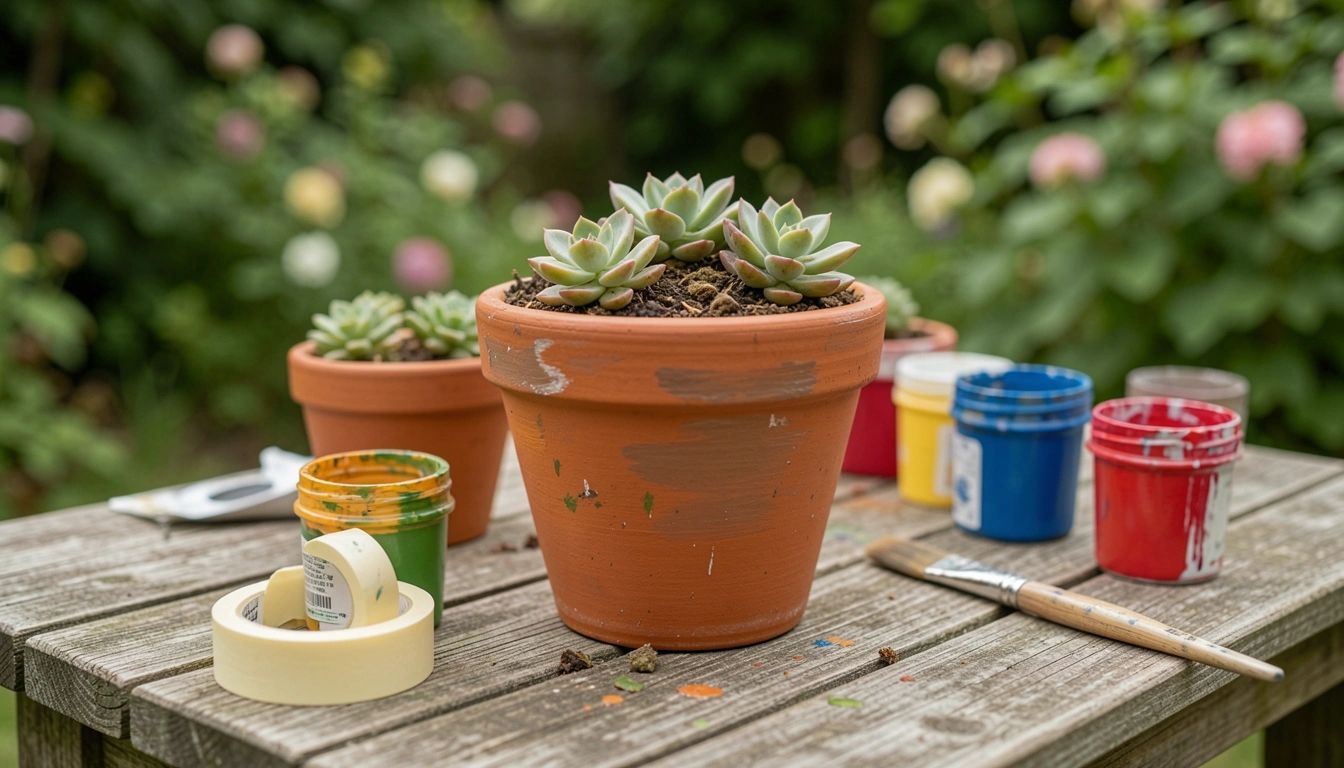
1. Ombre Dip-Dye Terracotta with Succulents
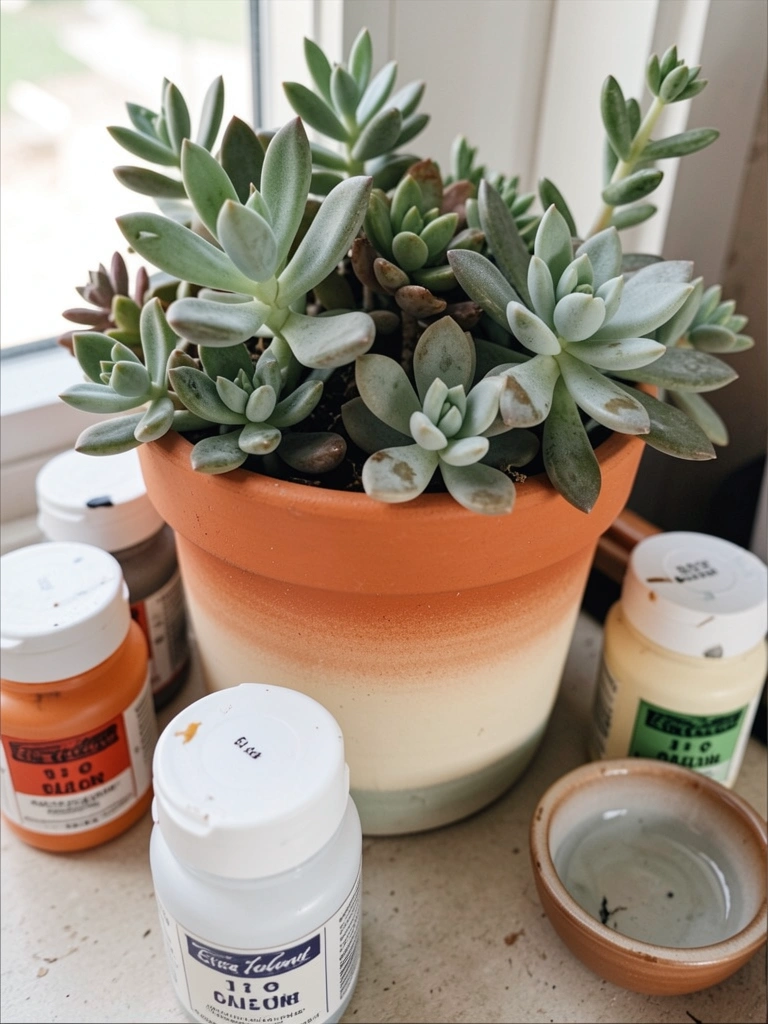
I dunked a cheap terracotta pot and watched the colour pull up unevenly. It looked odd at first. Then the gradient dried into something soft and friendly.
I use succulents because they hide imperfect paint lines and sit lightly in the pot. The ombre makes a grouping of plain pots read as intentional.
Watch paint thickness. I once used paint that was too runny and got drips. Thin, repeat dips beat one heavy coat.
What You’ll Need for This Look
- Terracotta planter (6–8 inch)
- Acrylic paint (2–3 coordinating shades)
- Disposable cup for water, foam brush or sponge
- Clear outdoor sealer, matte
2. Nature-Stamped Leaf Prints on Clay Pots
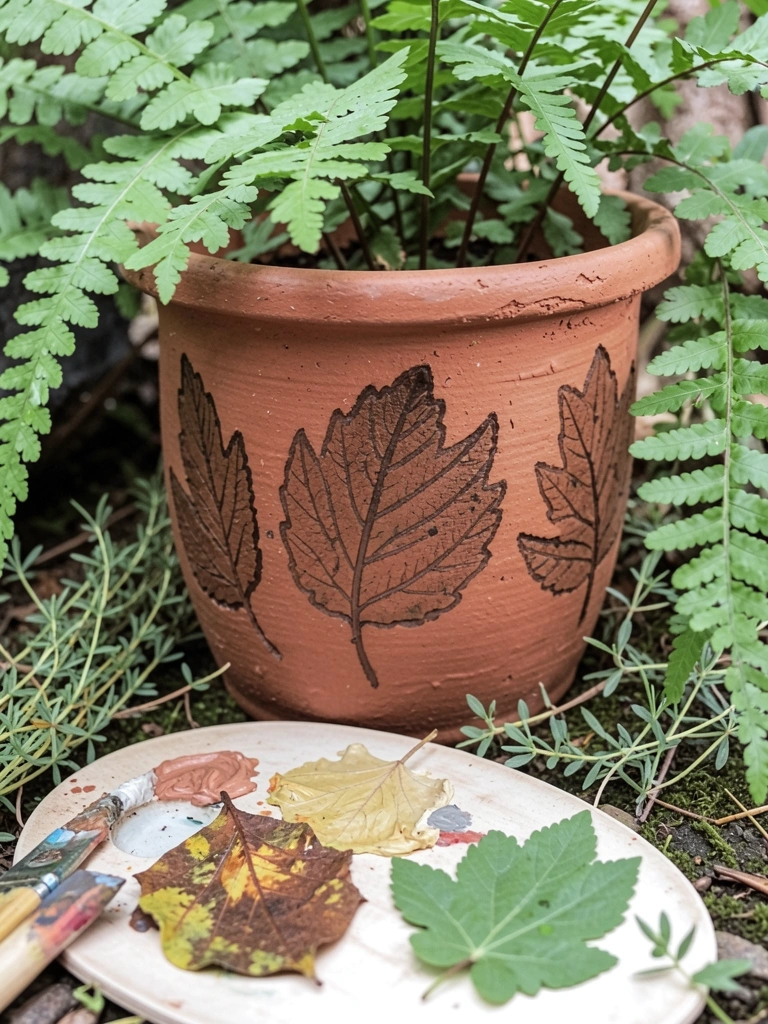
I pressed maple leaves into paint and stamped them on pots. The prints never matched—some were crisp, some ghosted. That imperfect look felt honest.
Placed on a shady table, these pots blend with the garden. I used them for parsley and mint. People always ask if the leaves are painted; that’s the charm.
My mistake was using slick leaves that slipped. Rougher leaves or pressing harder gave better prints. Seal them well or they’ll fade with watering.
What You’ll Need for This Look
- Small terracotta pot (4–6 inch)
- Acrylic craft paint in leaf tones
- Assorted leaves (firm texture)
- Clear waterproof sealer, soft cloth
3. Hand-Painted Folk Flowers for Kitchen Herbs
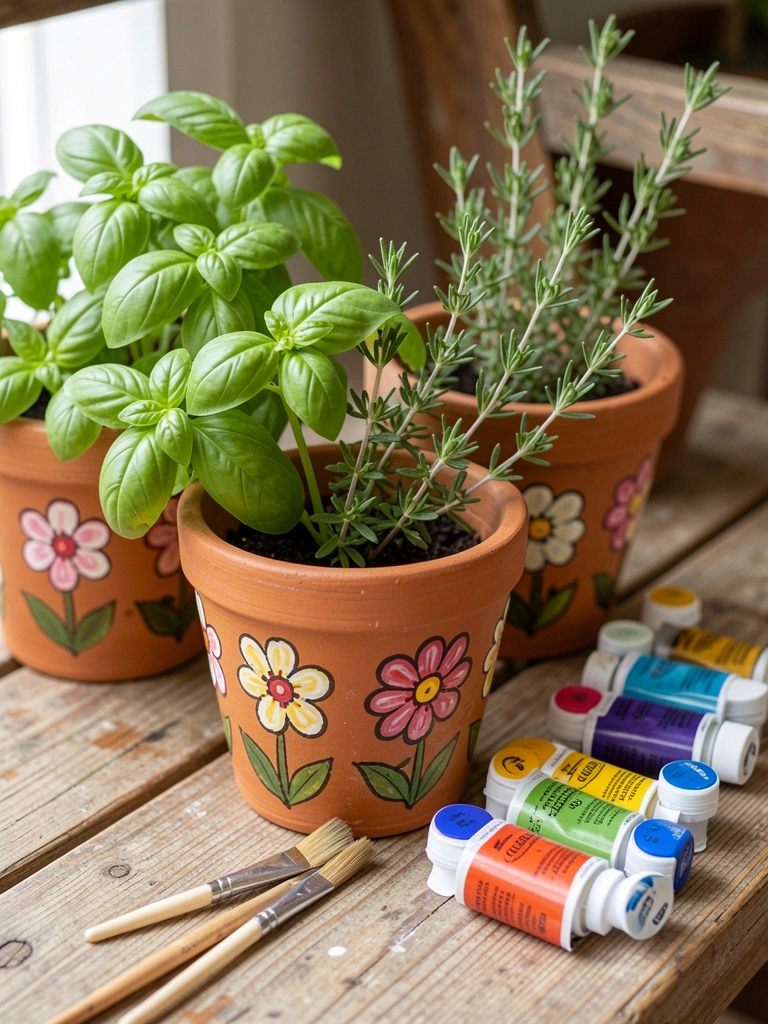
I painted little folk flowers on shallow pots for my kitchen herbs. I’m not an artist, but small, simple petals look charming up close.
These pots sit on my windowsill and make cooking feel more connected to the garden. I learned to keep motifs small so they read from a few feet away.
At first I used a huge brush. That was ugly. Switch to a fine round brush for dots and tiny petals. Light layers build depth without fuss.
What You’ll Need for This Look
- Terracotta herb pot (4–5 inch)
- Small round paintbrush set
- Acrylic paint in 3–4 bright colors
- Matte clear sealer
4. Chalk Paint, Soft Pastels, and a Weathered Porch Look
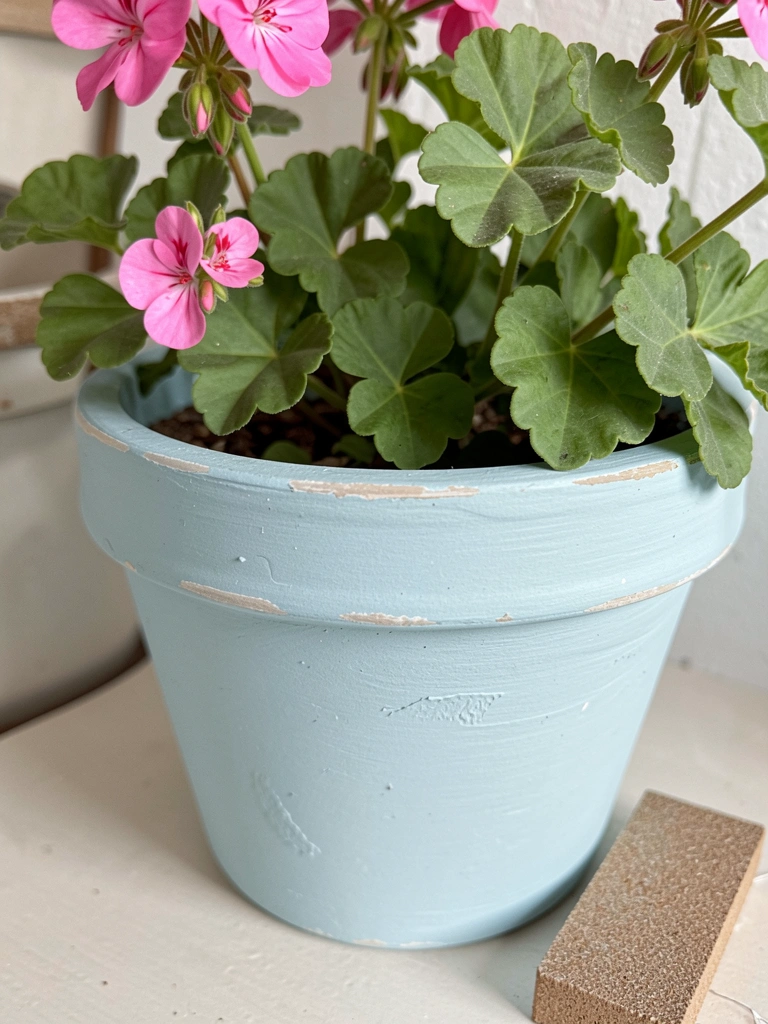
I used chalk paint for a faded, porch-ready pot. It sands back nicely where hands touch, which made my front step feel comfortable instead of new.
This look pairs with petunias or trailing geraniums. The pastel background makes blooms pop without shouting. It’s lived-in and clean.
I learned to sand between coats. Without that, the paint felt chalky and rubbed off. Two thin coats and a light sanding kept it durable.
What You’ll Need for This Look
- Terracotta planter (8–12 inch)
- Chalk paint (soft pastel shade)
- Sanding block, fine grit
- Clear wax or weatherproof sealer
5. Geometric Tape-Resist in Modern Color Blocks

I taped off triangles and painted bold blocks on a clay pot. The crisp lines made a rustic corner read modern. I used two colors and left some clay exposed for contrast.
When done in a set, the pots look intentional together on a step or shelf. I use small trailing plants so the pattern stays visible.
The trap was cheap tape that bled. Use painter’s tape, press edges, and remove it while paint is tacky for the cleanest line.
What You’ll Need for This Look
- Clay pot (6–10 inch)
- Painter’s tape (thin)
- Acrylic paint in 2 contrasting colors
- Small foam roller or brush, sealer
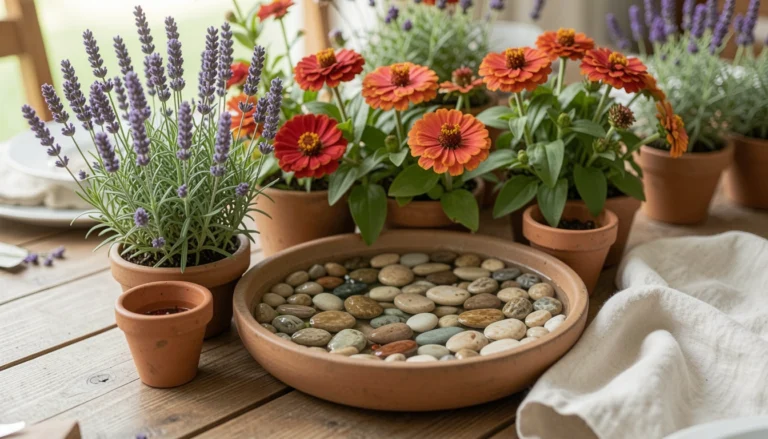
6. Whitewash and Soft Distress for Cottage Charm
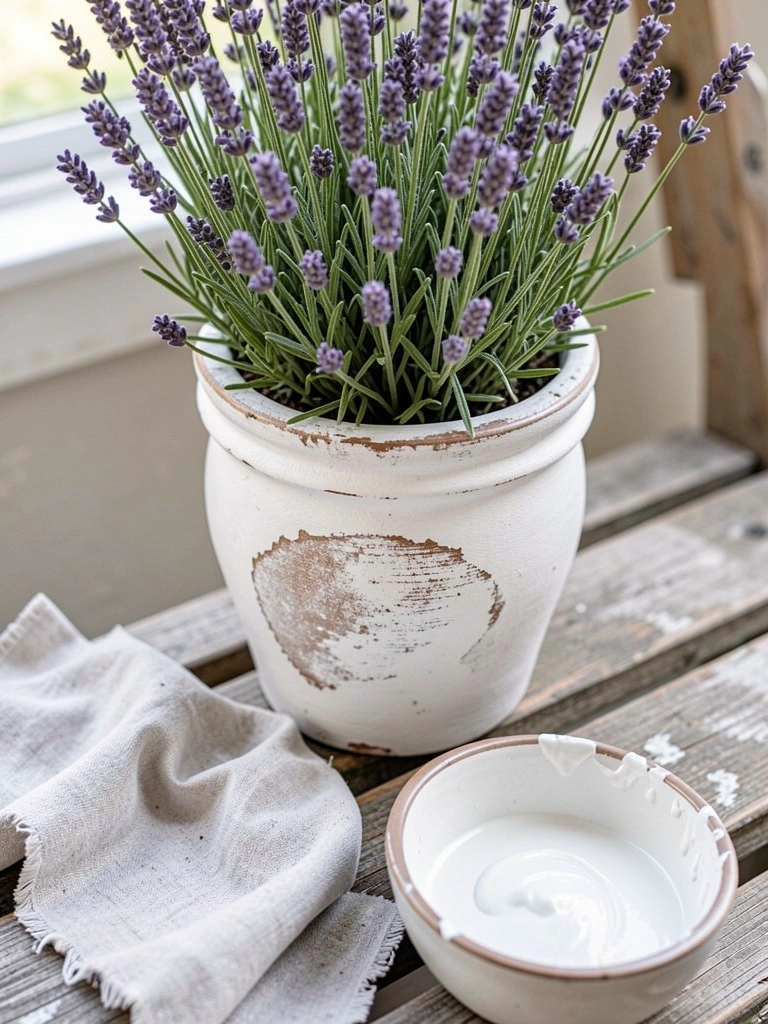
I watered down white paint and brushed it on, then wiped most away. The pot looked like it had been outside for years in a good way.
Lavender in these pots reads cozy and calm. They sit by the back door and catch the evening light like they’ve always been there.
I once used too much water and the finish looked streaky. The trick is thin paint, quick wipe, and gentle sanding on high spots.
What You’ll Need for This Look
- Terracotta pot (8–12 inch)
- White acrylic paint, water for dilution
- Clean rag, fine sandpaper
- Outdoor matte sealer
7. Stenciled Numbers for a Practical Herb Tower
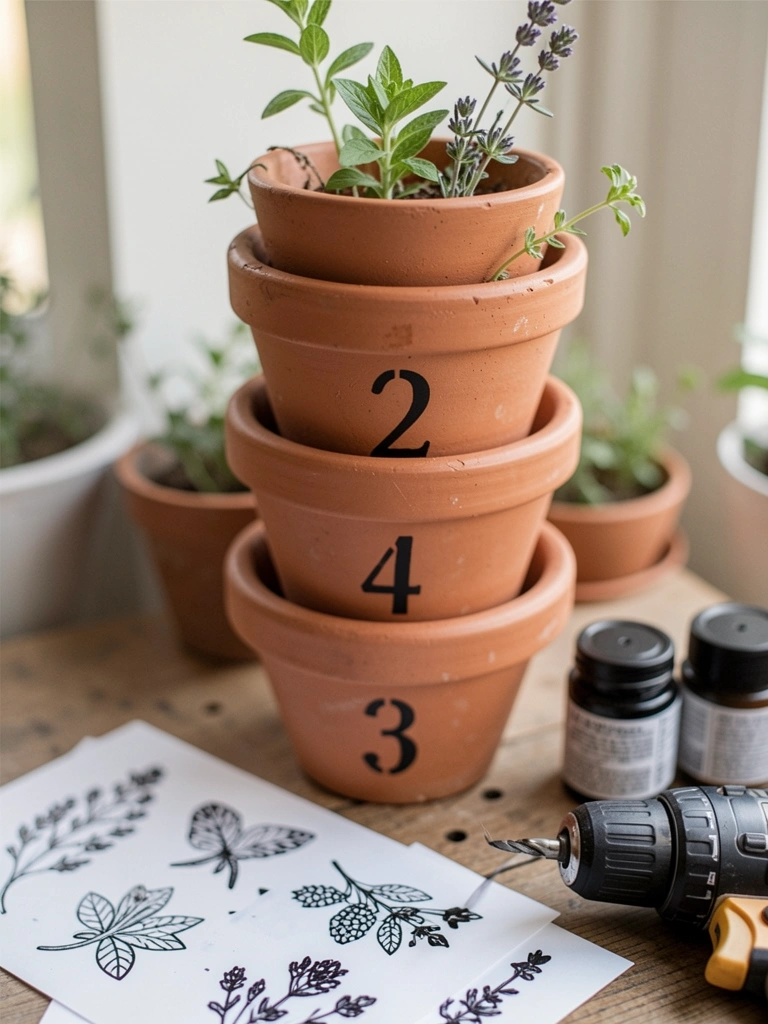
I numbered pots for my herb tower so I’d remember which plant was which. It’s basic, but it keeps the kitchen harvest organized.
I used small stencils and a sponge dab method. From a little distance, the numbers read neat and functional. Guests know where the basil hides.
My first stencil slipped and looked crooked. I learned to tack it down with a tiny drop of painter’s tape and dab, don’t brush.
What You’ll Need for This Look
- Stackable terracotta pots (3–5, varying sizes)
- Number stencil set, sponge dabbers
- Acrylic paint (contrast color)
- Clear outdoor sealer
8. Mosaic Tile Rim for Color and Texture
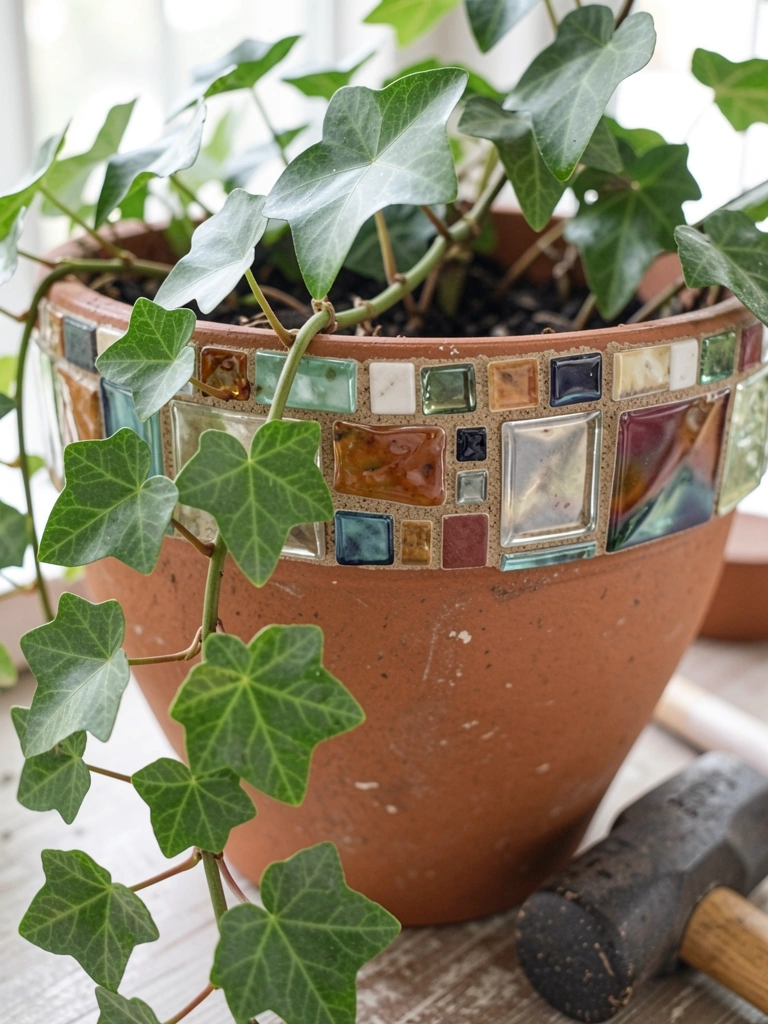
I glued tiny tiles to the pot rim and grouted them. The light catches the glass and the edge reads like a small decoration.
I use these around the patio where the detail can be seen. They add color without repainting entire pots. Trailing plants soften the hard lines.
Tiles add weight and can clog drainage if you’re not careful. I once glued heavy pieces and had a cracking pot. Stick to small mosaic bits and keep the bottom clear.
What You’ll Need for This Look
- Medium clay pot (8–12 inch)
- Small mosaic tiles or broken ceramic pieces
- Tile adhesive, grout, sponge
- Sealant for grout, light plants
9. Metallic Rim and Handle Accents for a Little Shine
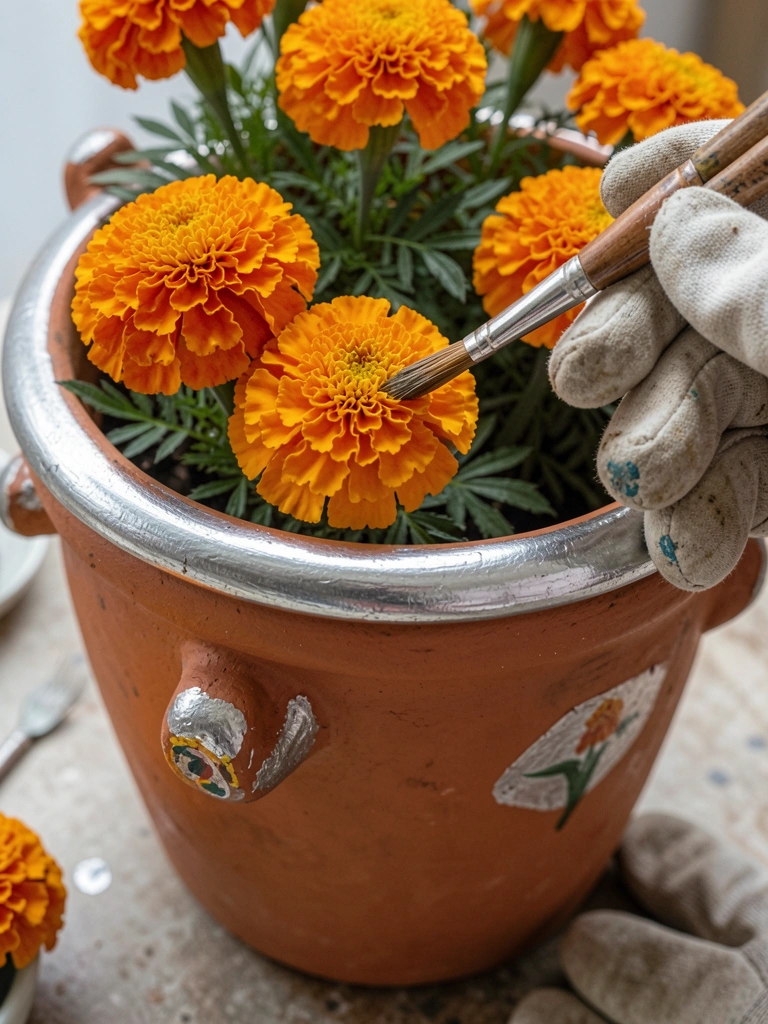
I painted the rim and faux handles with metallic paint to make plain pots look finished. It’s subtle but the light picks it up nicely.
I place these in a sunny corner where the metal catches a morning glint. Marigolds or zinnias look lifted against the shine.
I once sprayed metallic too close and it blistered. Now I use a small brush and thin coats. A little metallic goes a long way.
What You’ll Need for This Look
- Clay planter (6–10 inch)
- Metallic acrylic or spray paint (bronze, gold)
- Fine detail brush, painter’s tape
- Outdoor protective clear coat
Final Thoughts
You don’t have to do all nine. Pick one that feels simple and start there.
Painting pots changed how I see small things in the garden. It’s low-stress and oddly satisfying.
Start with cheap pots and build from what lasts. You’ll know what you actually use.