How To Create Beautiful Flower Pot Gifts For Mother’s Day
I always freeze when Mother's Day nears and my gifts look last-minute.
I want something personal that feels like time spent, not store-bought.
I started making flower pot gifts that look considered but are simple to put together.
They finish a table, cheer a doorstep, and feel like they came from my garden.
How To Create Beautiful Flower Pot Gifts For Mother's Day
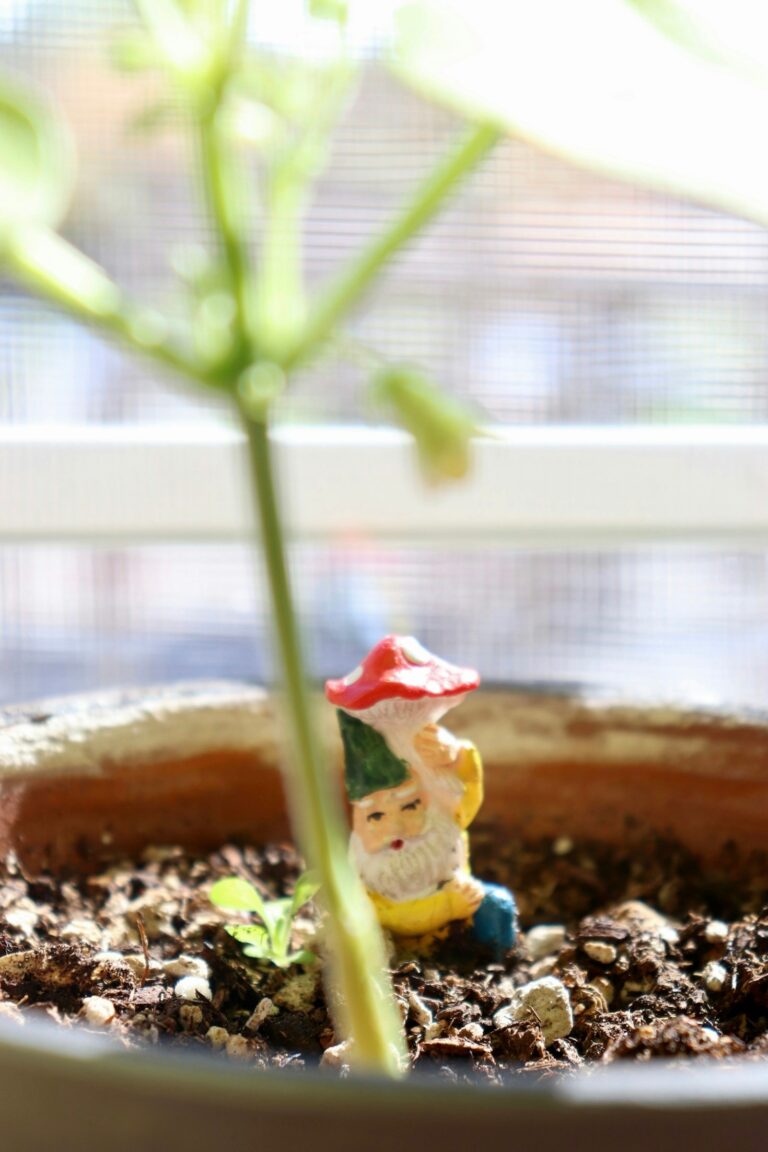
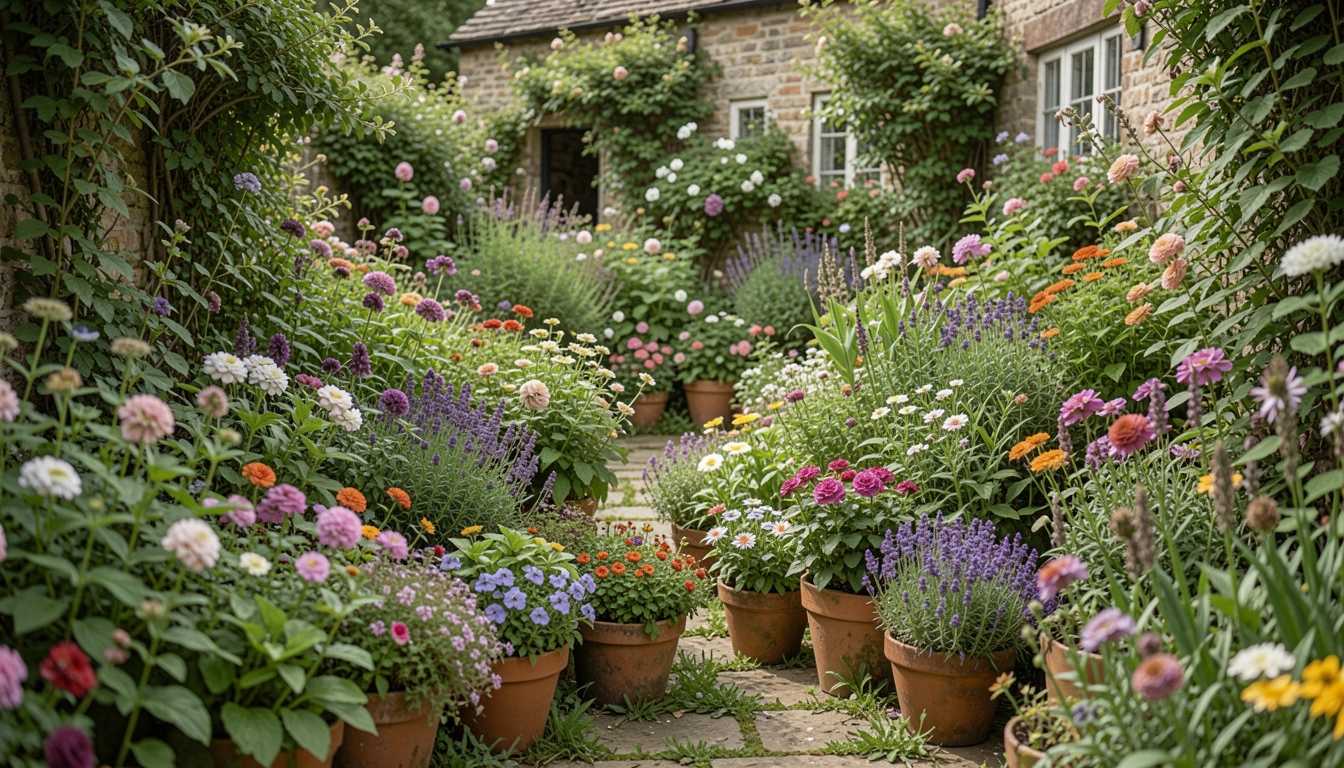
This shows how I make a balanced, lived-in flower pot gift for mother's day that looks like it belongs on a porch or kitchen windowsill.
What You’ll Need
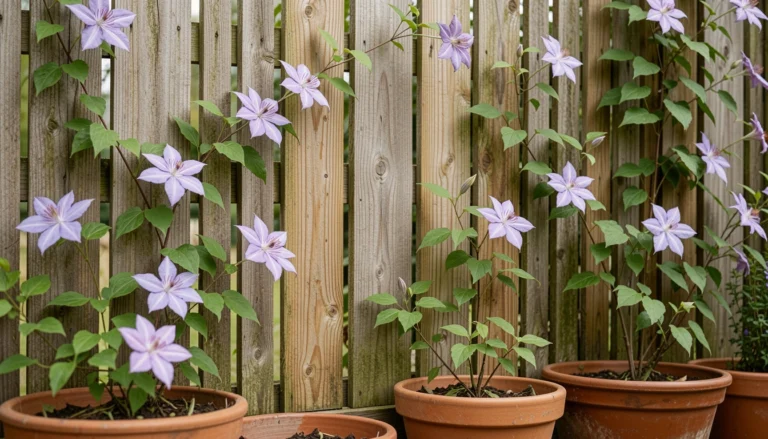
- 6–8" terracotta or glazed ceramic pot (neutral color)
- One compact focal plant (scented pelargonium or dwarf rose)
- One trailing plant (lobelia, ivy, or bacopa)
- One low mound-forming filler (viola, alyssum, or sedum)
- A small evergreen or textured foliage (heuchera or dusty miller)
- A sheet of preserved moss or natural coir
- A simple kraft gift tag and twine
- A small handwritten care note on recycled paper
Step 1: Choose the pot that sets the tone
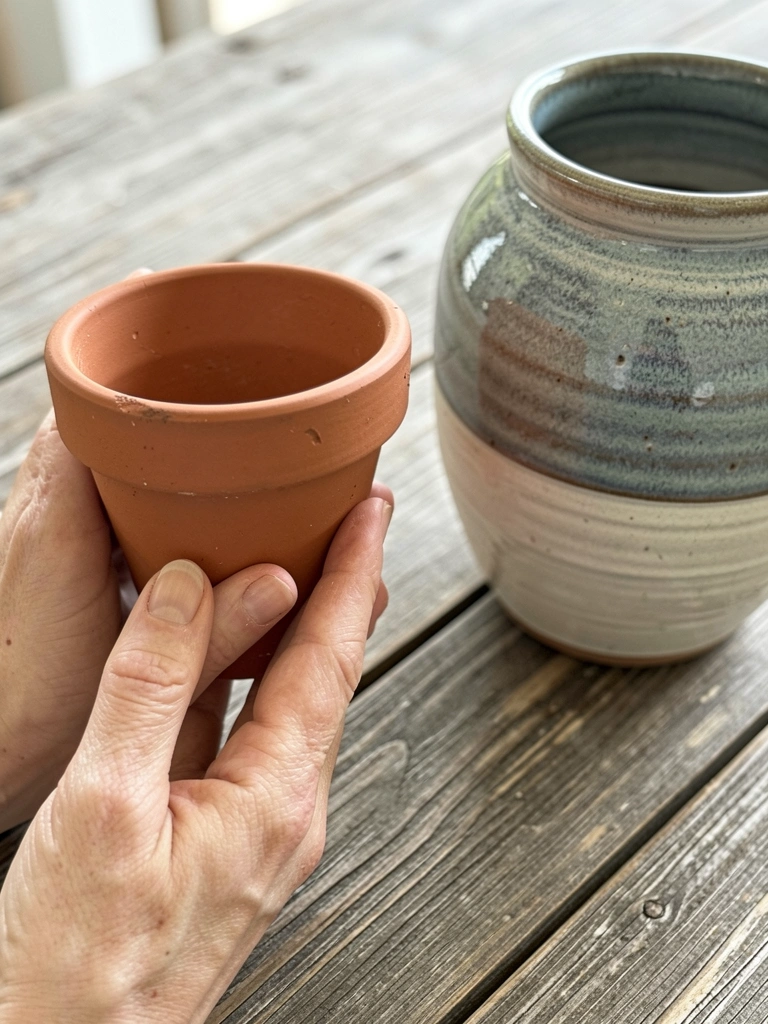
I pick the pot first because it tells the whole story. I want the color, texture, and size to match the recipient’s style. A simple terracotta reads cozy and lived-in. A glazed pot reads a bit cleaner and brighter.
Visually, the pot becomes the stage. It dictates plant scale and color choices. People often miss that the pot’s finish speaks more loudly than the plants at first glance. A common mistake is choosing a pot that’s too large — it swallows small plants and makes the arrangement look sparse.
Step 2: Pick a clear focal plant with character
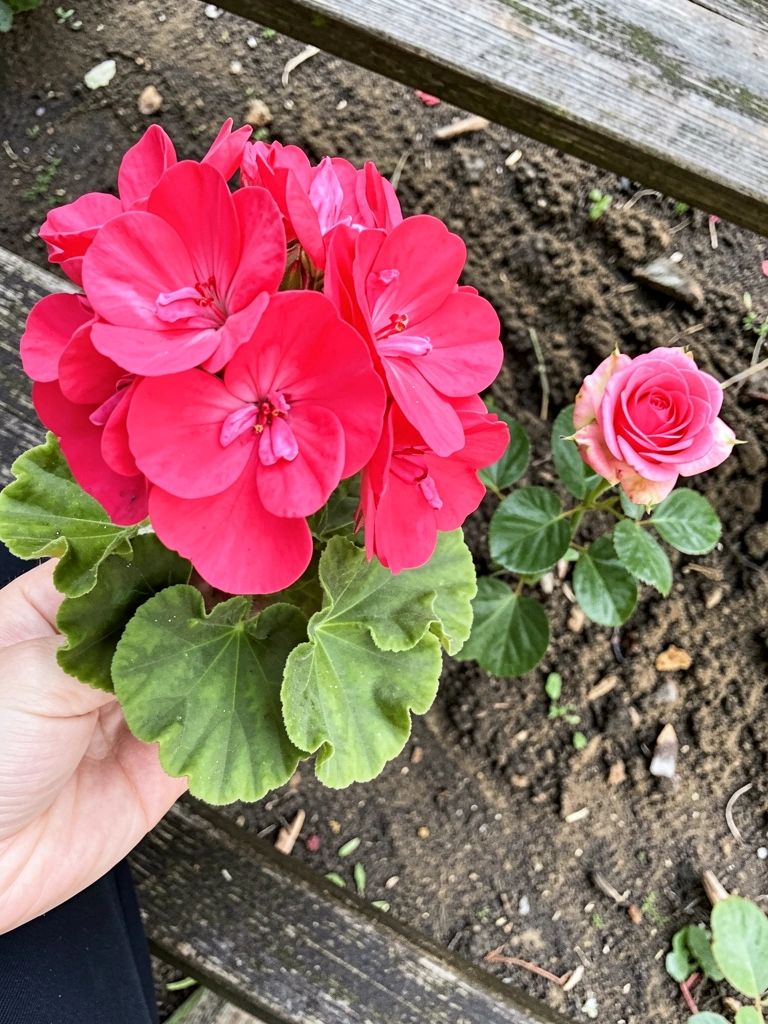
I choose one plant that will be the star. For me that’s usually a scented pelargonium or a small flowering shrub. The focal plant gives the gift personality and a center to orient everything else around.
What changes visually is an instant anchor. The eye rests on the focal plant before exploring the rest. Many people try to use three focal plants and end up with confusion. Avoid crowding the centerpiece — let it have space to be appreciated.
Step 3: Add complementary fillers and a trailing edge
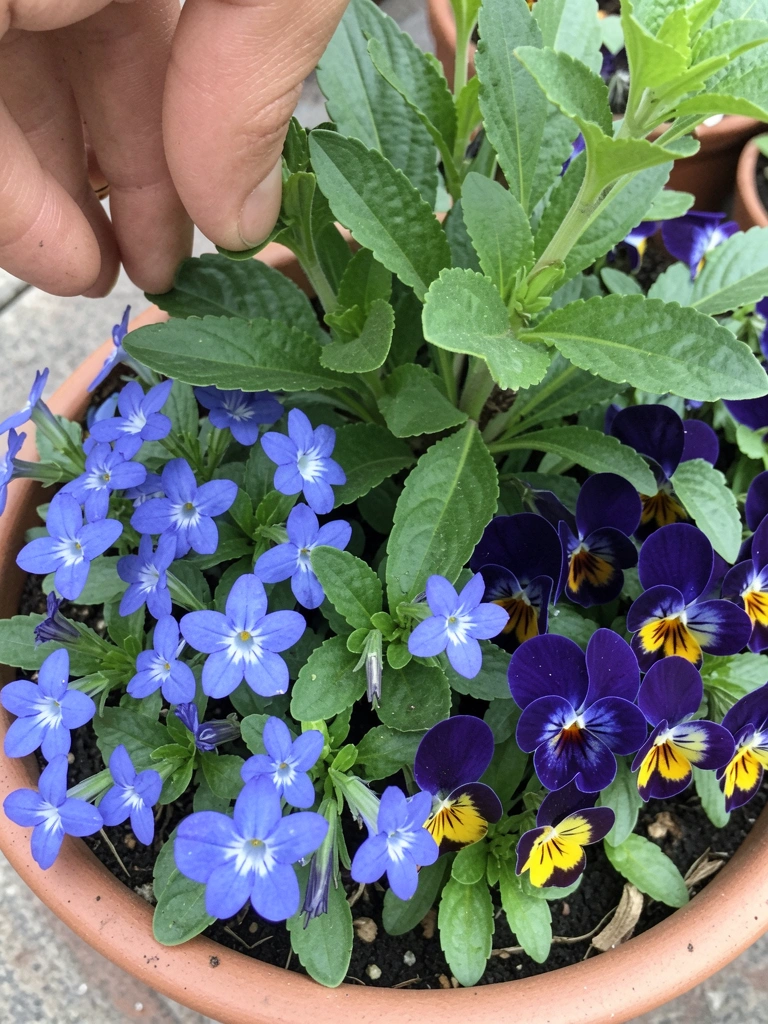
I tuck 2–3 supporting plants around the focal to create layers. I choose contrasting textures — a fine trailing lobelia, a soft mound of violas, and a sculptural foliage like dusty miller. The mix softens the pot and feels rich without being busy.
The visual shift is from single-object to a small ecosystem. The trick many miss is matching scale — tiny fillers next to a huge focal look awkward. One mistake is stuffing every gap; instead, leave breathing room so each plant can show its shape.
Step 4: Edit, face, and add a simple finish
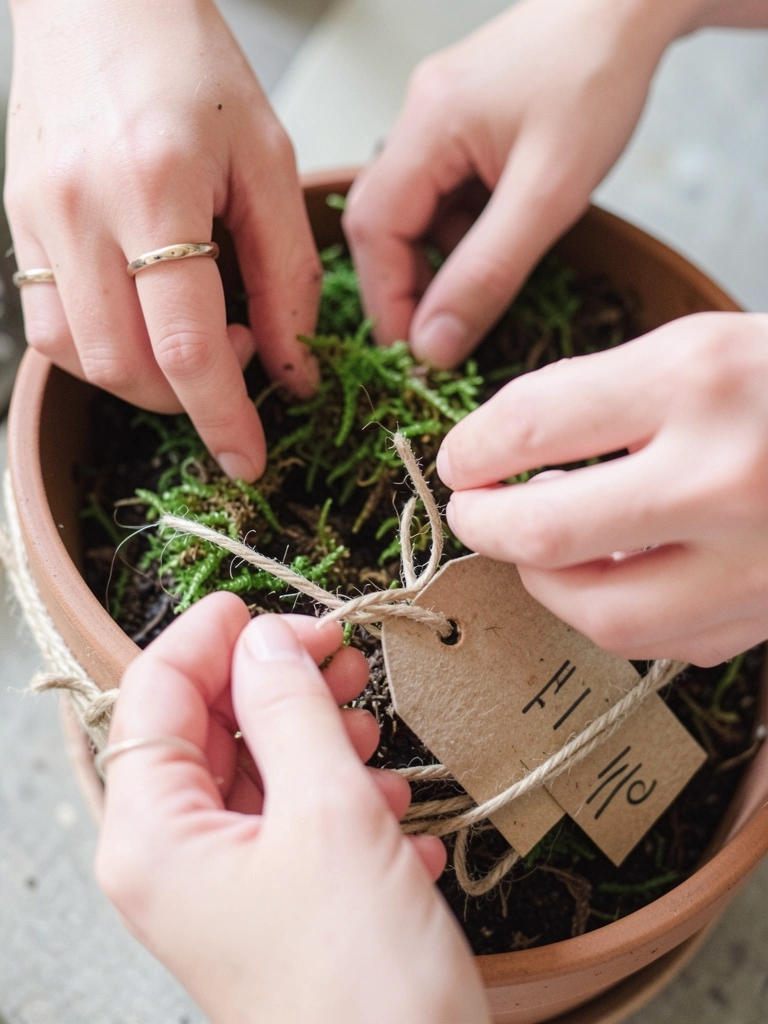
I step back and edit. I rotate the pot to its best face. I remove any floppy or competing stems. Then I add a thin layer of preserved moss and a tied kraft tag for warmth. These small touches make the pot feel finished.
Visually, the piece looks intentional and neat. People often forget to “face” the arrangement toward the recipient’s view. A small mistake is over-decorating—too much ribbon or a big bow steals attention from the plants. Keep accents simple and in scale.
Step 5: Present with placement and a tiny care note
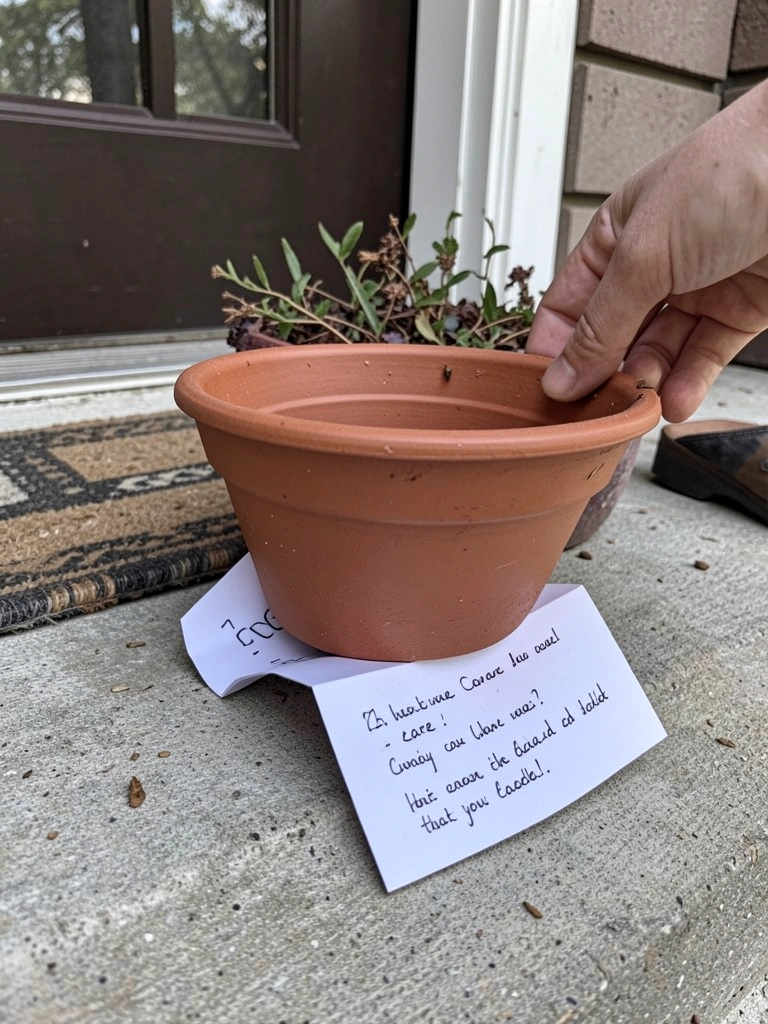
I decide how the pot will be received. If it’s for a doorstep, I choose a pot that stands proud. If it’s for a kitchen windowsill, I keep it low and bright. I tuck a short care note beneath the pot with watering frequency and light needs.
The final visual feels ready to live with the recipient. One insight people miss is presentation — a pot on a plain box looks deliberate; a pot stuck in plastic does not. Avoid wrapping it so tightly the plant can’t breathe or see its best side.
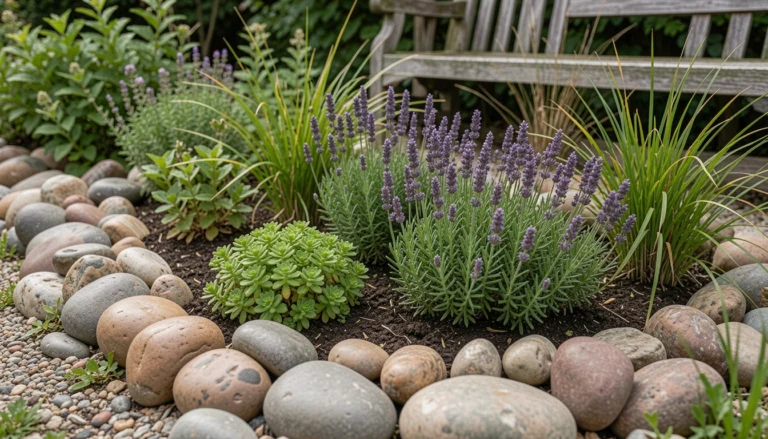
Color and Texture Choices
I think of color as mood and texture as contrast. Bright blooms read cheerful. Silver foliage reads calm. I usually pick one bloom color, one foliage tone, and one trailing accent.
Quick tips:
- Limit to three dominant colors.
- Use one silver or chartreuse leaf for contrast.
- Let one texture repeat for cohesion.
Sizing and Longevity
I pick plant sizes so the arrangement will look good for weeks. A compact focal and steady fillers keep form as they grow. I avoid very fast-spreading plants unless the recipient gardens often.
Consider:
- Small pots for short-lived, high-impact blooms.
- Slightly larger pots if you want the gift to last through a season.
Simple Care Notes to Include
I write a two-line note: light preference and watering rhythm. It’s enough to prevent early stress and keeps the pot in its best condition.
Examples I use:
- “Bright morning sun, water when top inch is dry.”
- “Partial shade, keep evenly moist on warm days.”
Final Thoughts
Start with one pot. It’s less pressure and more satisfying.
I remind myself that small, thoughtful choices beat perfection.
A flower pot gift for mother's day can be cozy, balanced, and easy to care for.
Give it, watch it settle, and enjoy the small ripple of pleasure it creates.