How to Build a Stone Path
I used to walk around my yard avoiding mud and trampled beds.
A stone path fixed that and calmed the whole space.
It took ruined deliveries, wrong stones and a lot of learning.
Now paths feel like the garden’s backbone, not a project I dread.
How to Build a Stone Path
These 12 ideas are hands-on ways I built real stone paths in small and messy gardens.
I’ll show what worked, what I ruined, and what I’d buy again.
Expect practical notes and clear lists for each look.
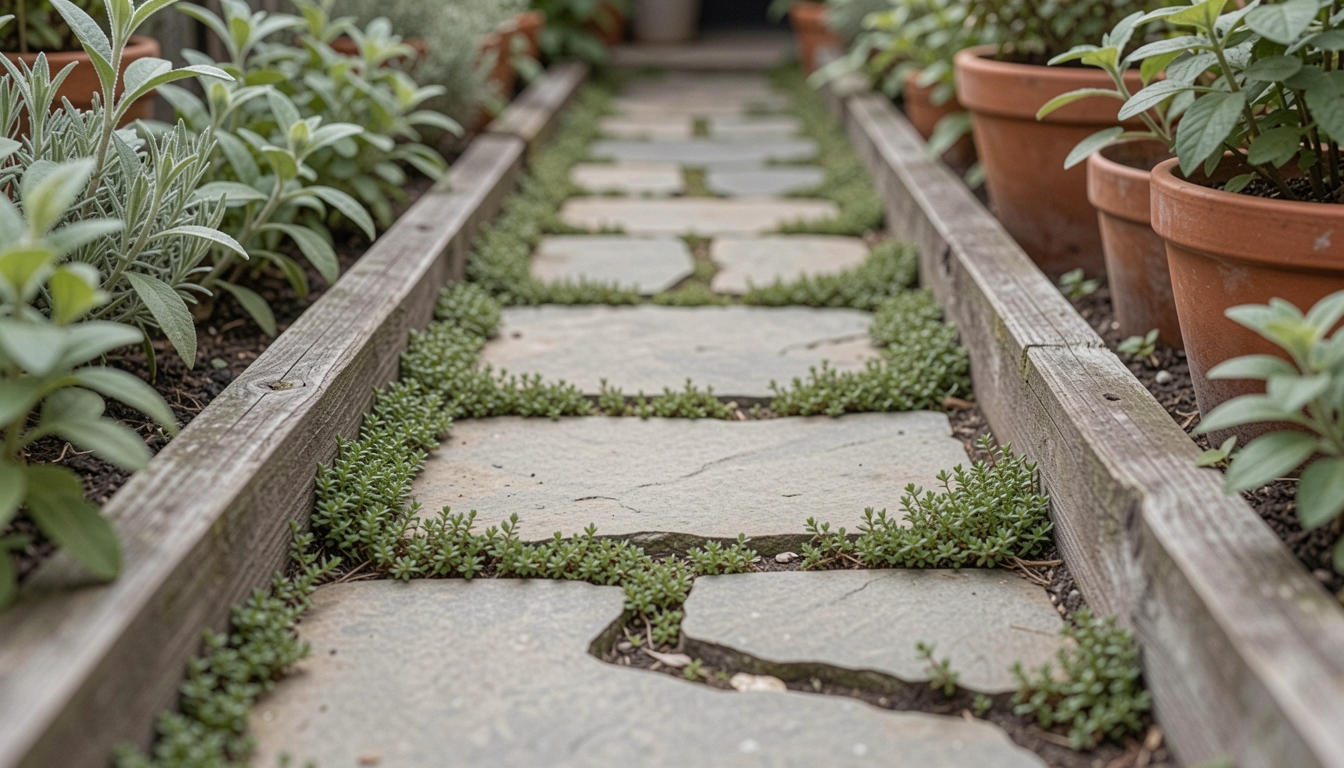
1. Irregular Flagstone Stepping with Groundcover Infill
I set uneven flagstones in my front yard and let thyme creep between them.
It felt raw at first, but the gaps softened the hard edges.
I admit I placed stones too far apart at the start—tripped twice—so I tightened spacing the second day.
Visually, the path reads as a ribbon through the beds.
Tip: pick stones with one relatively flat face so they don’t wobble when you step.
What You’ll Need for This Look
- Irregular flagstones (1–2 inch thickness)
- Creeping thyme or Irish moss
- Coarse sand for leveling
- Garden fork and rubber mallet
2. Pebble-Filled Stepping Stones for a Cottage Feel
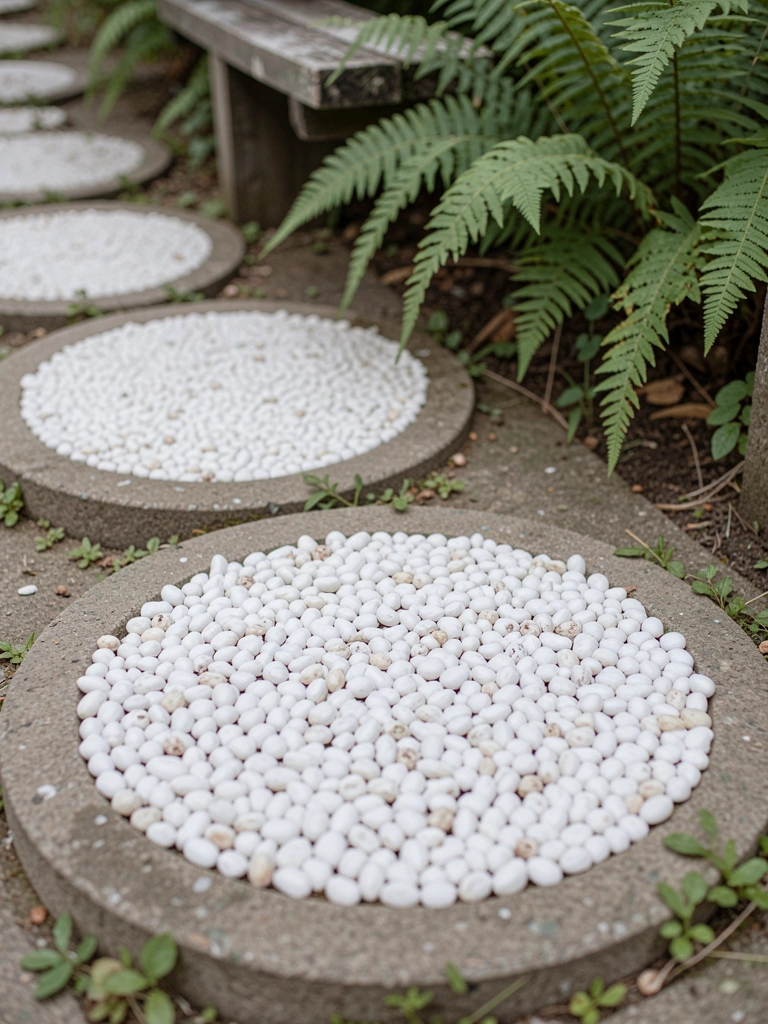
I mixed purchased stepping pads with pea gravel and loved the texture underfoot.
The pebbles hide wheelbarrow tracks and dry quickly after rain.
My mistake was skipping a compacted base; after a season some pads tilted.
I dug out, added crushed stone and re-set them—night and day difference.
This look reads cozy and informal, great beside vegetable beds or a small patio.
What You’ll Need for This Look
- Concrete stepping pads (16–20 inch)
- Pea gravel (3/8 inch, white or gray)
- Crushed stone base mix
- Hand tamper and level
3. Dry-Laid Flagstone Path with Sand Joints
I built a dry-laid flagstone route to my shed and learned to love its informal gaps.
I used coarse sand between stones and the path settled naturally.
I did underestimate how frost would heave one slab—next winter I added gravel under the sand for drainage.
It looks natural and is easy to tweak when plants grow over the edges.
If you want movement, choose mixed shapes and resist the urge to make it perfectly straight.
What You’ll Need for This Look
- Flagstones (1–2 inch)
- Coarse sand and gravel mix
- Plate compactor or tamper
- Spade and gloves
4. Reclaimed Brick Path with Chamomile Edging
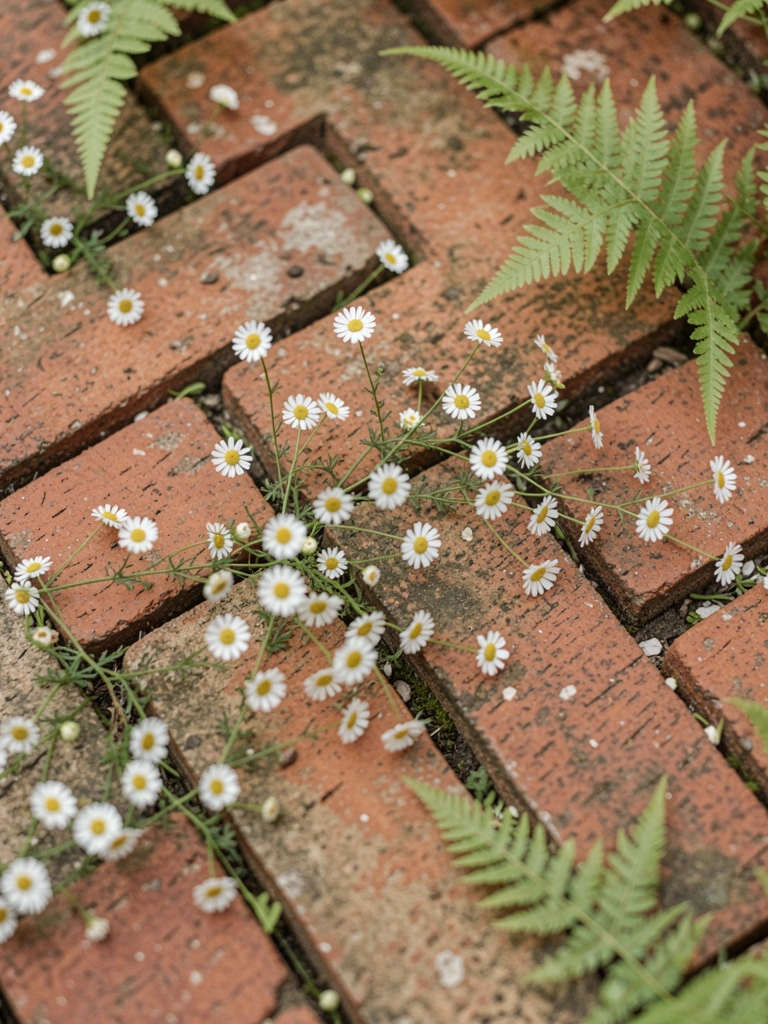
I salvaged bricks from an old patio and laid them in herringbone.
The mismatched color and chips gave the path personality.
I made the rookie error of not cutting bricks for corners—created a sloppy edge—so I learned to use a diamond blade saw.
Chamomile in the joints made the path smell nice in summer and softened the hard lines.
Bricks feel warm underfoot and age beautifully.
What You’ll Need for This Look
- Reclaimed bricks (herringbone-friendly)
- Narrow joint soil or sand
- Diamond blade brick saw or chisel
- Chamomile or creeping thyme plants
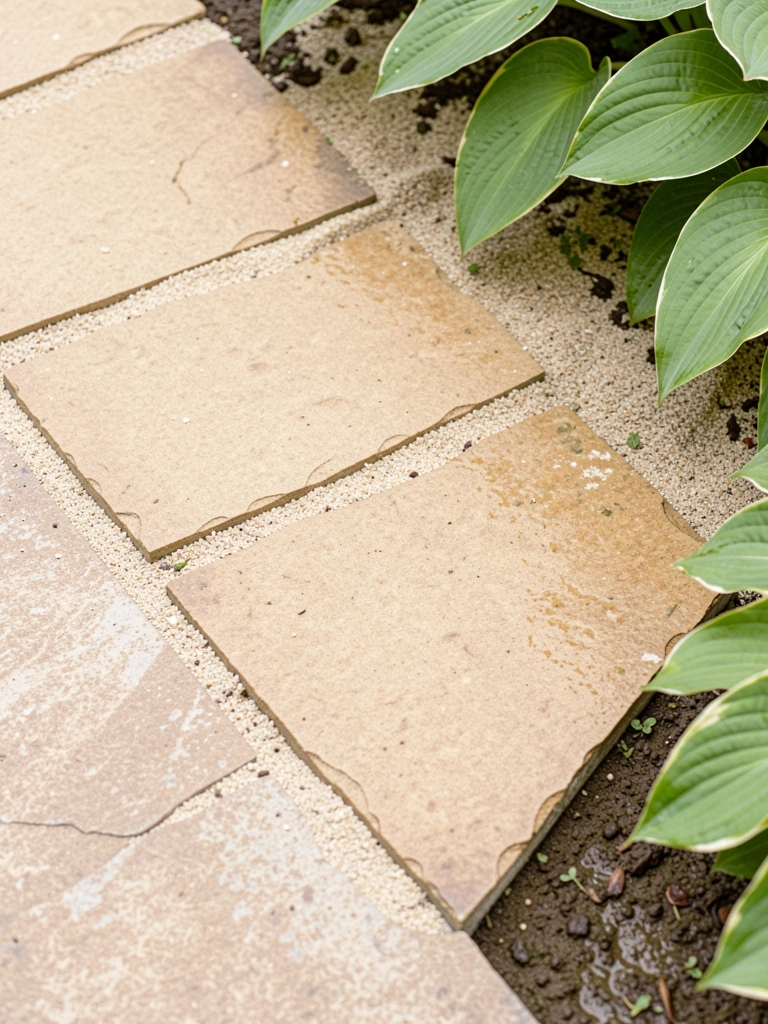
5. Low-Profile Bluestone Walkway for a Clean Entrance
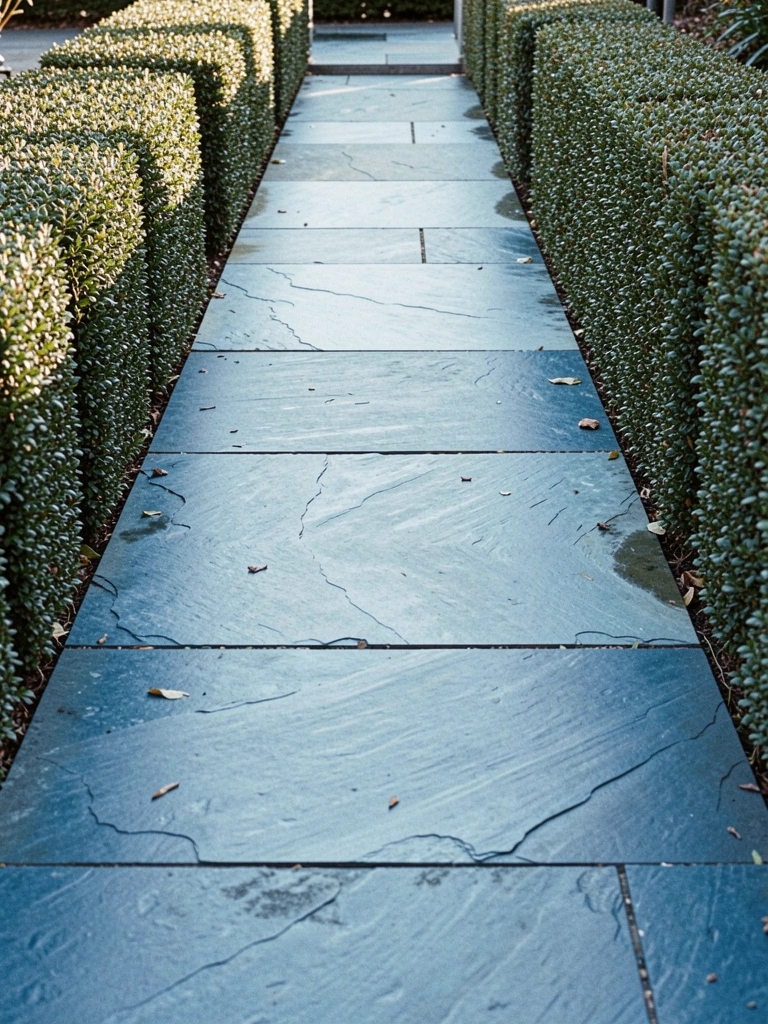
I used bluestone for a tidy front approach.
The slabs look modern and read clean against clipped boxwood.
At first I set them too proud of the lawn and lawnmower nipped edges; I re-set them flush for a simpler cut-and-mow.
Bluestone needs a solid compacted base but then requires little maintenance.
This is my go-to when I want a neat, calm entry without fuss.
What You’ll Need for This Look
- Bluestone slabs (2–3 inch)
- Crushed stone base (3/4 inch)
- Plate compactor
- Low boxwood or dwarf yew for edging
6. River Rock Dry Stream Bed as a Rustic Connector
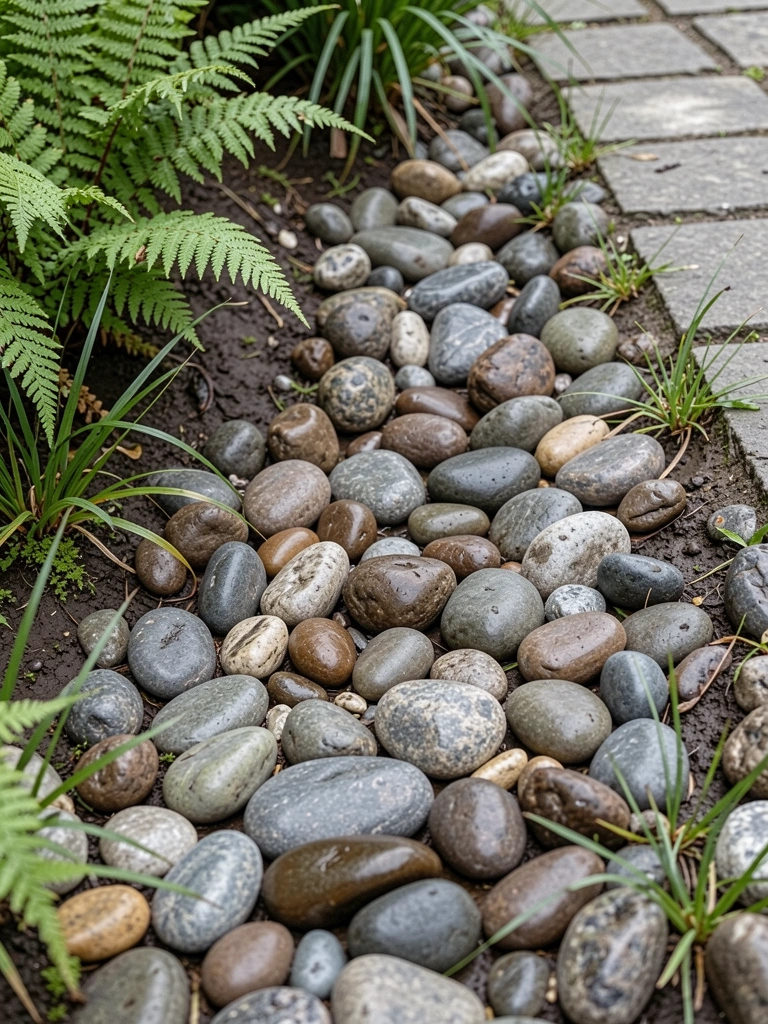
I carved a dry stream to guide rainwater and footsteps.
River rock looks natural and helps drainage where the ground puddled.
My early attempt had too-small stones that washed out—lesson learned: size matters.
Now I use a mix of cobble and pea gravel and anchor edges with larger rocks.
It reads rustic and ties together wetter parts of the yard.
What You’ll Need for This Look
- River rock (2–6 inch mix)
- Pea gravel for filler
- Landscape fabric
- Shovel and edging stones
7. Mixed-Material Path: Stone with Wooden Planks
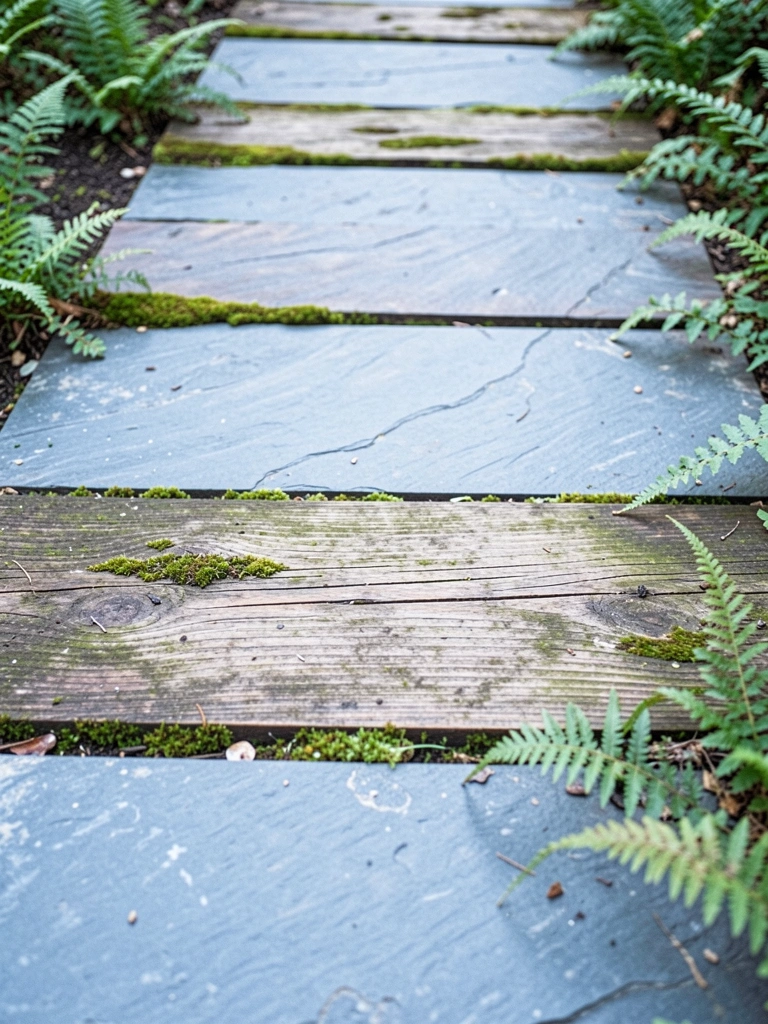
I patched a muddy slope using old sleepers between wide stone slabs.
The wood warmed the stone and created rhythm underfoot.
I did use untreated wood once and it rotted faster than I expected. Now I use treated or oak sleepers and seal them.
This mix makes a short path feel handcrafted and comfortable to walk on.
Good where you want a hint of structure without a full hardscape.
What You’ll Need for This Look
- Bluestone or flagstone slabs
- Reclaimed oak sleepers or treated planks
- Galvanized screws or spike anchors
- Wood sealer (clear, outdoor)
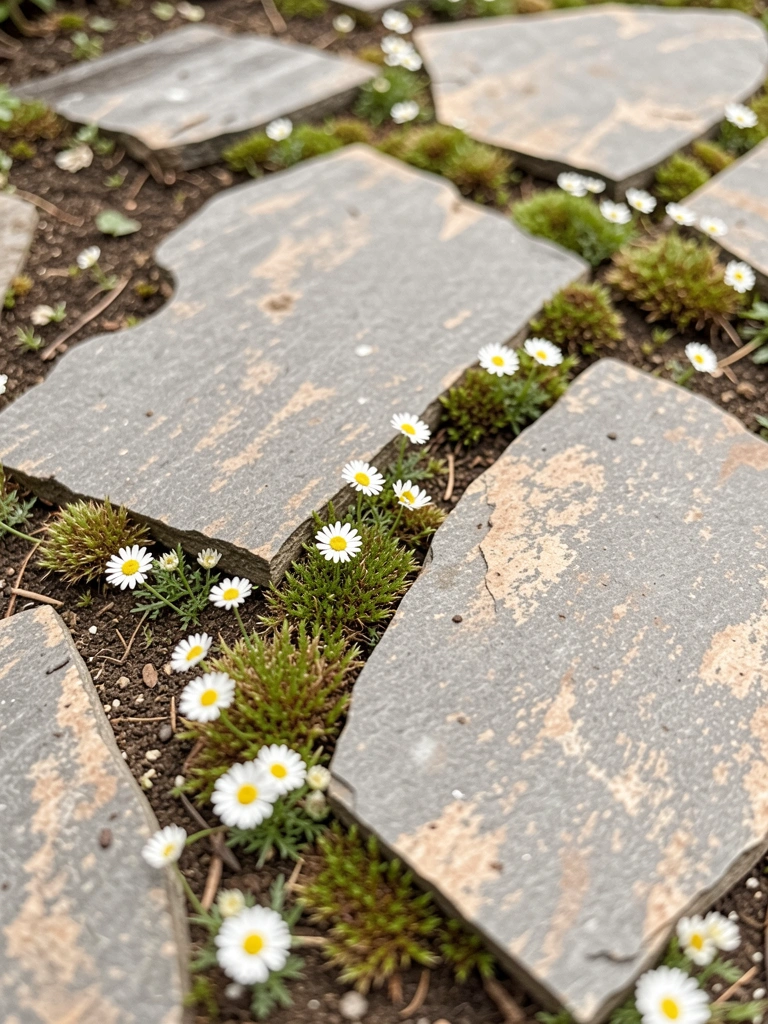
8. Stepping Stone Meadow for a Wild, Walkable Lawn
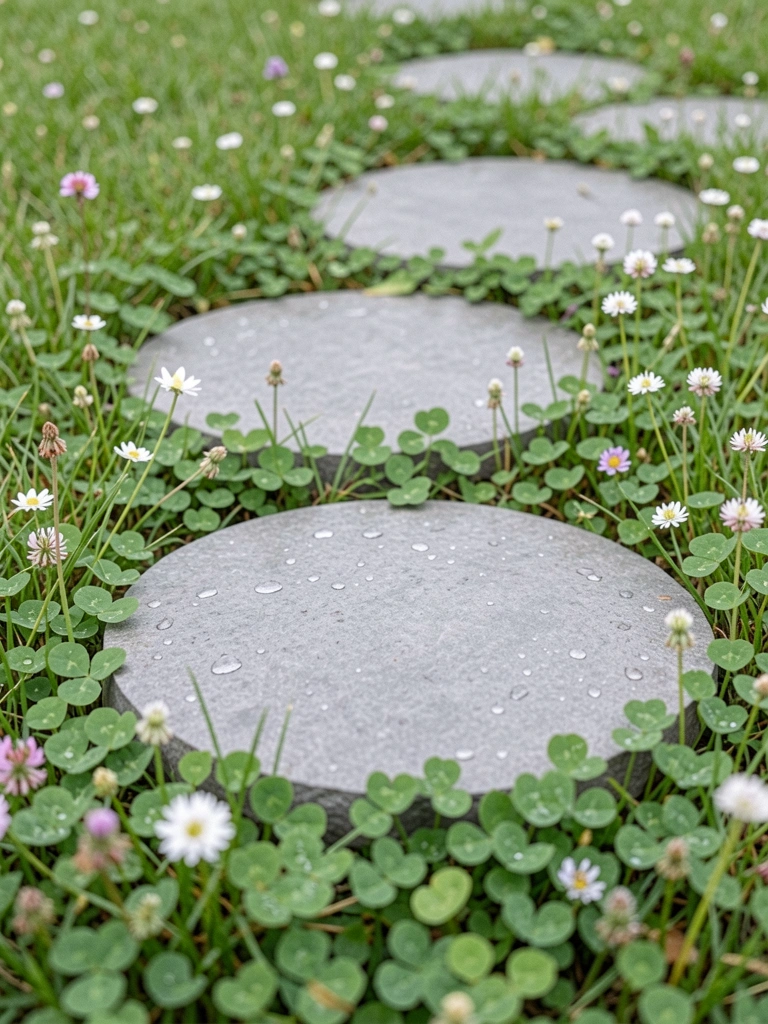
I dropped simple round stones across a patch I wanted to keep informal.
Clover and small poppies fill the gaps and the result feels casual and friendly.
I once spaced stones so far people avoided the route, so I tightened the stride to a natural step.
This approach keeps maintenance low and the lawn breathable.
It’s perfect where you want a lived-in, plant-forward route, not a formal walkway.
What You’ll Need for This Look
- Round stepping stones (12–18 inch)
- Lawn-friendly groundcover seed (clover mix)
- Mallet for setting
- Soil knife for edging
9. Gravel Path with Edge Stones for Tidy Lines
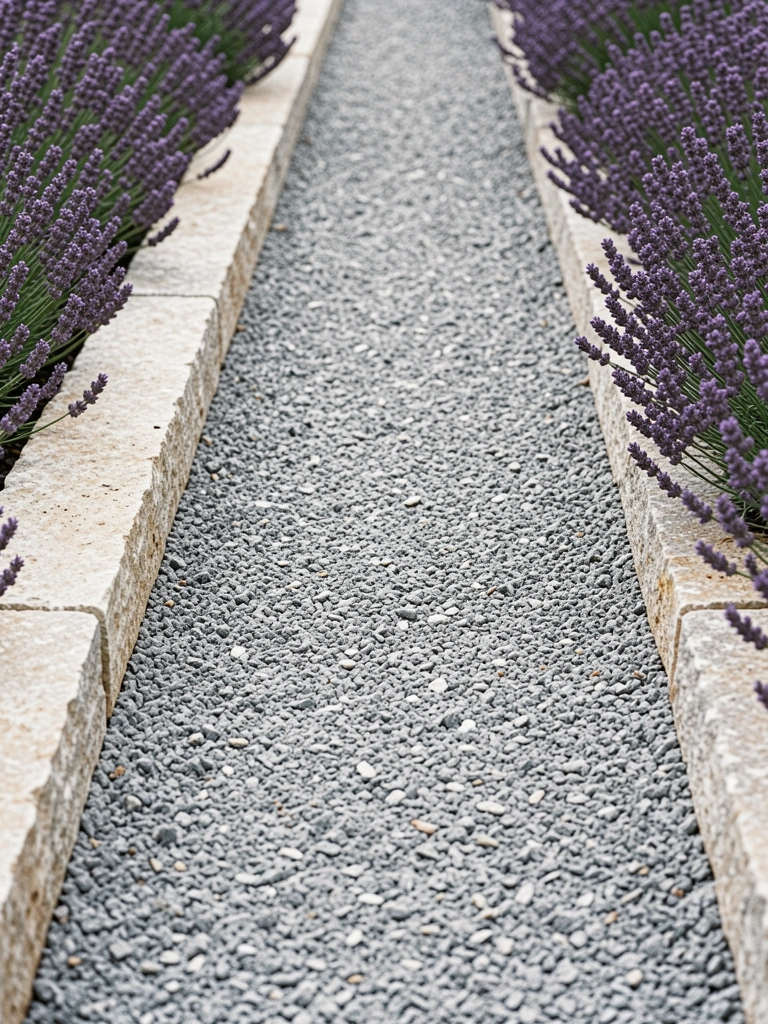
I built a straight gravel run to the compost bin and used limestone edgers to keep it neat.
The edge stones stop gravel creep and make mowing easier.
At first I skipped edging and the gravel invaded beds—lesson learned the hard way.
I now compact gravel in layers and plant lavender along one side for scent and softness.
This feels clean and low-cost for long runs.
What You’ll Need for This Look
- Pea gravel or crushed stone
- Limestone or bluestone edgers
- Plate compactor
- Lavender or low shrub border plants
10. Mossy Joint Path for Shady Corners
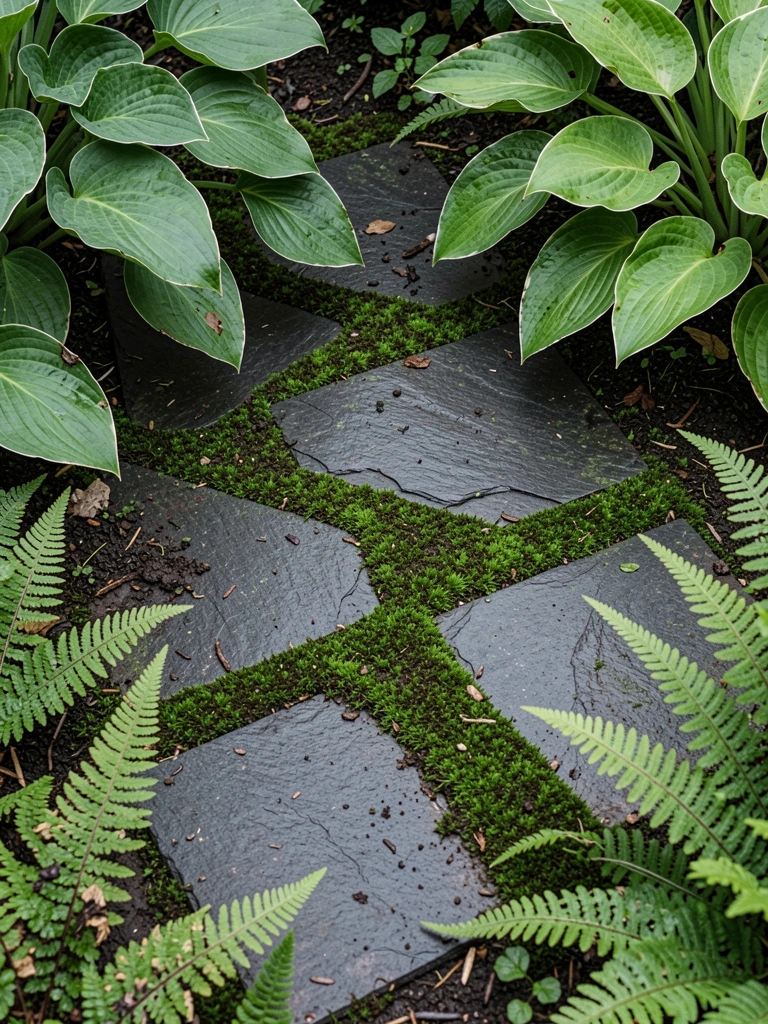
In a shady corner I let moss take over the joints between slate.
It created a soft cushion and a cool color palette.
I overwatered early on trying to encourage moss and accidentally encouraged algae—stopped and the moss recovered.
Now I only water sparingly and trim overhanging branches so light is balanced.
This approach is dreamy in a quiet spot and stays slip-resistant if you manage moisture.
What You’ll Need for This Look
- Slate pavers or thin flagstone
- Moss plugs or local moss
- Pruning shears to thin overhead shade
- Watering can for light misting
11. Narrow Alley Path with Vertical Stone and Lighting

I had a tight side yard and used slim, vertical stones to make it feel taller.
Adding low warm LED lights made the narrow walk safe and peaceful at night.
My first lights were too blue and harsh—swapped them for warm white and it calmed the area.
Vertical stone helps drainage and keeps plantings contained.
This is my trick for small, utilitarian stretches that need a little dignity.
What You’ll Need for This Look
- Vertical stacked stone (slim pieces)
- Warm white low-voltage LED path lights
- Outdoor transformer and wiring kit
- Small evergreens or ferns
12. Stepped Stone Path on a Slope with Hidden Drainage
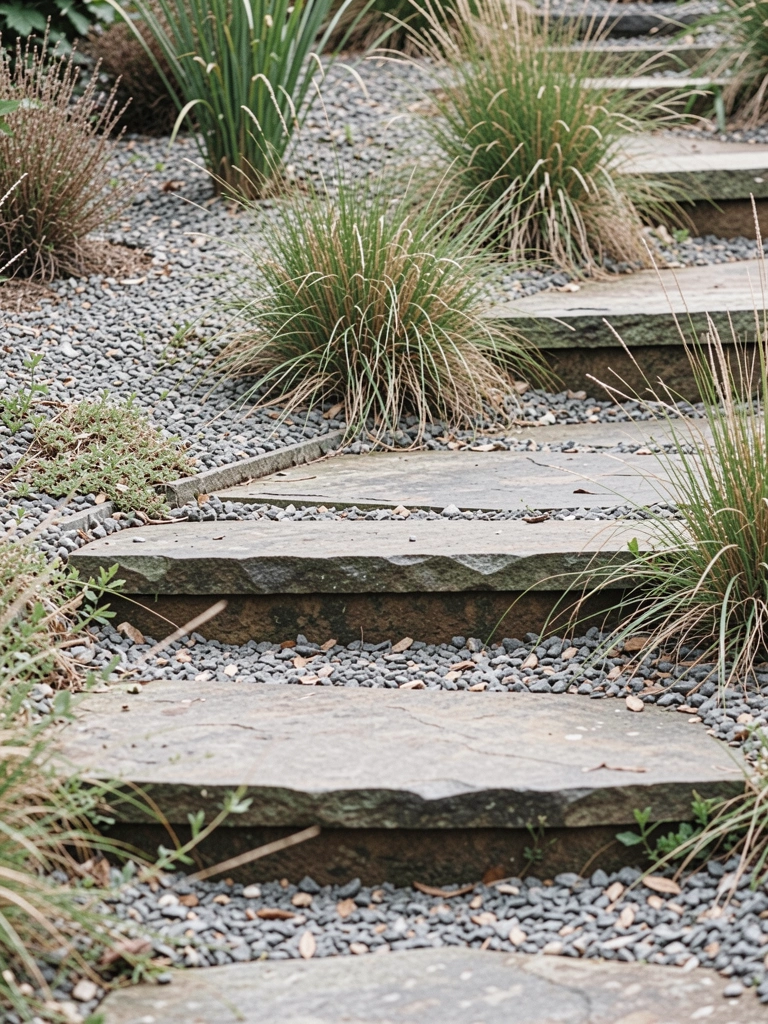
I built steps on a slope using large flat stones and packed gravel risers.
The gravel soaks up water and prevents muddy steps.
At first I didn’t consider water flow and had a washout after heavy rain—installed a French drain and it fixed the problem.
Now the steps feel secure and natural.
On slopes, think about drainage before you set the first stone.
What You’ll Need for This Look
- Large flat stepping stones (for treads)
- Crushed gravel for risers
- Perforated drain pipe and gravel for French drain
- Native grasses for slope planting
Final Thoughts
You don’t need to do every path shown.
Start with where you trip most, fix that first.
Pick one look, gather the few tools and materials listed, and try a short run.
Paths grow with the garden and your confidence will too.