How To Plan A Garden Bed Layout For Maximum Growth
I used to stand in front of a bed that felt empty and unsure. I couldn’t tell what to plant where. It looked like pieces without a home. You can do this too.
How To Plan A Garden Bed Layout For Maximum Growth
This is the method I use every time a garden feels unfinished. I’ll show how to place shapes and groups so plants fill in, stay healthy, and the bed reads as one calm scene.
What You’ll Need
- Medium evergreen shrub (3–4 ft) for a low focal anchor
- Taller structural plant (5–6 ft ornamental grass or small shrub)
- Lower filler perennials (6–18 in, mixed foliage: hosta, salvia, rudbeckia)
- Groundcover (creeping thyme or low sedum, 6–12 in spread)
- Seasonal color plants (small pops in terracotta pots or bulbs)
- Layered mulch (2–3 in, shredded bark)
- Simple edging (low stone or corten steel, 3–4 in)
- A small focal item (weathered ceramic pot or a bench seat)
Step 1: Establish the bed’s flow and focal point
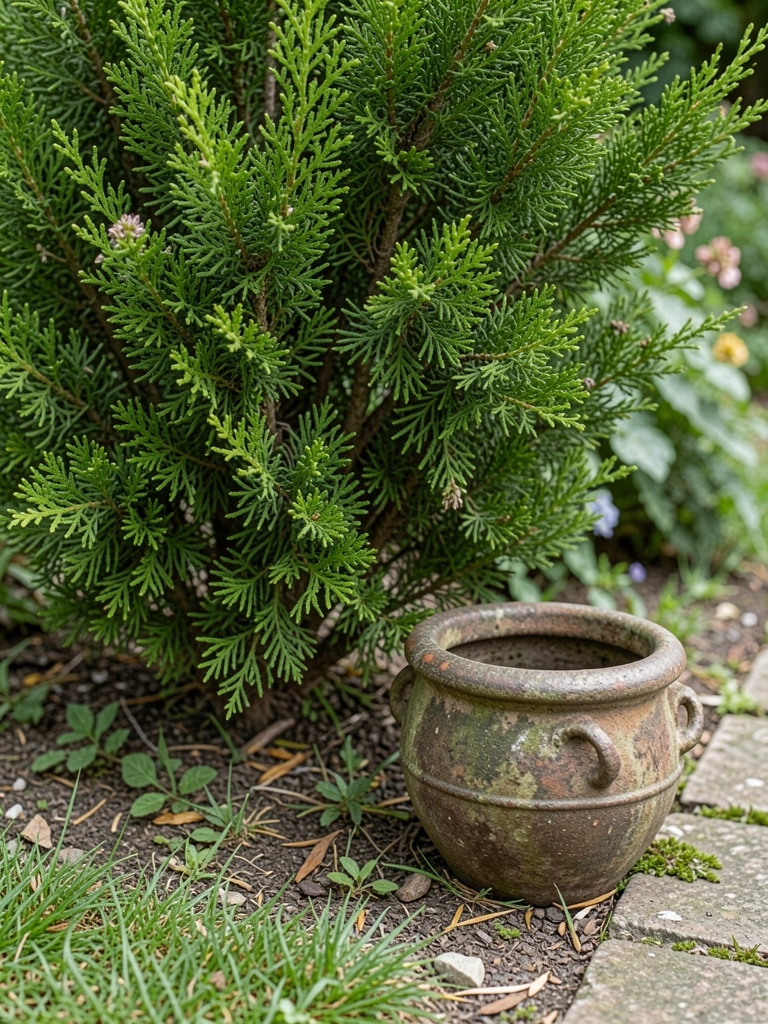
I stand back and pick the single thing the eye returns to. Usually that’s the evergreen shrub or a pot near a path. I place it slightly off-center so the bed reads like a room, not a portrait.
That one choice changes everything. Paths feel connected. Clumps begin to make sense. People miss that the focal point sets the movement. Don’t make the mistake of adding two equal focal items; they fight one another and the bed feels crowded.
Step 2: Layer by height and function
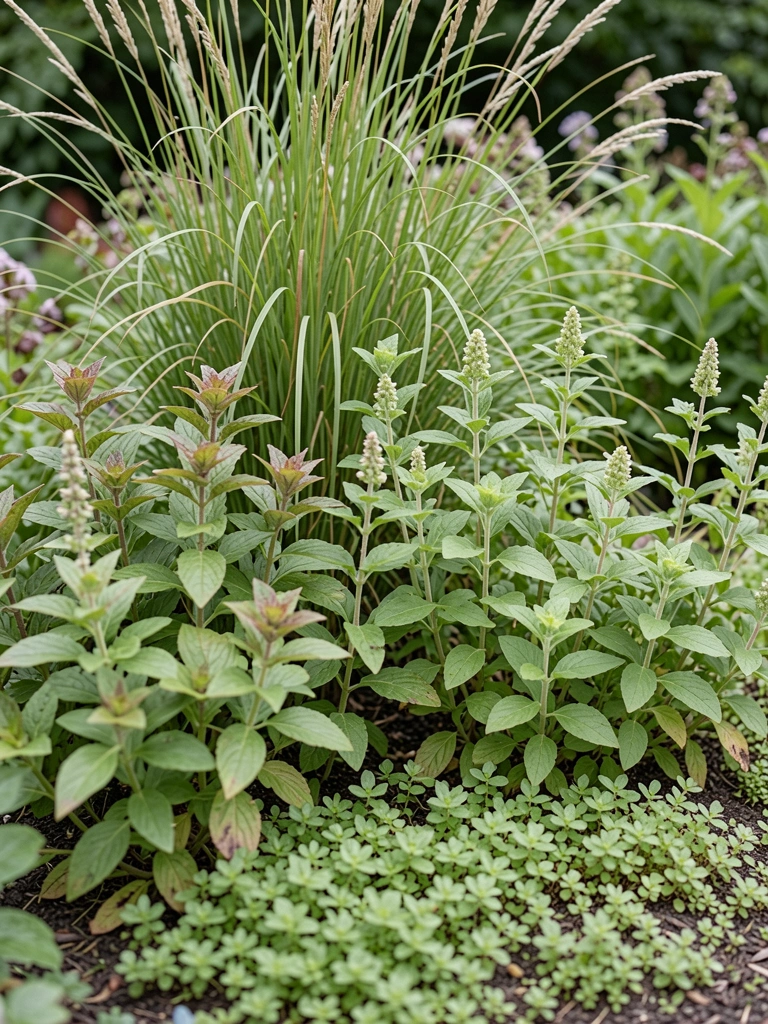
I sketch invisible layers: tall at the back or center, mid-height in the middle, low at the edge. I think of sightlines from the nearest seat or window. This keeps the bed balanced from the places I actually stand.
Visually the bed gains depth. The taller pieces give a backbone and the low plants soften the edge. A common miss is treating all plants equally; each has a role. Avoid the mistake of tucking tall plants behind everything; they should anchor, not hide in the back.
Step 3: Group by needs and bloom time
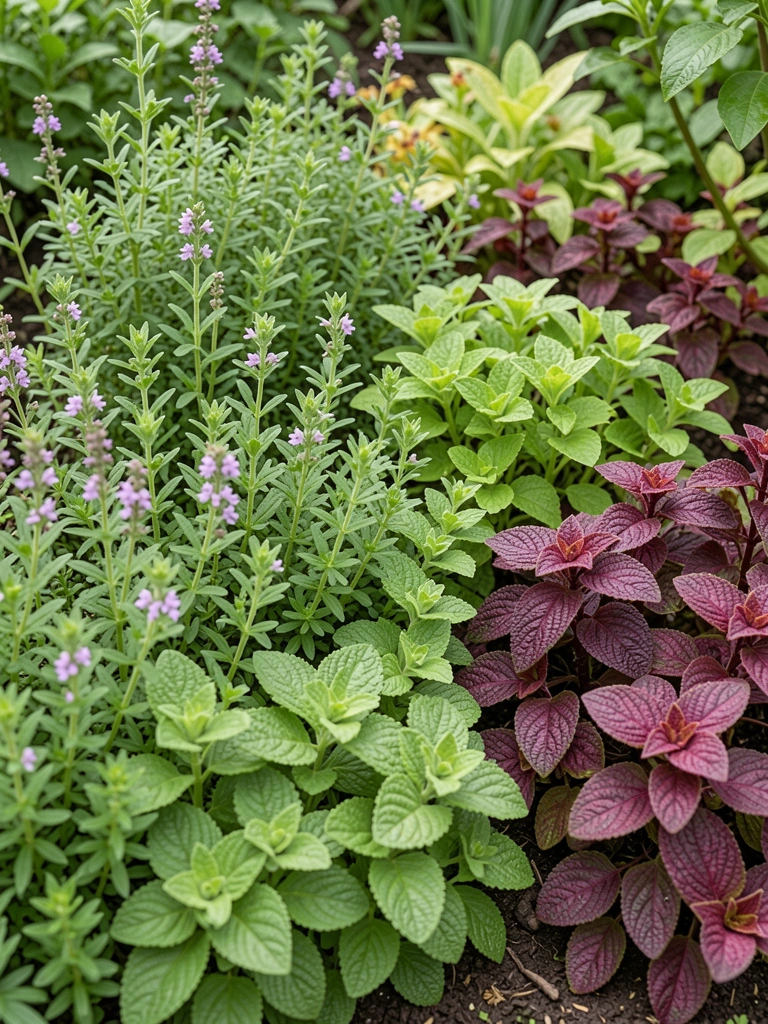
I make small clusters of three to five of the same plant. I keep sun lovers together and shade-tolerant ones elsewhere. This way I water and feed in zones, and nothing sulks from mismatched conditions.
What visually changes is calmer repetition. Your eye rests on groups rather than bouncing around. People often miss considering bloom sequence; I tuck in seasonal color to bridge gaps. The mistake is scattering singles everywhere—single plants don’t read as a plan and the bed fragments.
Step 4: Mind negative space and sightlines
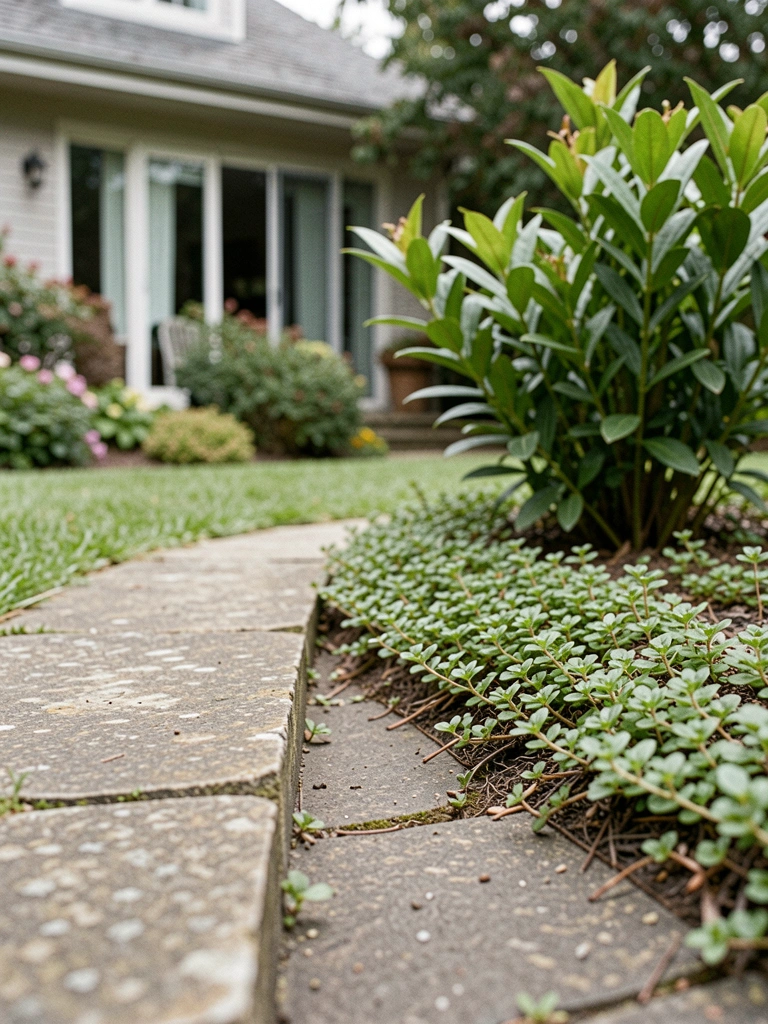
I leave breathing room. Not every inch needs a plant. I step to key views and make sure a plant or gap reads intentionally. Negative space is what lets textures and forms show up.
The bed feels comfortable, not overstuffed. People often cram plants until nothing shows. A common mistake is filling every gap with short plants; that creates a flat carpet. A few clear sightlines and open patches make the planted areas look deliberate and healthy.
Step 5: Edge, mulch, and let plants claim space
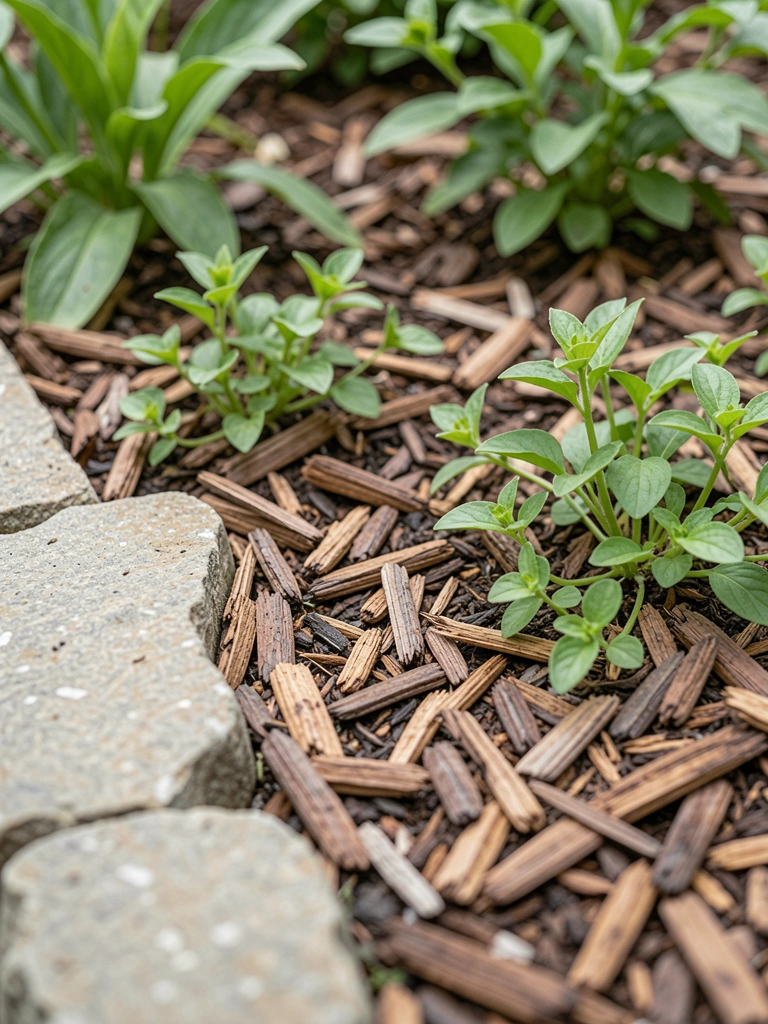
I define the edge with a low stone or thin corten strip. I spread mulch to hold moisture and quiet the soil. Then I step back and let things settle for a season before I make big changes.
Visually the bed reads cleaner. Mulch brings the plants together and the edge gives it a frame. People miss the patience part—they adjust too quickly. Avoid the mistake of replanting in the first year; most beds need a season to find their balance.
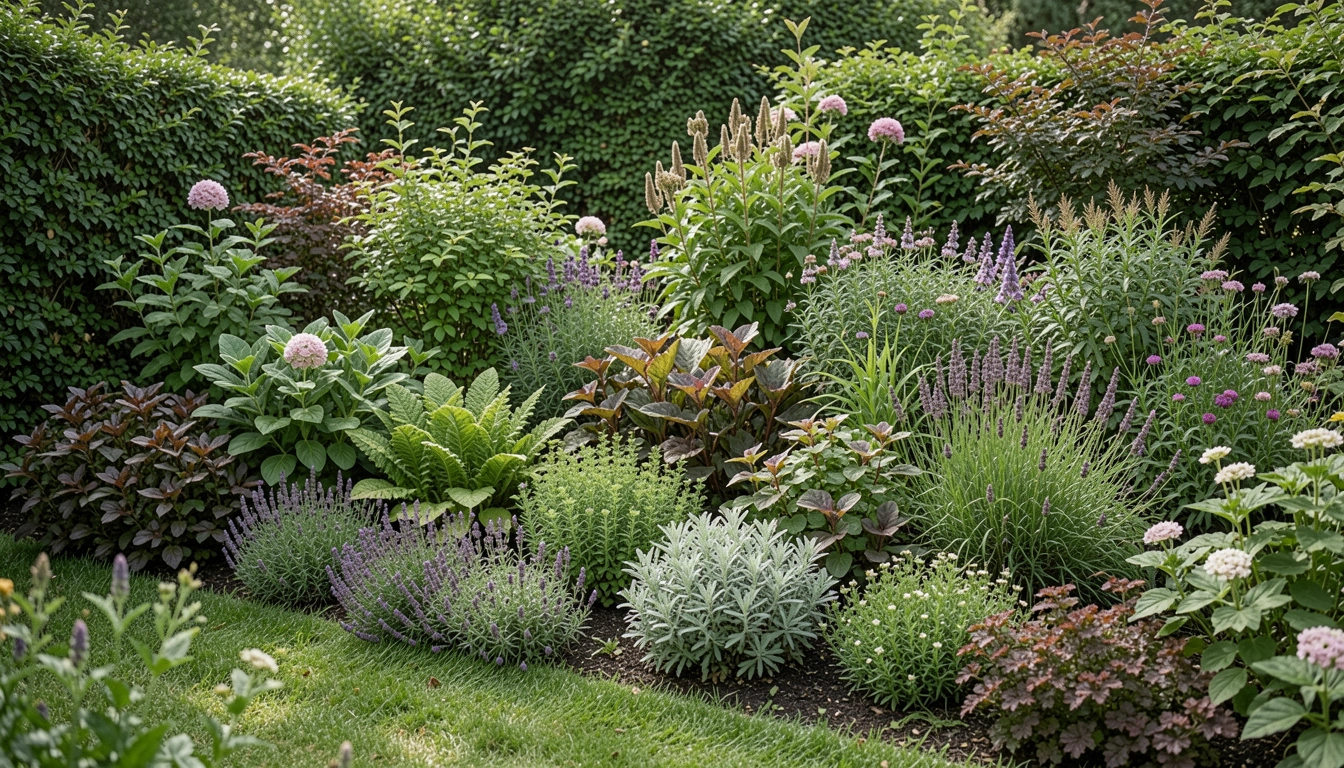
Balancing Height and Texture
I think of height as rhythm and texture as the instrument. Tall, narrow plants provide vertical notes. Broad leaves provide rests. I mix spiky and soft foliage so the eye moves.
Try pairing a grassy spike with a rounded leaf. It keeps the bed from feeling one-note. Small changes here have big visual returns.
Filling Gaps Without Overcrowding
Place plants where they’ll have room to be themselves. I estimate a season of growth and leave tiny gaps for breathing. That gives new plants a chance to knit into the mix.
If a spot looks too bare after a year, I add a single filler in the same family rather than a scatter of different things. It ties the bed together.
Seasonal Movement and Maintenance
I plan for spring, summer, and fall interest so the bed feels active. Bulbs bring early color. Perennials carry the summer. Late-season seedheads add winter shape.
Maintenance is small edits: trim a spent clump, lift one root that’s gone rogue. Regular, light attention keeps the bed confident rather than fussy.
Final Thoughts
I often start with one small corner. I watch how light and plants move. You don’t need to finish it all at once.
A balanced bed grows into itself. Start small, trust what fills in, and adjust as the seasons teach you. Give each change a season to settle. You'll learn more by nudging than redoing.