How To Make Brick Flower Bed Border Step By Step
I kept staring at a ragged bed edge and feeling the whole border looked accidental. Small plants seemed swallowed by grass. Paths scraped the bed, but nothing framed it.
I wanted a clean, simple edge that read like a deliberate decision.
I found a brick border does that without feeling formal.
How To Make Brick Flower Bed Border Step By Step
You’ll learn how to place a low brick border so beds read finished, feel balanced, and sit naturally with plants and paths. This is achievable without fuss.
What You’ll Need
- Reclaimed red clay bricks (mixed sizes, weathered)
- Low evergreen edging plants (dwarf boxwood, 6–12 inch)
- Soft brown bark mulch (loose, fine texture)
- Dark loam topsoil (friable, for touch-ups)
- Small flat flagstones (mixed gray, for transitions)
- Fine-grit sand (for subtle settling)
- Garden gloves (medium leather, well-worn)
Step 1: Sit with the bed and choose the line
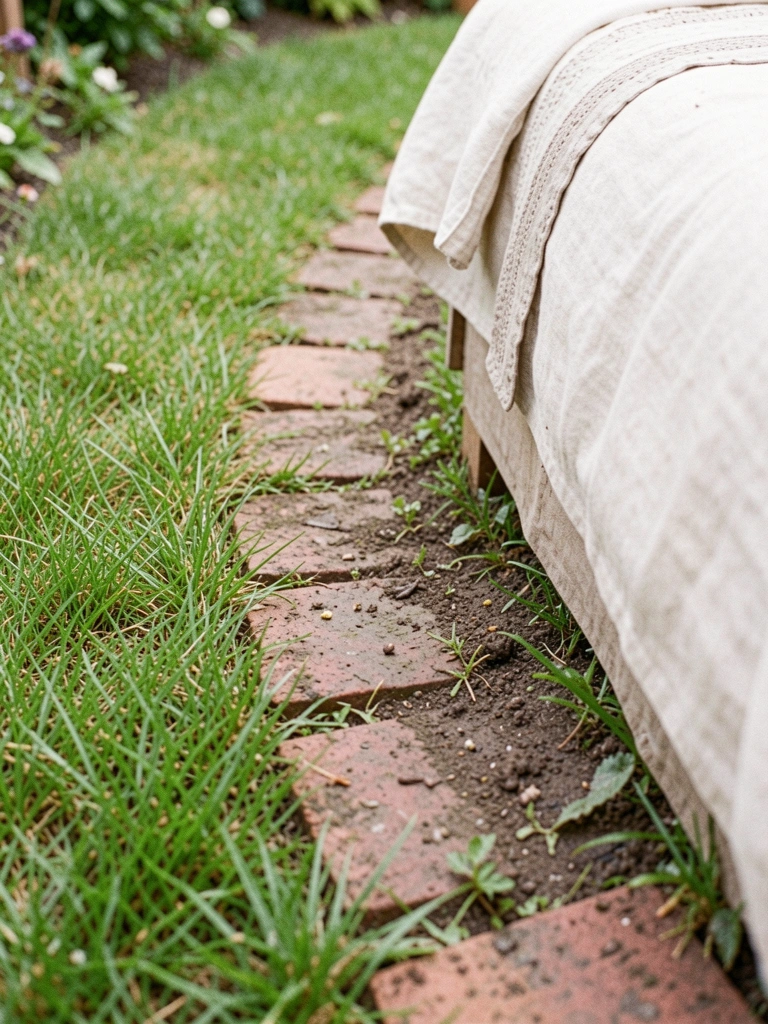
I stand back and trace an invisible line with my eye before I touch anything. I mark where the plants want to breathe and where the path needs room. This is about reading the bed’s movement, not forcing a straight edge.
Visually the bed goes from a messy blur to a defined silhouette. I imagine the view from the gate and the seat; that changes where the curve should be. People often miss that a subtle curve makes a border feel intentional and relaxed. A common mistake is taking the shortest route—too-straight edges fight garden flow and look accidental.
Step 2: Arrange bricks dry to find the rhythm
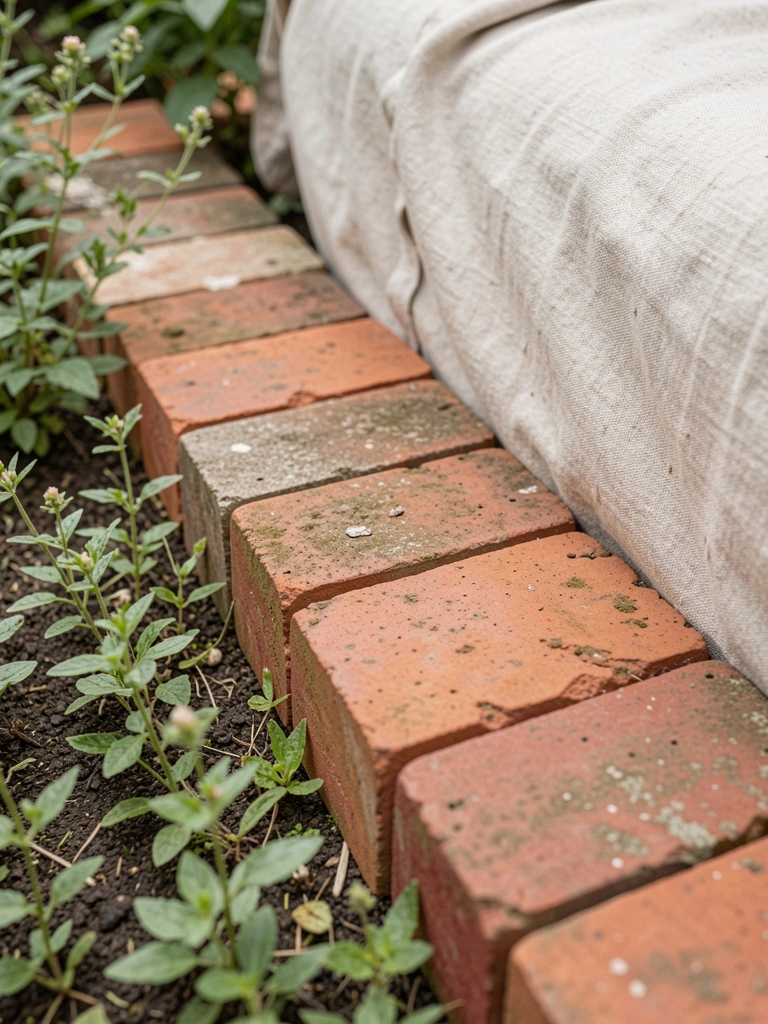
I place bricks along the chosen line without fixing them, just to feel the rhythm. I look for a cadence — a place where a long brick, then two short ones, reads natural. The visual change is immediate: the bed gains a beat the eye follows.
People miss that odd numbers and slight spacing give a handmade look. I avoid mechanical perfection; perfectly even joints make the border read formal and fussy. The small mistake is forcing every brick into a regimented pattern. I leave a little irregularity; it makes the line feel human and lived-in.
Step 3: Tuck plants to soften the edge
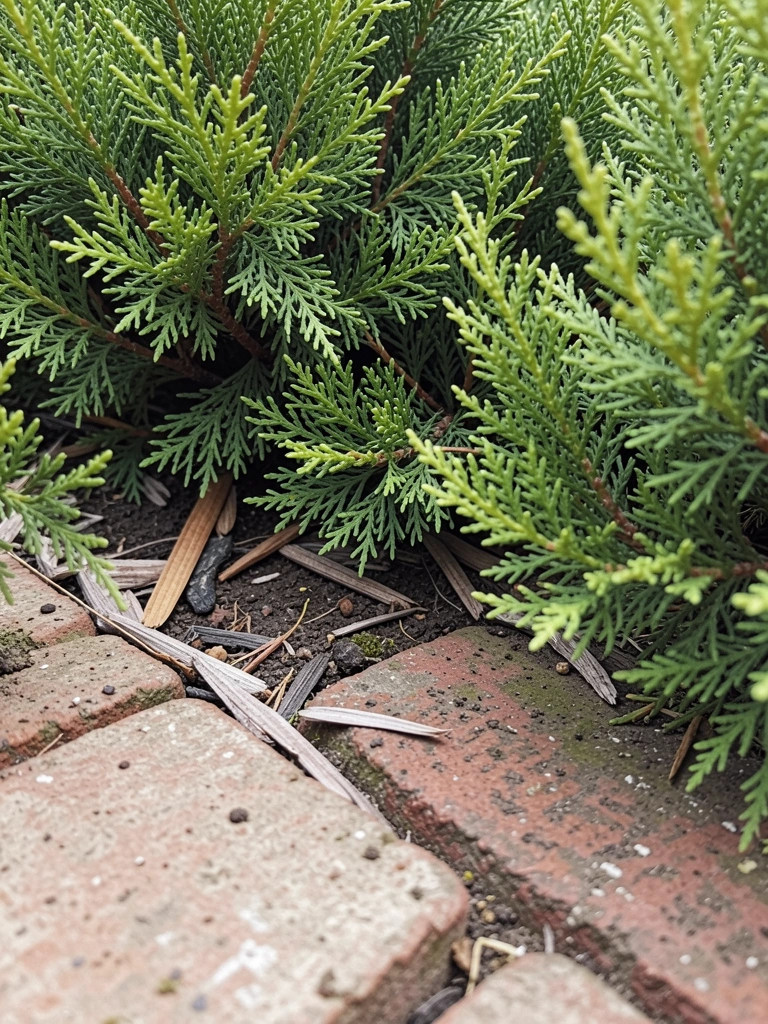
I ease small, low plants up against the bricks so the hard line softens. I think about weight — heavier foliage versus airy textures — and place each plant where it balances the brick’s solidity. Visually the edge moves from rigid to approachable.
People often miss letting plants overlap the bricks a little; that gentle overlap makes the border feel integrated. The small mistake I see is crowding everything tight to the bricks. Give each plant breathing room. The border should look like the plants meet the bricks naturally, not like two strangers forced together.
Step 4: Let the bricks settle so they sit honest
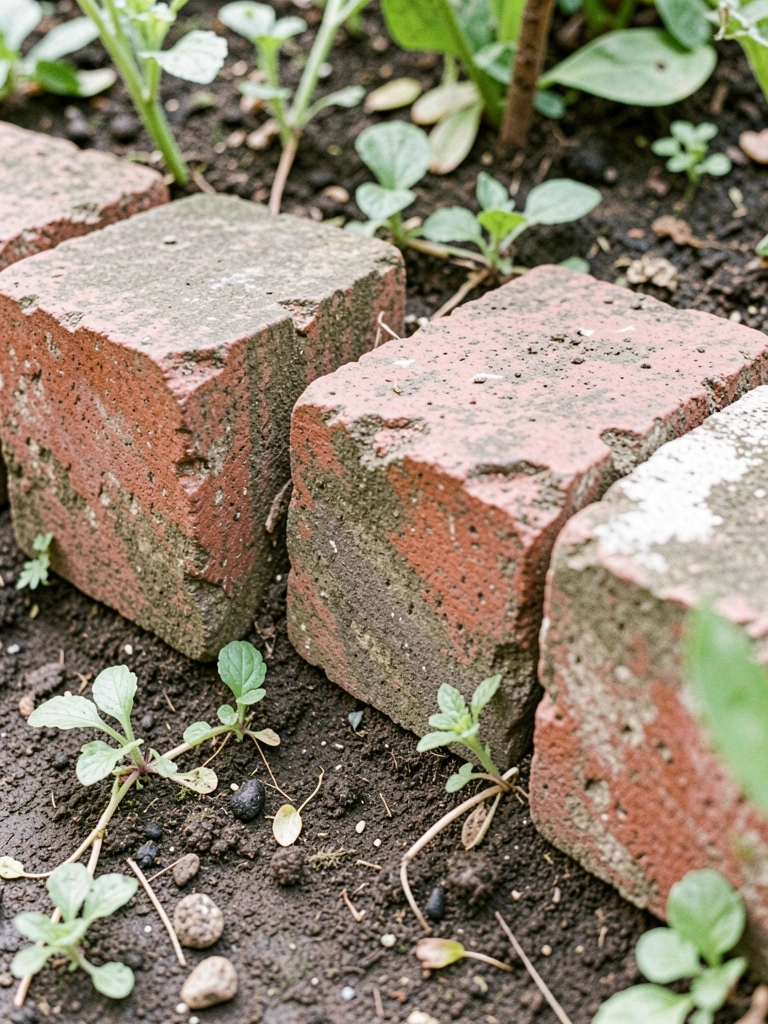
I press the bricks in until they look settled, sunk slightly so they don’t float above the bed. I check the sightline from different angles, making sure the bricks read as part of the ground instead of an ornament. The change makes the border feel grounded and deliberate.
An insight people miss is that slight irregular heights are fine — and preferable. The small mistake is making the bricks sit too high; then the border reads like a curb and interrupts movement. I aim for a gentle handshake between brick and soil.
Step 5: Finish with tidy mulch and a transition stone
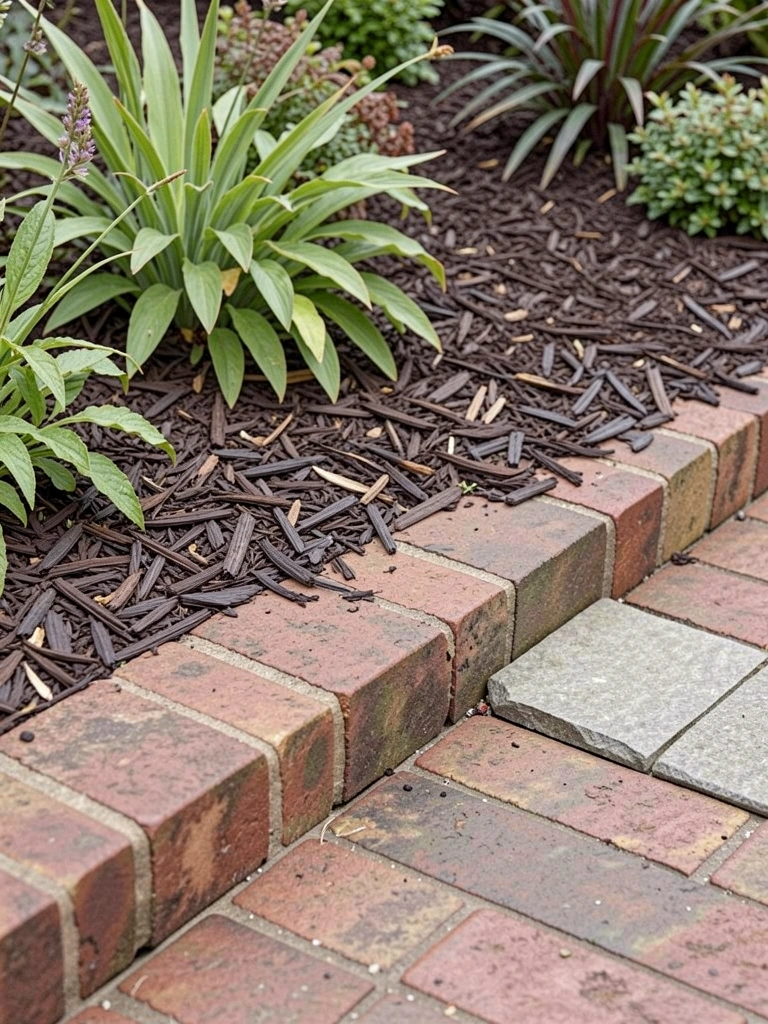
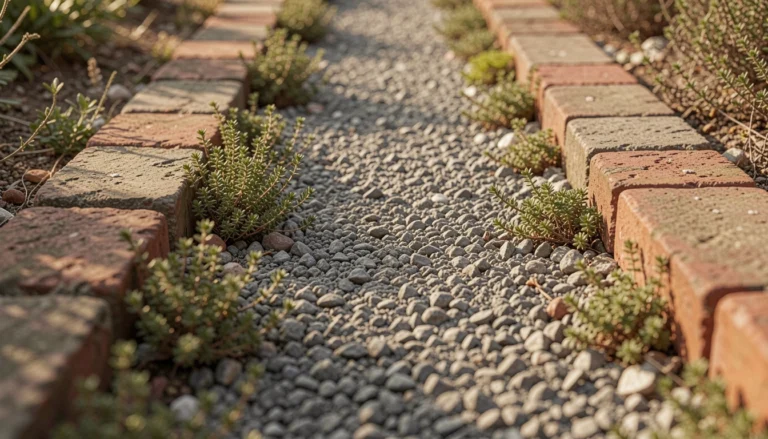
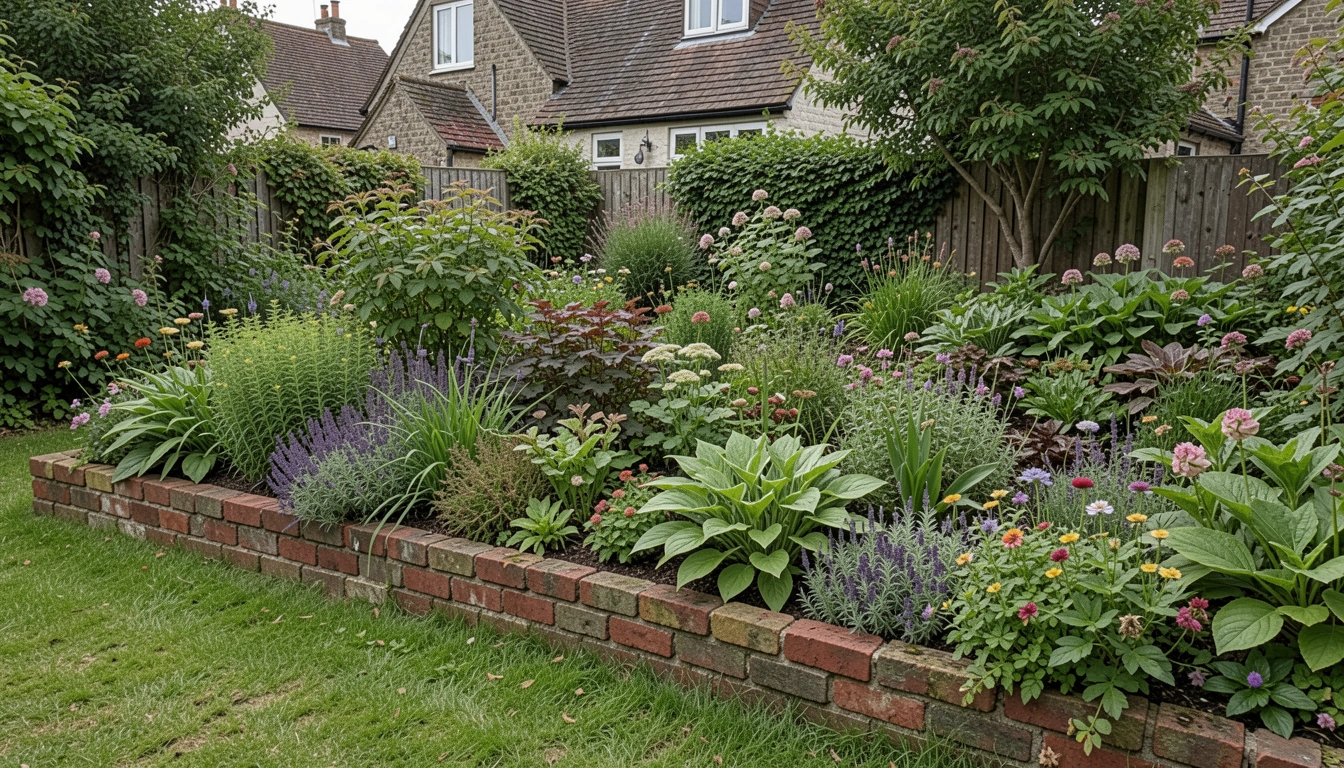
I finish by spreading a thin layer of mulch and placing a few transition stones where the bed meets a path. The mulch tones down the brick and plant bases, and stones give the eye a place to pause. The bed moves from construction to a lived-in edge.
People miss the power of a single transitional stone near a path junction. A mistake is over-mulching right up against the brick; it can hide the edge and feel sloppy. I keep the mulch tidy and let the brick edge peek through.
Design tips for flow
I look for sightlines from the main gate, a seat, and the path junctions. Those views tell me where the border needs emphasis. Keep curves gentle; sharp turns shout.
Small scale notes:
- Use odd numbers of repeats for rhythm.
- Let plant shapes offset straight brick runs.
I prefer a low, steady line rather than dramatic height. It reads calm and comfortable.
Plant pairings for brick edges
I trust low evergreens and soft grasses next to bricks. They offer structure and gentle motion against the hard edge. Summer perennials add seasonal color without obscuring the line.
Good pairings I use:
- Dwarf boxwood with lavender
- Festuca grasses with sedum
- Creeping thyme tucked into gaps
These keep the border readable through seasons.
Seasonal care and small fixes
I check the brick line after heavy rains and after frost. Small shifts happen; a gentle nudge or a tuck of soil makes it look right again. I don’t aim for perfection, just honesty.
For winter, I pull mulch back slightly from the face and watch for settling in spring. Small, regular tidy-ups keep the border feeling intentional.
Final Thoughts
Start with one short stretch of border, not the whole bed. I find a corner project builds confidence.
Work slowly and look from several angles. The best borders read as part of the garden, not an added accessory.
When it feels right, that simple brick line makes the whole bed look finished.