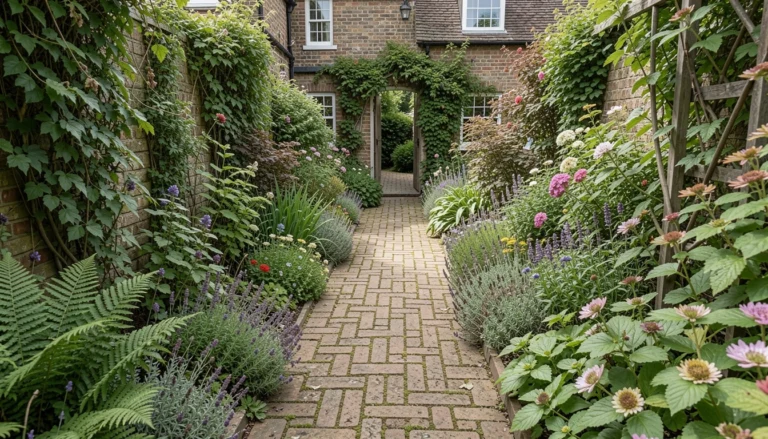
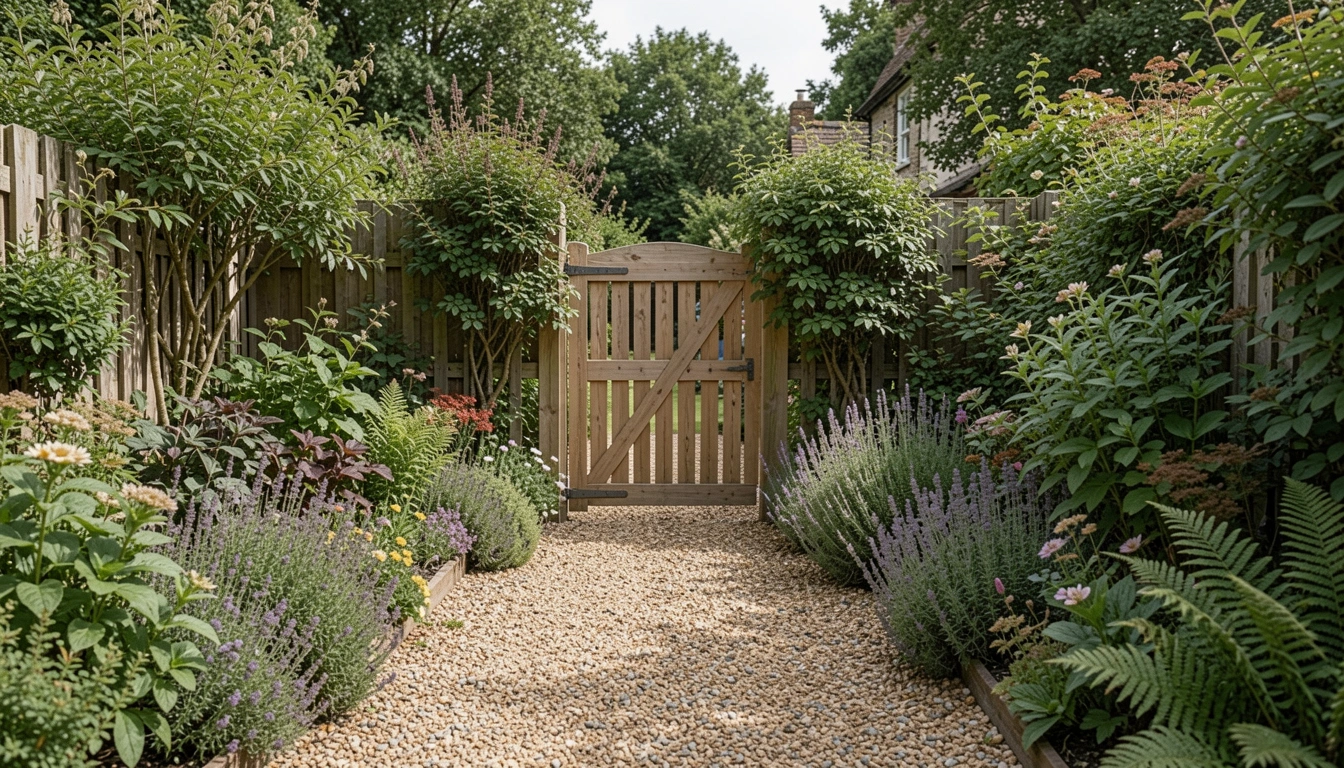
How To DIY Garden Gate For A Charming Entrance
I kept avoiding the front of my yard because the doorway felt unfinished.
A gap in the fence and a leaning post made the whole space look accidental.
I wanted a gate that read as intentional, not precious.
I learned to think of a gate as a framed pause—something that invites you in.
How To DIY Garden Gate For A Charming Entrance
This is the method I use when a garden edge needs a welcoming pause. You’ll end up with a gate that feels balanced and lived-in.
What You’ll Need
- 4-ft cedar tongue-and-groove gate (soft gray)
- Pair of 4×4 cedar posts (stained natural)
- Black iron thumb latch (simple, matte finish)
- Hand-forged strap hinges (matte black)
- Small bag of pea gravel (gray, for footing)
- Climbing clematis 'Nelly Moser' (one vine)
- Low boxwood plants (3–5, 8–10" pots)
- Perennial mix (lavender, salvia, hardy geranium)
Step 1: Tune the opening so it feels like an invitation

I stand back and look at the gap the way I look at a doorway to a room. I check proportions with my eye, not a ruler. A gate that’s too tall feels stern. Too short reads accidental. I imagine walking through it and what you first see on the other side. One insight I often miss at first: the view through the gap matters more than the gate itself. Small mistake to avoid: choosing a gate scale because it’s “nice” online without testing it against the house and path.
Step 2: Pick a gate style that matches the garden’s mood
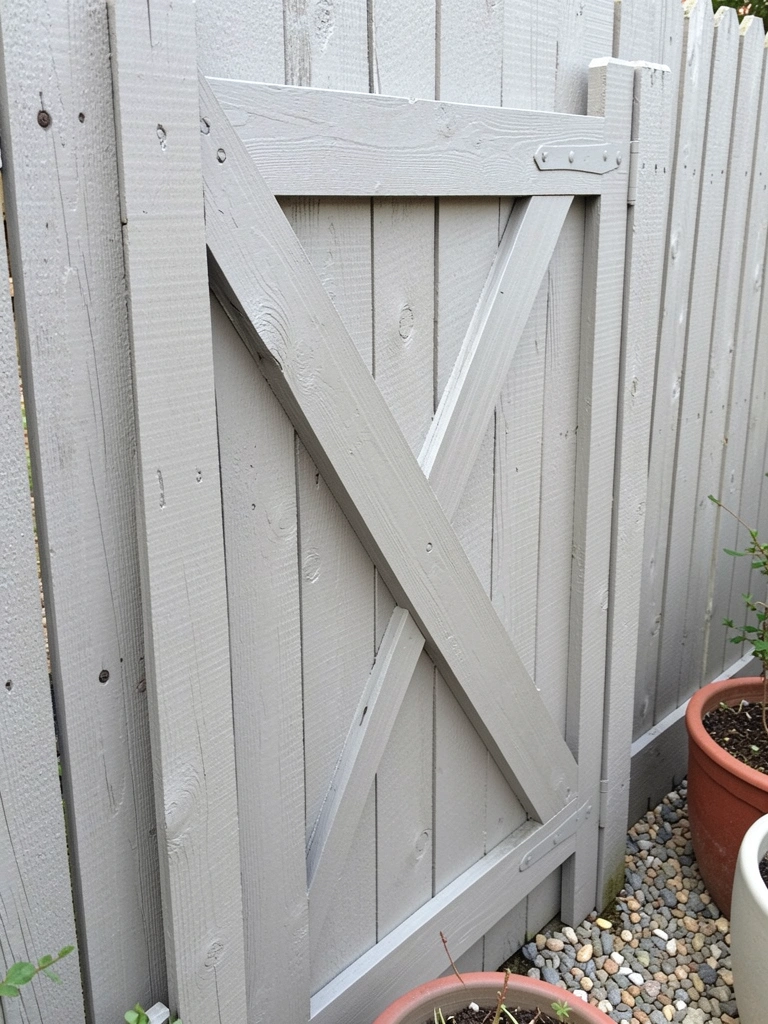
I choose a simple cedar panel when the garden is informal. The tongue-and-groove gives a clean face. Paint or stain sets the mood—soft gray keeps things calm, natural stain reads warmer. I think about how the gate will patina. One insight: hardware is the personality note. Matte black keeps the look grounded. Small mistake to avoid: overdoing ornament. A delicate design can feel out of place in a relaxed, lived-in border.
Step 3: Set the posts so the gate sits like a picture frame

I anchor my eye on the posts first. They must look solid and deliberate. I place them so the gate sits slightly elevated above the ground, giving a hint of welcome. Visually, the posts are the frame that make the gate readable. One insight people miss: the post tops matter—simple caps give a finished look. Small mistake to avoid: setting posts too far apart and forcing a narrow, awkward gate between fences or hedges.
Step 4: Plant low and let the gate breathe
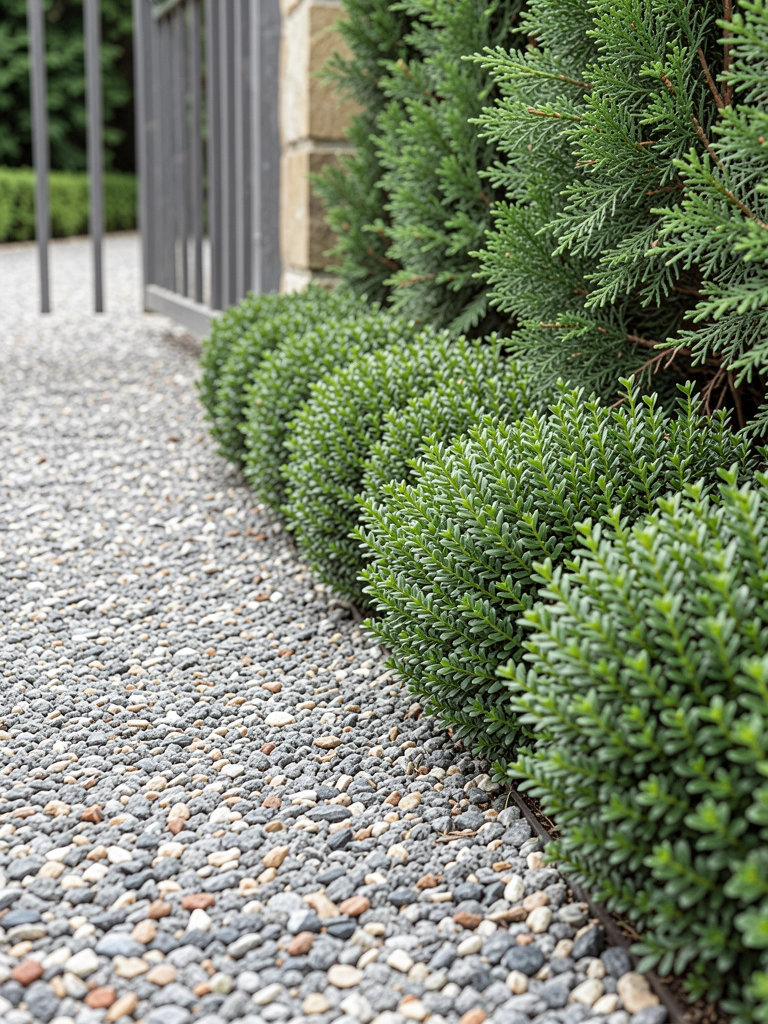
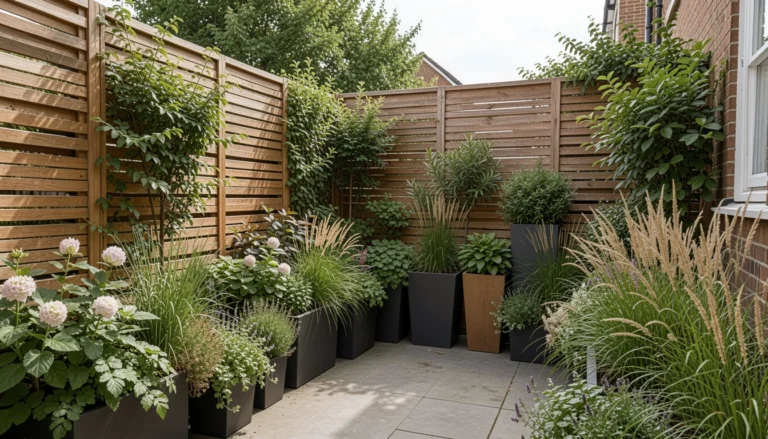
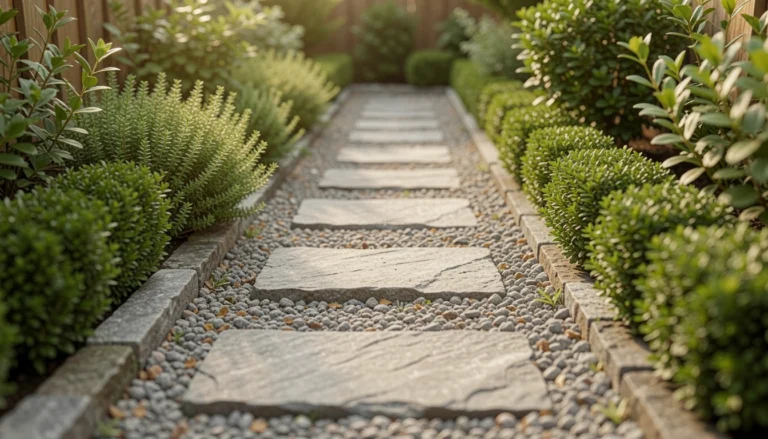
I plant low immediately beside the posts so the gate feels grounded. Boxwoods or lavender keep sightlines open and add structure at knee height. I leave a small gap so the gate can open without catching plants. One insight: contrast sells—pair the warm cedar with cool gravel and green foliage for a calm balance. Small mistake to avoid: planting tall shrubs too close and hiding the gate; it should peek, not disappear.
Step 5: Add hardware and details that age into the garden
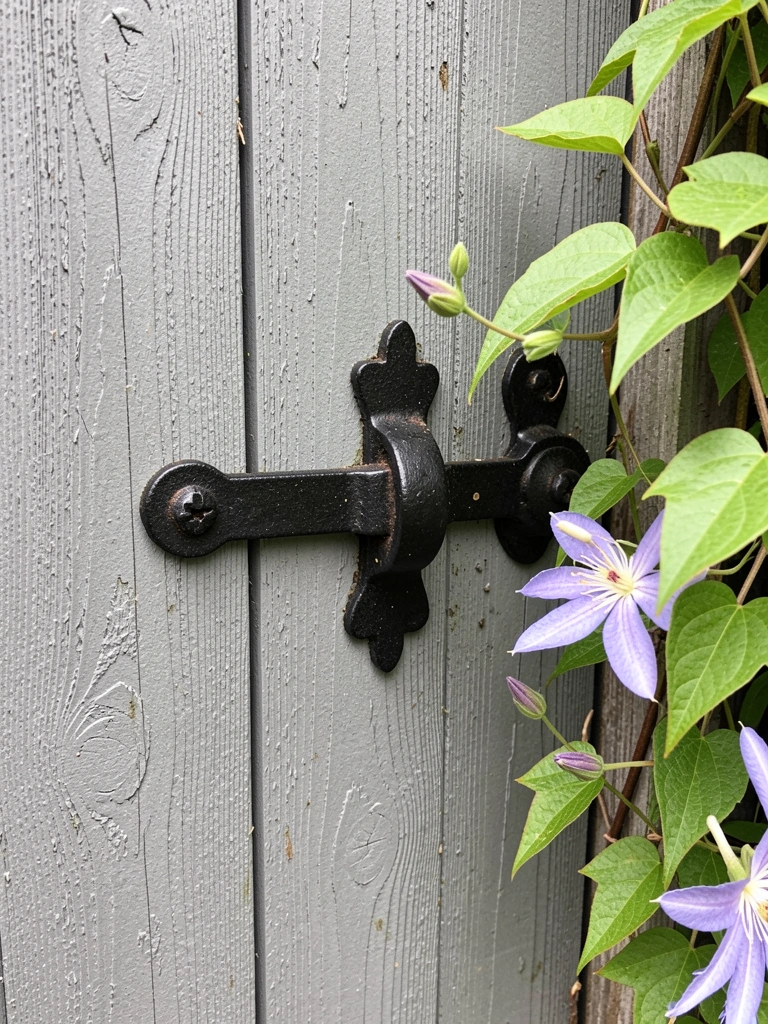
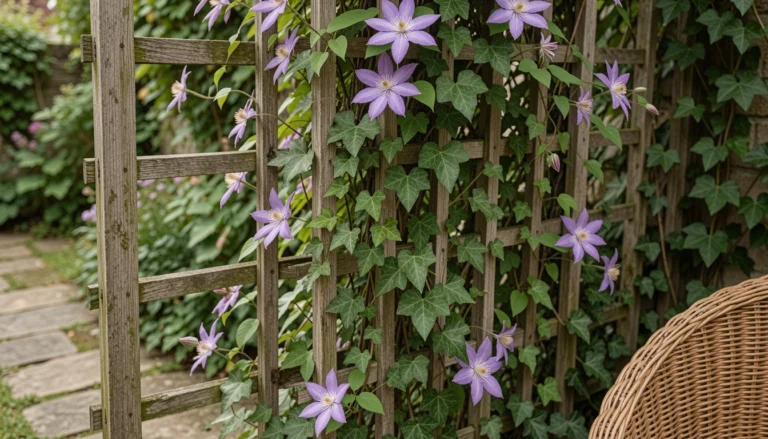
I fit a simple thumb latch and strap hinges that read like they belong. I position the latch so it looks centered in hand, visually balanced with the gate rails. I tie a climbing clematis and let it find the gate in its own time. One insight: patina matters—choose finishes that will look better with weather. Small mistake to avoid: choosing bright, shiny hardware that will look out of place after a season.
Finishing Touches
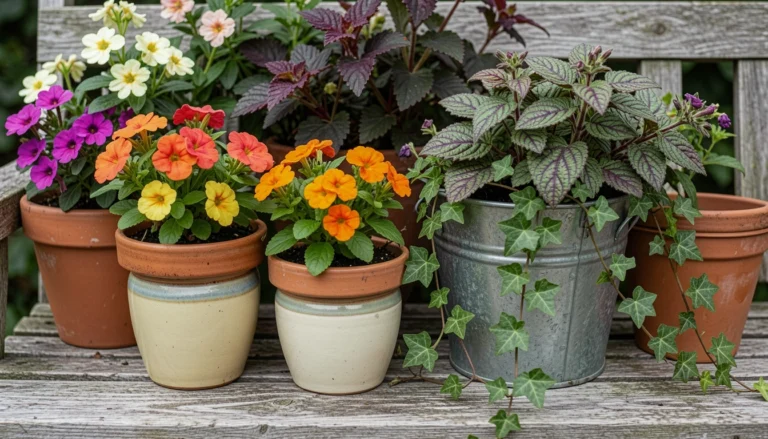
I pay attention to the small edges. A neat gravel strip or a low metal edging keeps mud from splashing on the gate and reads tidy without fuss. I often add one or two seasonal pots on the sheltered side to anchor the threshold.
I also let things age. I don’t varnish every surface. A little weathering ties the gate into the garden over months.
Plant Pairings That Work
I favor low evergreen structure with a few softer perennials. Boxwood or dwarf yew with lavender or geranium gives year-round shape and summer color. Clematis or a simple climbing rose is enough to soften the verticals.
Avoid overcrowding the entrance. Let the gate breathe and choose plants that echo the gate’s finish.
Seasonal Care Basics
I check the latch and hinges in spring and late autumn. A quick clean of the gravel and a tuck of plants keeps the entrance readable. I trim boxwood lightly once a year to maintain that neat border look.
If the gate needs a touch-up, I match the original finish rather than repaint entirely—small repairs keep it feeling hand-made.
Final Thoughts
Start with one clear idea: proportion over perfection.
Make the gate feel like part of the garden, not an accessory.
Build slowly, plant simply, and let the entrance settle.
A calm, intentional gate makes the whole yard feel like it belongs.