13 DIY Garden Bed Ideas For A Beautiful Harvest
I used to cram seedlings into patchy beds and wonder why they sulked. I learned small fixes give big harvests.
I started choosing one change at a time. It made gardening feel possible.
These ideas are what I actually built. They’re honest, simple, and doable.
13 DIY Garden Bed Ideas For A Beautiful Harvest
These 13 ideas are hands-on fixes and styles I’ve used in real gardens.
They include raised beds, containers, and low-effort layouts.
You’ll get clear options and what to buy for each.
1. Simple Cedar Raised Bed with Gravel Path

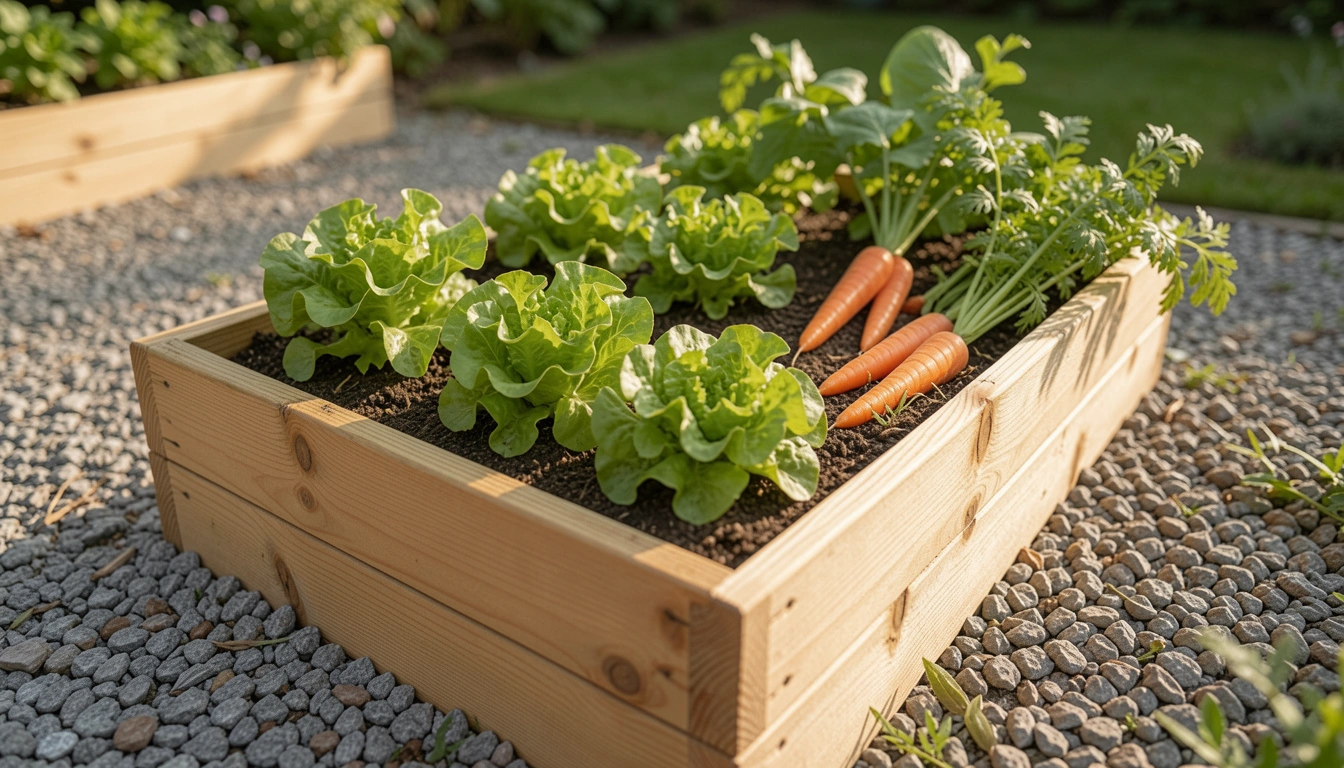
I built cedar beds after planting directly into poor ground. The soil in these beds warmed faster and stayed loose. I noticed roots went deeper and plants looked healthier within weeks.
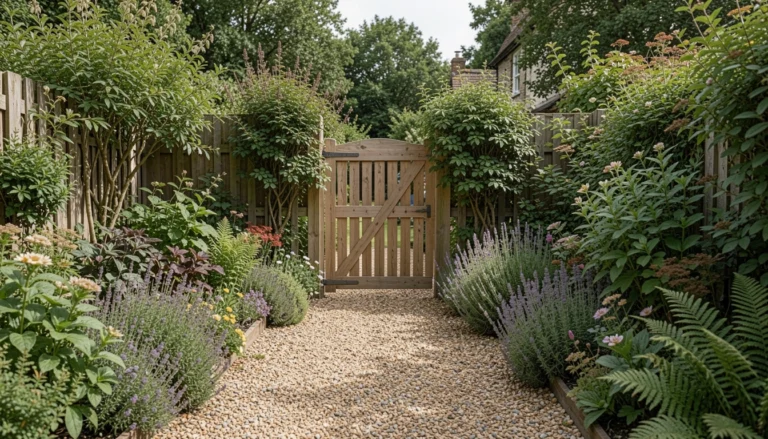
I made the mistake of using thin boards once; they bowed after a season. Go for 1×6 or thicker cedar. Add a narrow gravel path for drainage and less mud.
The look feels neat without being precious. I can walk close to harvest without stepping on soil.
What You’ll Need for This Look
- Cedar raised bed kit (4×8, 6-8 inch boards)
- 50/50 topsoil and compost mix (bulk)
- Pea gravel (small bag)
- Long-handled trowel
2. No-Dig Sheet Mulch Bed That Saves Time
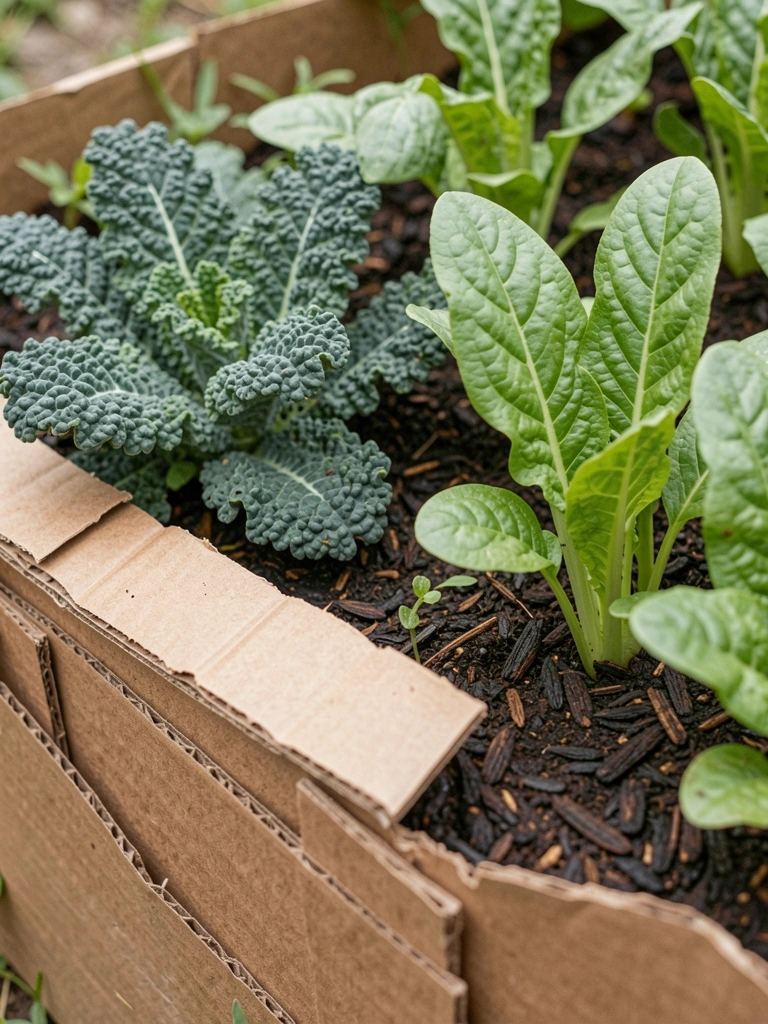
I stopped turning my soil and started layering cardboard and compost. Beds were ready in days and weeds dropped dramatically. The soil life came back without a tiller.
I once forgot to wet the cardboard enough and slugs loved it. Soak layers as you build them. I also topped with straw to protect seedlings from heat.
It feels forgiving and low-energy. I plant directly into the layer and top up compost every season.
What You’ll Need for This Look
- Corrugated cardboard (no tape)
- Aged compost (wheelbarrow)
- Straw mulch (baled)
- Watering wand
3. Hugelkultur Mounded Bed for Water Retention

I tried hugelkultur on a slope and it held moisture through a dry spell. The rotting wood feeds the bed slowly and plants stayed green longer than neighbors’ rows.
My first mound was too tall and hot; seeds cooked. Keep the height moderate and cover fresh wood with compost. Over time the mound settles and deep pockets form.
This bed looks a bit untidy at first, but it becomes rich soil and reduces watering. I plant deep-rooted crops along the base.
What You’ll Need for This Look
- Fallen logs or fence rails (cut to size)
- Leaf mulch or brush
- Aged compost or topsoil
- Garden fork
4. Reclaimed Pallet Vertical Bed for Small Spaces

I built a pallet wall for my tiny balcony. The vertical bed gave me strawberries, herbs, and surprise nasturtiums without taking floor space. It’s been the small-plot saver.
I made one mistake: I used untreated pallet wood that had chemical stamps. Now I look for food-safe pallets or line them with landscape fabric. Also water often; the top dries fast.
It brightens a blank fence and makes harvesting easy. I check drainage holes and tuck in a few trailing plants.
What You’ll Need for This Look
- Reclaimed pallet (food-safe or lined)
- Landscape fabric (heavy-duty)
- Small potting mix (compressed bags)
- Hanging hardware and screws
5. Straw Bale Bed That Warms and Writes Over Time

I started with straw bales when soil was poor. After a few weeks of conditioning, bales teemed with roots and warmed quickly for tomatoes. It’s a fast way to get a raised bed without building frames.
I once planted too early; the bales were still too cold and stems sat. Follow the conditioning schedule and add nitrogen-rich feed. Bales break down each season, so plan yearly replacement.
They’re tidy, portable, and great for season extension.
What You’ll Need for This Look
- Small straw bales (conditioned)
- Organic nitrogen fertilizer (blood meal or fish emulsion)
- Twine trellis or tomato cages
- Hand pruners
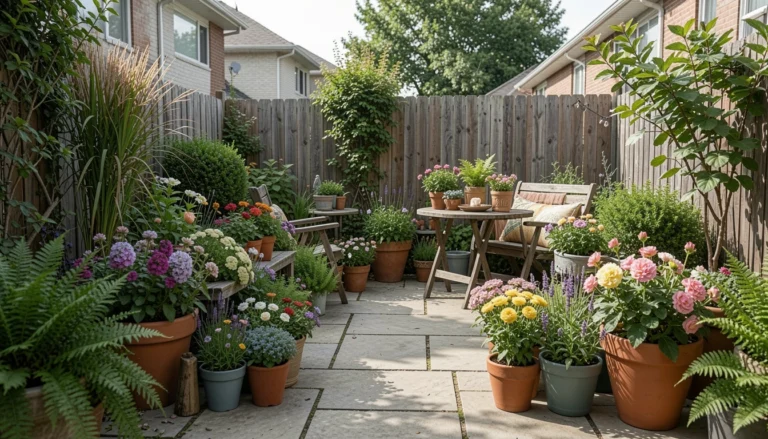
6. Layered Container Planting That Makes a Patio Feel Full

I learned patio gardening by layering plants in pots. A tall structural grass, a mid-height flowering plant, and a trailing spiller made corners feel lush. It hides empty pots between harvests.
I overplanted once and water became a chore. Now I choose pots with drainage and stagger sizes to balance water needs. Use a moisture meter if you forget to check.
Containers let me move plants into shade or sun. It’s immediate gratification for small spaces.
What You’ll Need for This Look
- Ceramic planters (12–18 inch)
- Potting mix for containers
- Tall ornamental grass or reed
- Trailing spiller plant (sweet potato vine)
7. Cold Frame Raised Bed for an Early Start
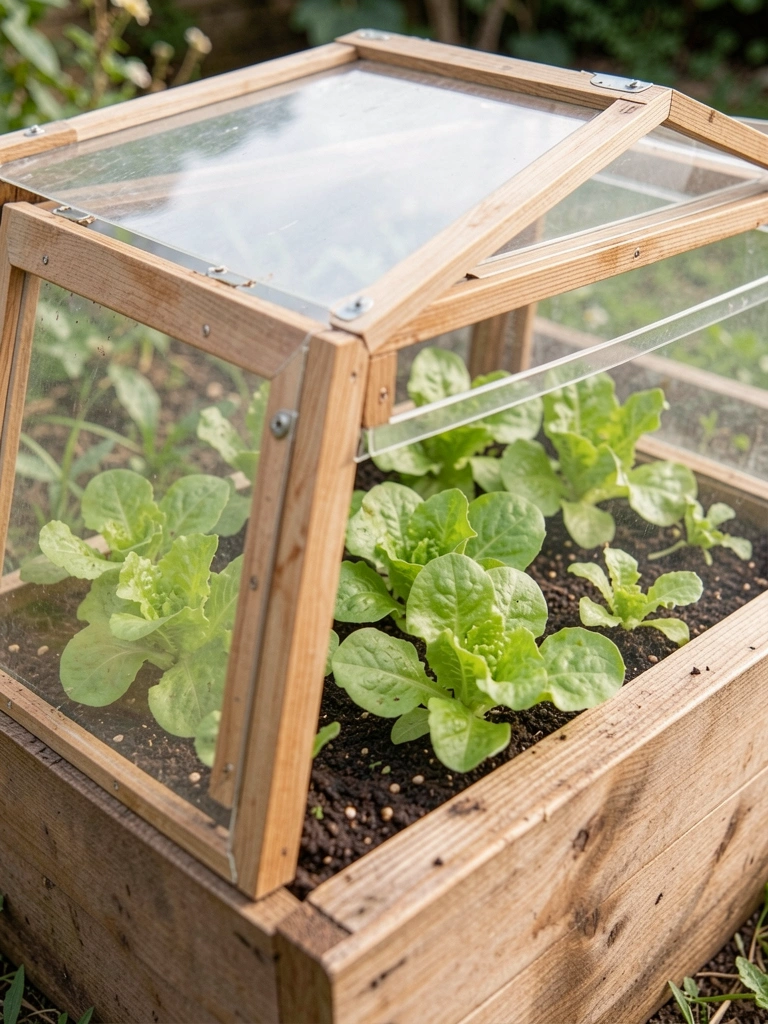
I added a cold frame to a raised bed and got lettuce weeks earlier. It traps warmth and keeps slugs out, which saved me many seedlings last year. The hinge makes ventilation simple.
I once used glass that fogged and blocked light. Choose clear poly or acrylic for clarity. Watch midday heat; prop the lid when it warms up.
It’s a small build that stretches the season and keeps the first bites of spring local.
What You’ll Need for This Look
- Small raised bed (4×2)
- Cold frame lid (acrylic or clear poly)
- Seed trays and starter mix
- Small hinge kit
8. Keyhole Bed with Composting Center for Close Feeding
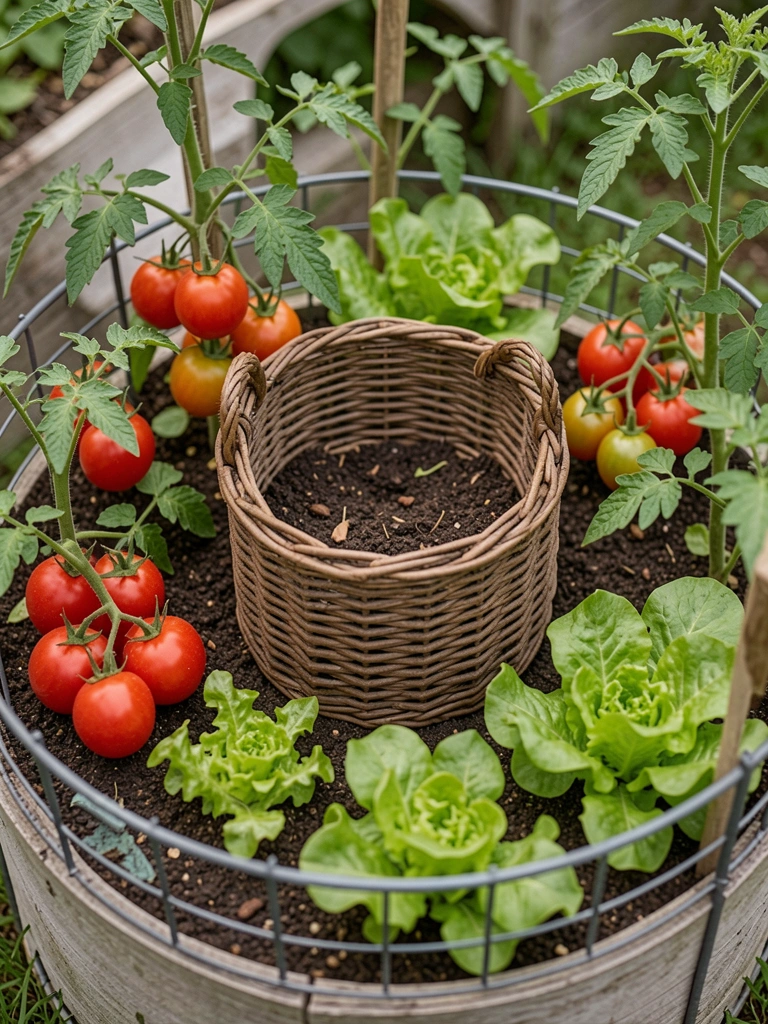
I built a keyhole bed after reading about easy feeding. The compost basket at the center put nutrients right where roots could reach. Plants next to the basket grew faster than those on the outer ring.
My first basket was too small and clogged. I swapped to a wider wire basket and now can add kitchen scraps without fuss. Keep some cover crop or mulch to prevent nitrogen loss.
This bed feels productive and neat. I spoon compost in and watch things perk up.
What You’ll Need for This Look
- Wire compost basket (18–24 inch diameter)
- Raised bed ring (circular, 4–6 feet)
- Aged compost and kitchen scraps
- Mulch (leaf or straw)
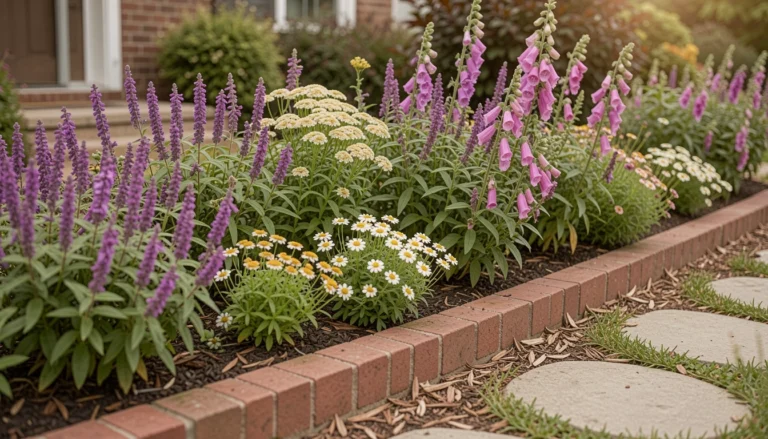
9. Pollinator-Friendly Native Border Bed
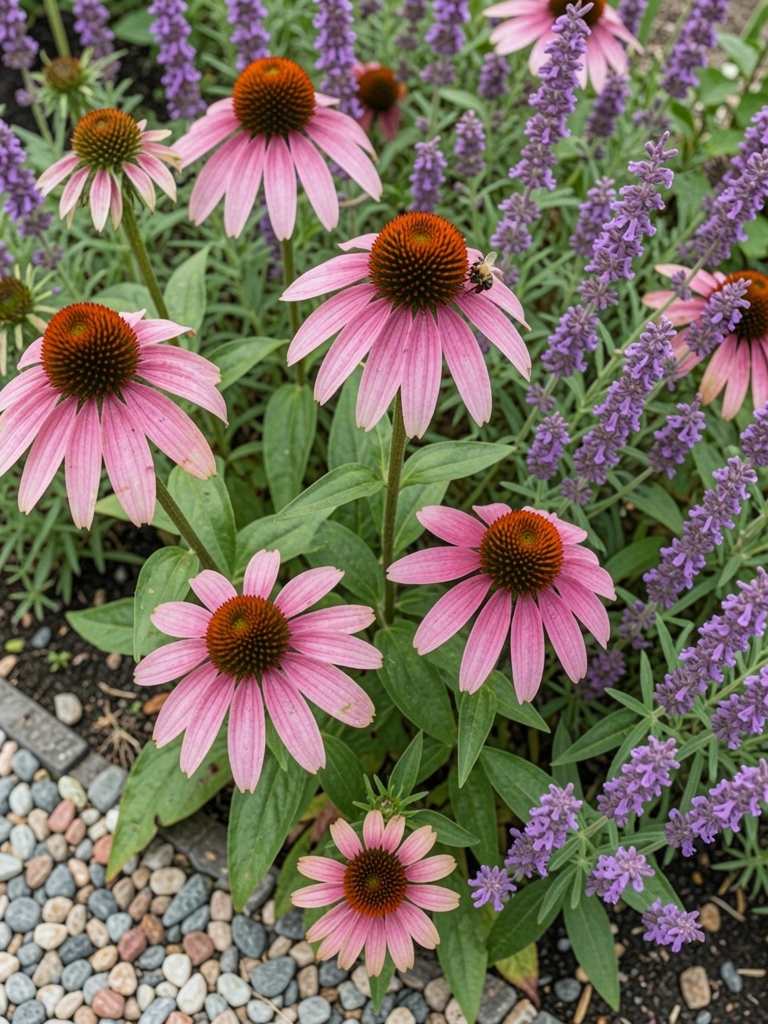
I replaced a tidy row of annuals with native perennials and immediately saw bees and butterflies. The border looked better through summer and needed less water once established.
I originally planted too many of one species and the bed lacked variety. Now I mix bloom times and heights so something’s always feeding insects. Cut back spent stalks to encourage rebloom.
It feels alive and slightly wild in the best way.
What You’ll Need for This Look
- Native perennial pack (coneflower, salvia, milkweed)
- Gravel edging (narrow)
- Pollinator-friendly mulch (leaf)
- Small hand rake
10. Shade-Friendly Woodland Bed with Ferns and Hostas

My north-facing corner refused sun, so I planted hostas, ferns, and spring ephemerals. The space felt transformed into a cool retreat and needed far less fuss than sun beds.
I planted fast-growing hostas too close and had to divide them the next season. Give each clump room. Add boulders or a log for texture and to hide irrigation lines.
This bed makes shady spots useful and cozy. I water less but mulch more.
What You’ll Need for This Look
- Hostas and ferns (shade varieties)
- Leaf mulch or composted wood chips
- Large decorative stone or log
- Moisture meter (optional)
11. Square-Foot Intensive Veg Bed for Small Harvests, Big Results

I switched a tired row to a square-foot grid and tripled what I harvested per square meter. Precise spacing keeps weeds down and makes watering efficient.
I underestimated how often I’d thin seedlings. Crowded starts can choke out slower growers. I now plan succession sowing and use a simple wooden grid for spacing.
The bed looks orderly and productive. It’s great for small gardens or beginners who like clear rules.
What You’ll Need for This Look
- Raised bed frame (4×4)
- Wooden square-foot grid (1-foot squares)
- Fine-texture vegetable compost
- Hand hoe for weeding
12. Edible Flower Cutting Bed for Colorful Salads and Bouquets

I set aside a strip for edible flowers after a bland salad season. Calendula, nasturtium, and borage gave color to plates and a handful of stems for the kitchen counter.
I once planted varieties that didn’t reseed and had a gap by late summer. Now I sow in waves and keep a few seed heads to drop. Some varieties attract beneficials, so they help veggies too.
It’s a small bed with big personality. I snip daily and toss petals into meals.
What You’ll Need for This Look
- Edible flower seed mix (calendula, nasturtium, borage)
- Small cutting snips
- Shallow jar or vase
- Lightweight fertilizer
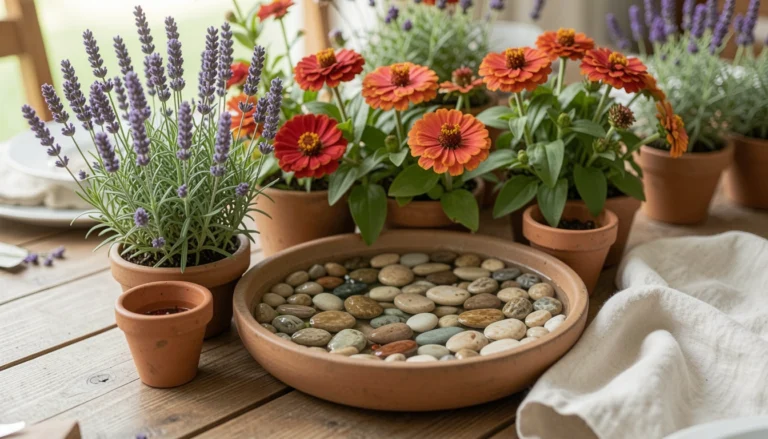
13. Low-Risk Container Herb Spiral by the Kitchen Door
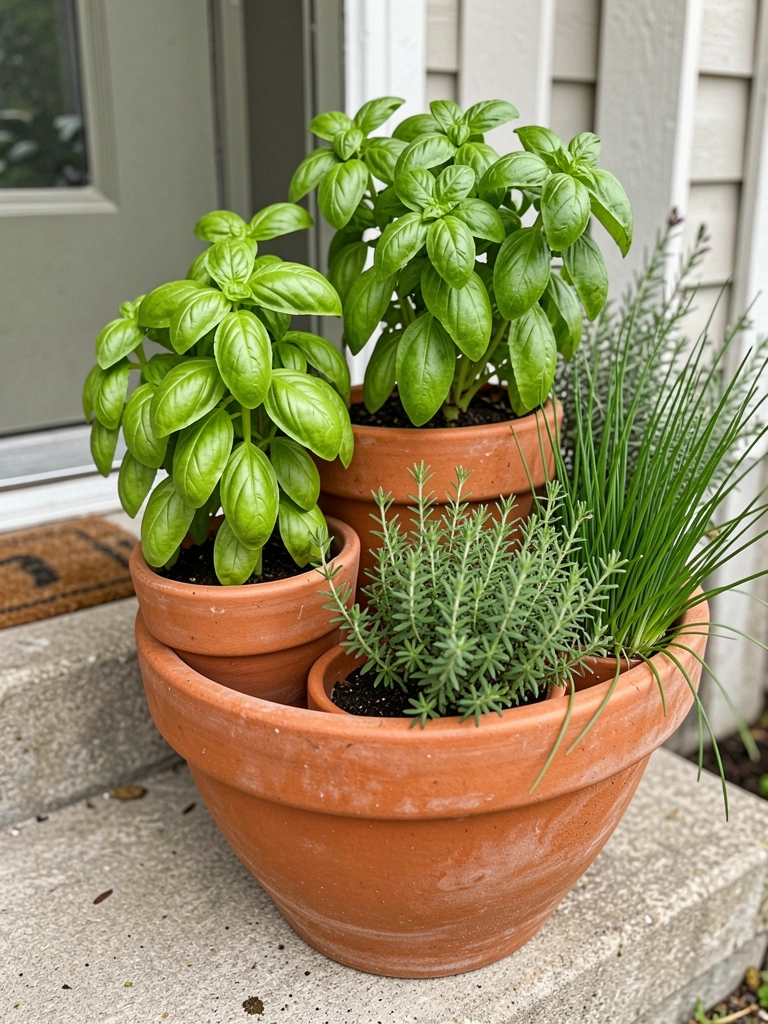
I made a spiral of stacked pots at my back door so snipping herbs was effortless. Basil, thyme, and chives are always within reach, and the spiral uses vertical space well.
I once used pots without drainage and lost a summer of basil. Now I check drainage and pick pot mixes suited to herbs. Rotate pots seasonally since the top dries faster.
It’s casual, personal, and keeps dinner-time harvesting simple.
What You’ll Need for This Look
- Terracotta pots (varied sizes)
- Herb potting mix
- Basil, thyme, chive plants
- Small saucers and drainage tray
Final Thoughts
You don’t need to try everything. Start with one bed that fits your space and schedule.
I made mistakes and learned from each one. That’s how the garden got useful and calm.
Pick one idea, buy a few good items, and enjoy the harvest.