How to Install Lights in Garden Bed
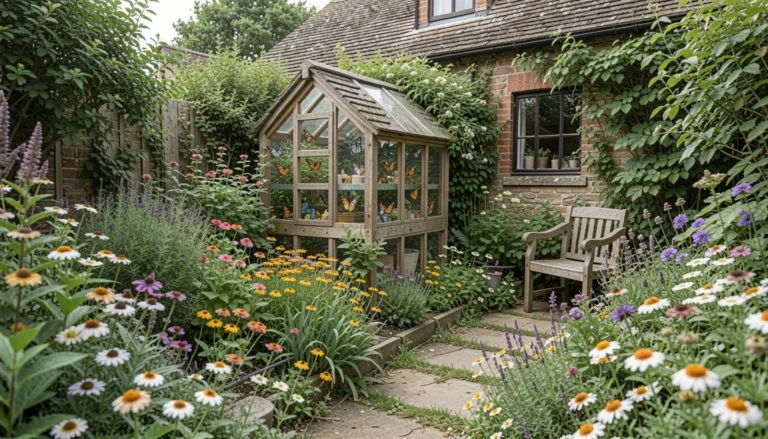
I stood in my border at dusk and felt the plant shapes disappear. The bed looked pretty by day and empty by night.
I didn’t want bright spots. I wanted the bed to read as part of the yard after dark.
It took a few tries to learn how subtle placement changes the whole feel.
How to Install Lights in Garden Bed
This shows how I place and balance low-key lights so beds feel intentional at dusk. It’s about where lights sit, not fancy fixtures. The result is warm edges, readable plants, and a comfortable yard at night.
What You’ll Need
- A single tall focal shrub or small tree (5–8 ft) to anchor an uplight
- Low, dark-leaved planting (hebe or Bergenia) to hide bases
- Mounding groundcover (thyme, sedum) to soften stakes
- Dark bark mulch to mask lines and bases
- A bench or visible seat to target with a wash of light
- A clear sightline from the house or path to guide placement
- A tidy border edge (stone or low pavers) to catch side-light
Step 1: Read the bed and pick your anchors
I walk the bed at dusk and name the anchors. I find the tallest plant, a seating spot, and any path edges that need guidance. I do this because light needs something reliable to point at.
The visual change is immediate in my head. The bed goes from flat to having intended focal points. You can almost see where light should fall.
People often miss how a single anchor plant can make low lights look deliberate. One mistake to avoid is lighting everything evenly. That washes the bed out.
Step 2: Decide light types by purpose, not brand
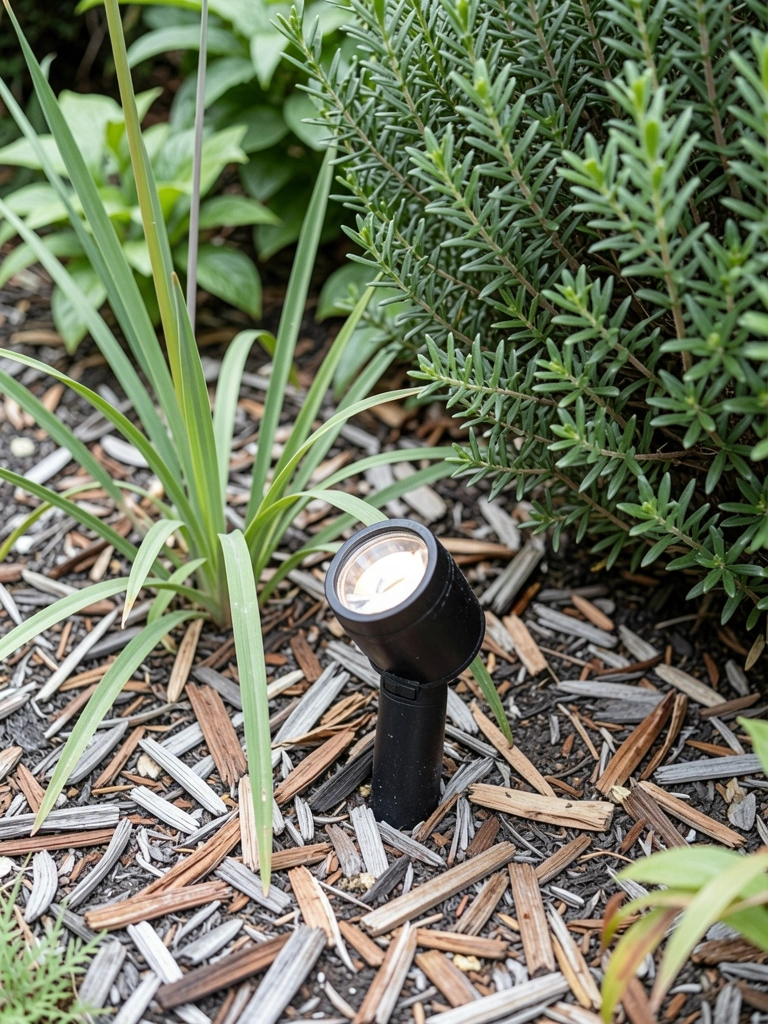
I match light type to purpose. I use a low stake to mark an edge and a small uplight to define a trunk or architectural leaf. It’s about the role each light plays in the scene.
Visually, the bed gains depth. Edges read as paths, and big leaves get gentle silhouettes. It makes the whole planting feel intentional.
An insight I lean on is that matching beam size to the plant matters more than fixture name. Avoid the mistake of treating every fixture the same; variety creates balance.
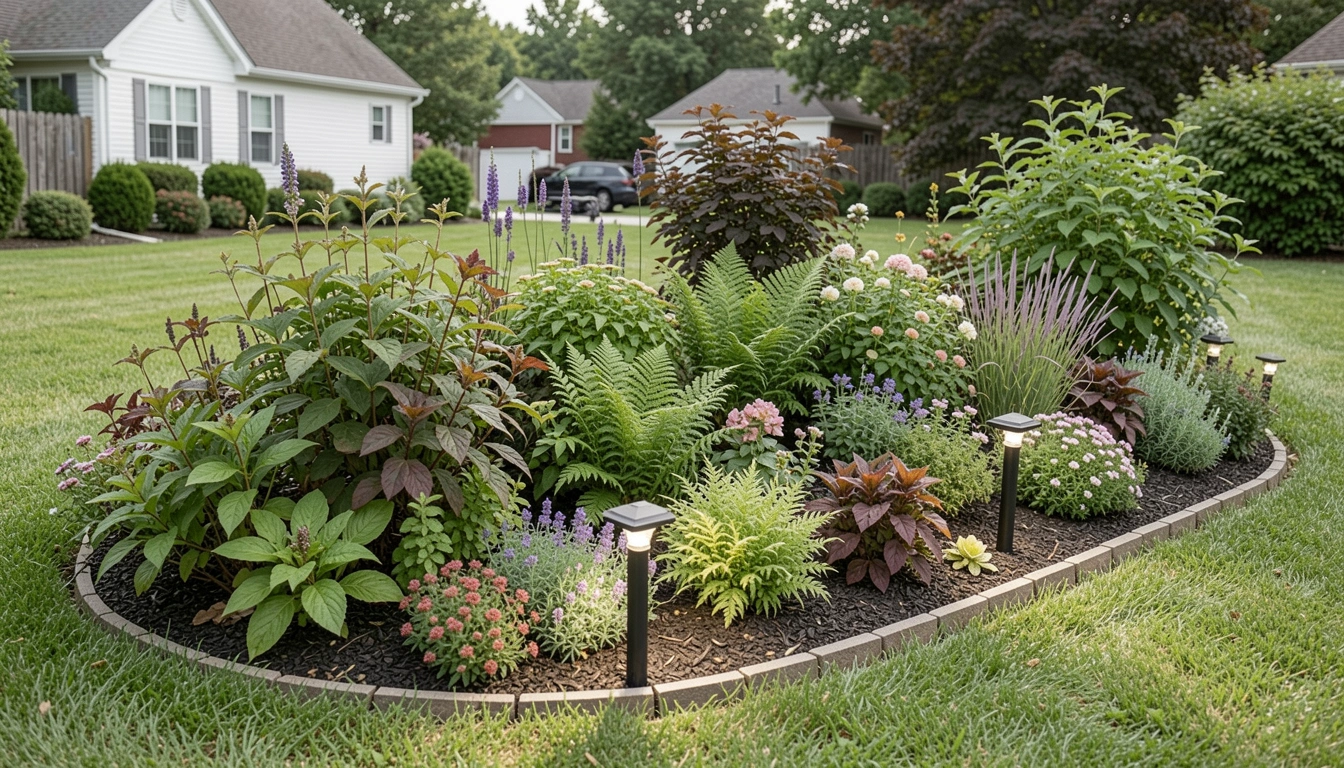
Step 3: Place lights low and layer for gentle contrast
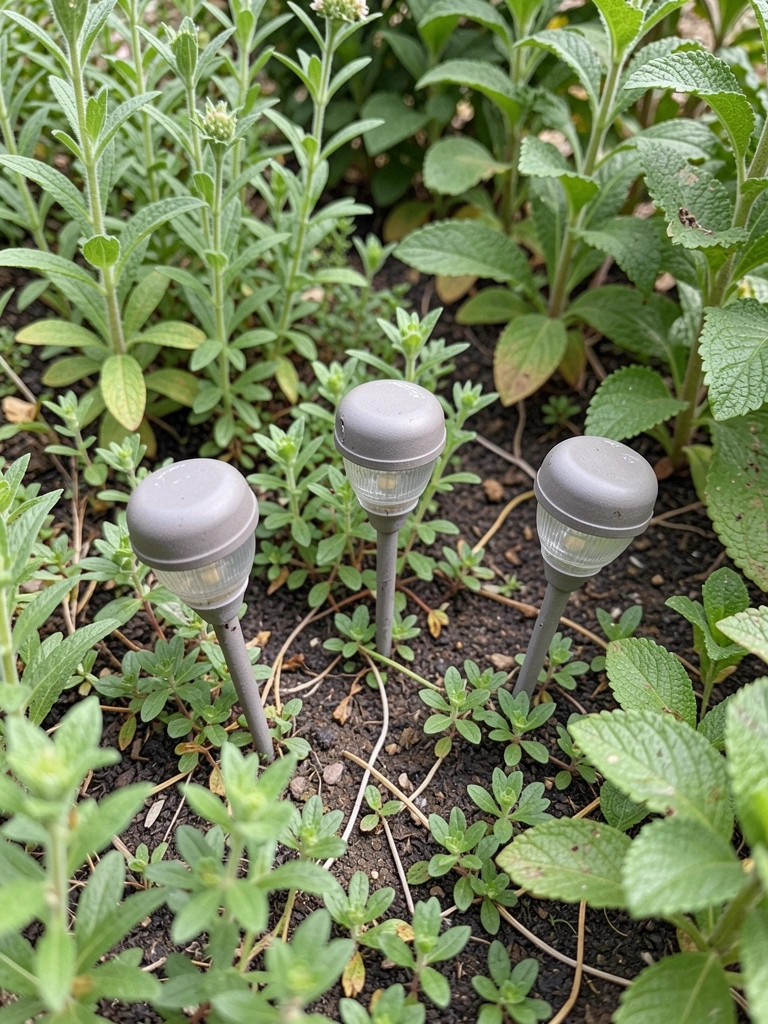
I keep lights low and stagger them. Low placement prevents glare and keeps light soft on the leaves. Layering—some low stakes, one uplight—builds a quiet contrast rather than a harsh wash.
The bed starts to read in planes. The front has a soft glow, mids have pockets of light, and the anchor gets a background lift. It feels balanced.
People often push lights too close to a plant. Don’t do that. Crowding a lamp into a crown creates hot spots. Give plants room to breathe.
Step 4: Integrate lines with plants and mulch

I let cables follow natural lines—along the border, behind a rock, under the mulch. I think of wiring as a compositional line that should disappear, not be another element.
Visually, hiding lines keeps the focus on plants and light. The bed reads as one piece rather than a string of fixtures. It feels cleaner and more lived-in.
A common miss is laying cables in a rigid straight line. That looks mechanical. The small mistake to avoid is burying everything too deep; you still want access for tweaks.
Step 5: Test at dusk, sit, and tweak

I always test after dark. I walk the sightlines from the house and sit on the bench where I’ll enjoy the view. I move a stake a few inches, lower an angle, or swap a bulb until it feels right.
The visual change is subtle but telling. A slight shift can make a shadow soft or a trunk read. Testing helps me avoid overdoing brightness.
Many people stop at a quick glance. Don’t assume daytime placement works. The small mistake is to call it finished without spending an evening with it.
Choosing a lighting style
I pick a style before I place anything. I choose warm, low-key light for sitting areas and slightly stronger uplight for structure. That keeps the bed cozy and readable.
Think about scale. A busy border needs smaller, more frequent lights. A simple planting needs fewer, stronger accents.
- Warm tones for cozy feel
- Low placement for subtlety
- Fewer fixtures, purposeful spots
Balancing light and plant texture
I use light to show texture, not erase it. Broad leaves take a soft wash. Fine grasses love side-light for movement and shadow.
I pair fixture type to plant form. This balance keeps the bed looking natural at night.
- Use uplights on trunks and bold leaves
- Use side-stakes for grasses and edges
- Keep groundcovers lit softly to avoid glare
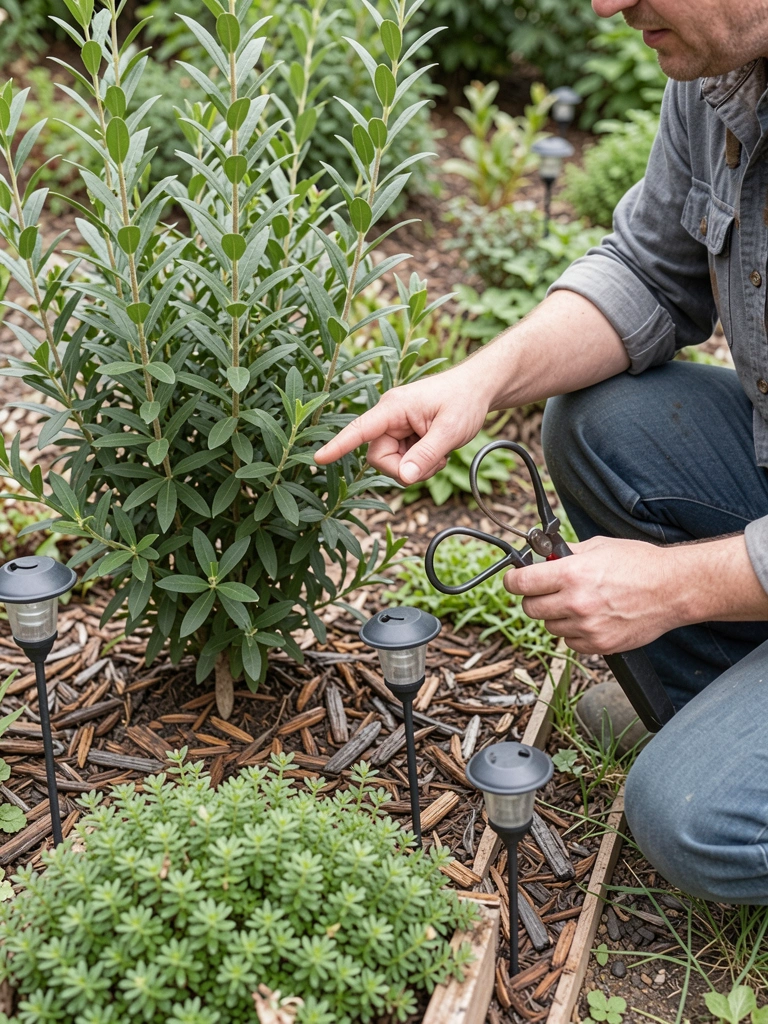
Seasonal care and small adjustments
I check positions each season. Plants grow and crowns shift. I move lights slightly to keep highlights where they belong.
I trim where needed so fixtures don’t sit inside foliage. Small seasonal tweaks keep the composition working year-round.
- Winter: aim for structural bones
- Spring/Summer: watch growth and fill
- After storms: recheck lines and angles
Final Thoughts
Start with one focal point and one or two low stakes. I find that small changes give big results.
Be patient. I tweak over evenings, not in one go. You’ll learn what each light actually does.
When the bed reads as comfortable at dusk, you’ll know you’re done.