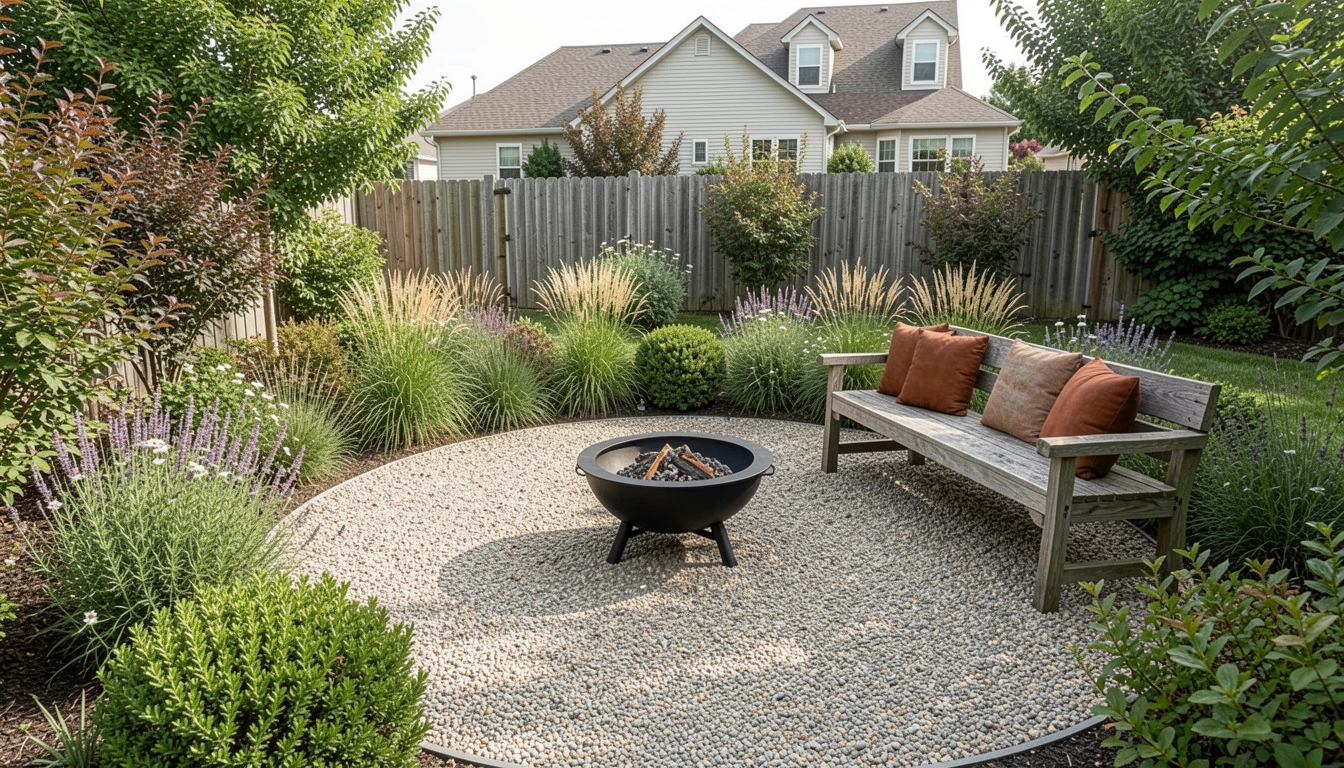
How To Make Backyard Fire Pit Patio Step By Step
I stared at the empty corner for months. It felt unfinished and awkward. I couldn't tell if a fire pit would crowd the lawn or finally make the patio sing.
I wanted a small, intentional spot to sit by a fire. Not perfect. Just comfortable and balanced.
I learned to edit and fit pieces until the space breathed.
How To Make Backyard Fire Pit Patio Step By Step
I’ll show how I shape a backyard fire pit patio so it reads balanced, comfortable, and lived-in—no heavy lifting, just placement and choices that last.
What You’ll Need
- 36-inch steel fire bowl (matte black)
- Warm-gray pea gravel (small, uniform)
- Reclaimed flagstone pavers (irregular cool gray)
- Weathered cedar bench (two-seater)
- Outdoor seat cushions (rust/terracotta, fade-resistant)
- Boxwood shrubs (18–24" pots)
- Clumping ornamental grasses (3-gallon pots)
- Warm-white outdoor string lights
- Low-profile metal landscape edging (dark finish)
Step 1: Find the right spot and set the scale
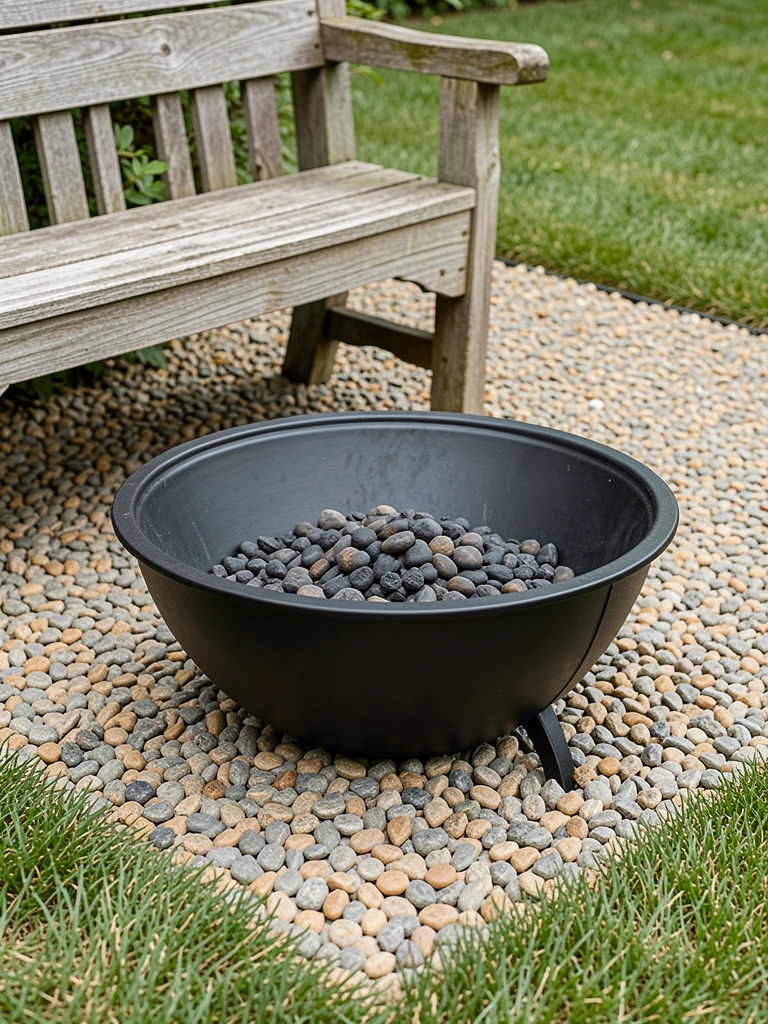
I start by standing where I’ll sit. I look for sightlines from the house and the path. I imagine the bowl at eye level from the bench. That tells me whether the pit will read intimate or lost.
Visually, the space gains a focal point. The yard finally has a destination. Most people miss how a slightly off-center placement can feel more deliberate.
Small mistake to avoid: centering in a huge open lawn. It makes the pit feel like a stage prop.
Step 2: Choose the ground plane that sets the mood
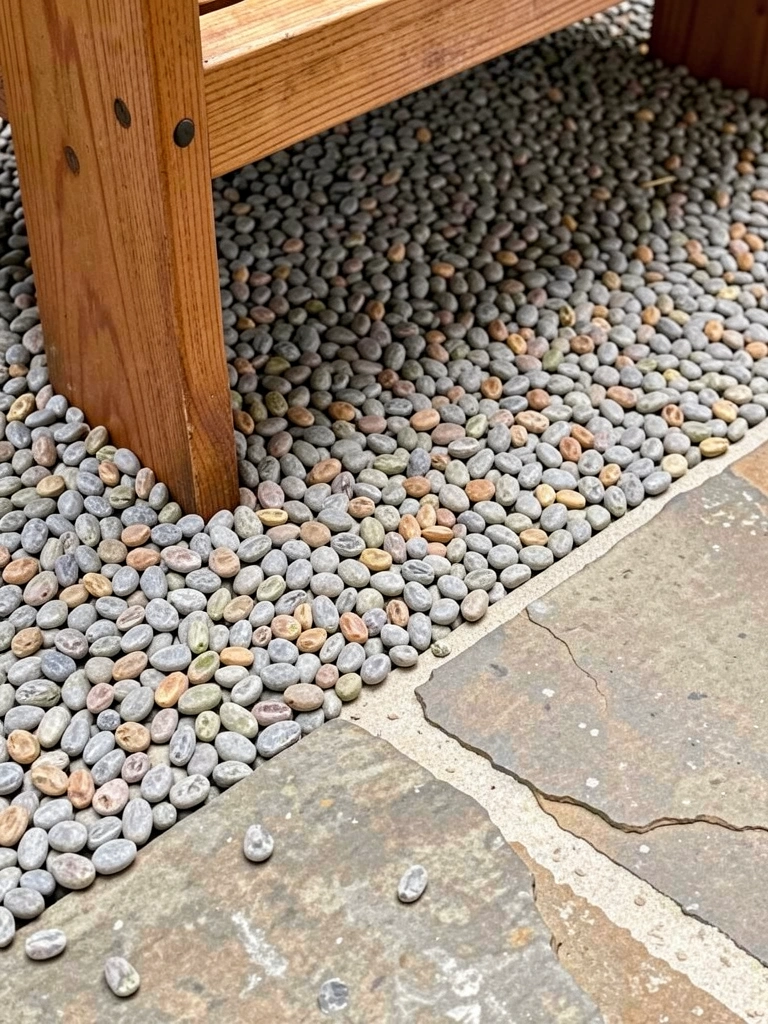
I settle on a texture that matches the house and plants. I prefer warm-gray pea gravel with a few reclaimed flagstones as stepping pieces. It reads casual and ages well.
The visual change is immediate. Edges read cleaner. The seating feels anchored. An insight I learned: contrast matters. A slightly different color gravel or a few flagstones breaks any flatness.
Mistake to avoid: matching every surface to the patio color. Too similar and the fire pit patio disappears.
Step 3: Arrange seating for sightlines and comfort
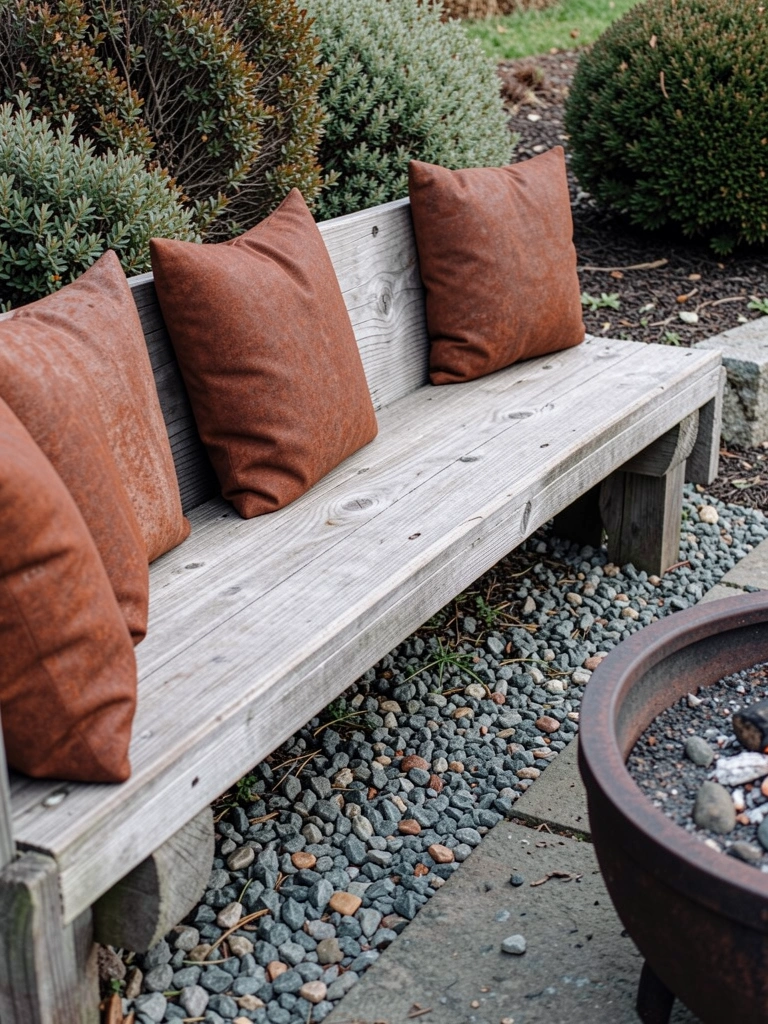
I place seating so faces point slightly toward each other and toward the fire. I mix a low bench with a couple of movable seats. I leave a clear walking gap, not a measured number.
Visually, the area becomes social. It looks like a place people choose to sit. I often remind myself to layer heights—bench, low stools, cushions—to keep it cozy.
Mistake to avoid: rigid symmetry. A perfectly even circle reads formal and uninviting.
Step 4: Frame the pit with plants and soft edges

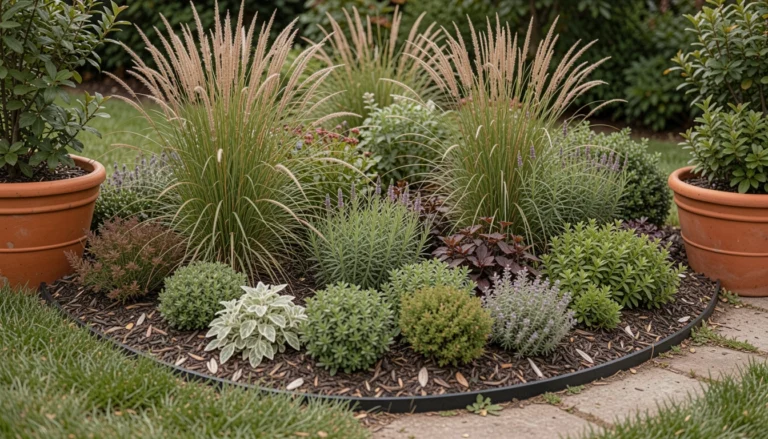
I plant low-evergreen anchors and a few grasses behind seating. I keep plants a hand’s width from gravel to let the edge breathe. The plants give depth and soften the hard lines of stone.
The change is subtle but crucial. The pit now looks rooted in the garden. One insight: use plants that hold shape in winter so the spot reads intentional year-round.
Mistake to avoid: crowding plantings right up to the pit. It makes the space feel cramped and fussy.
Step 5: Layer light and add small, lived-in details
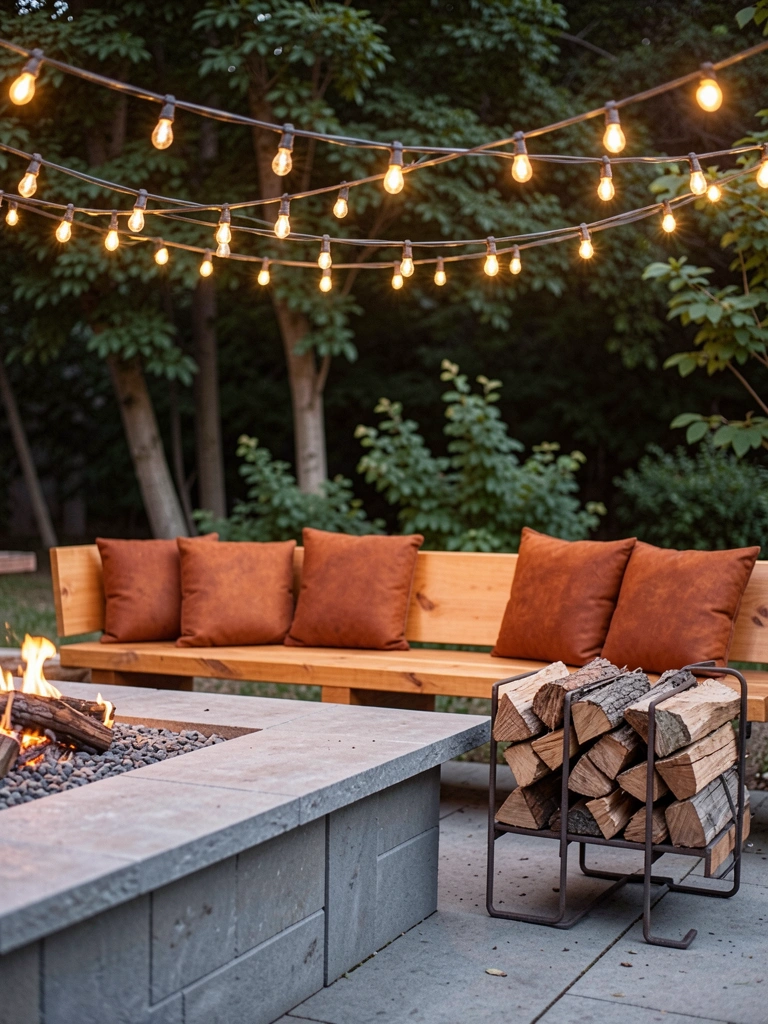
I add warm string lights and a small wood rack or tidy log basket. I pick cushions in a single accent color and rotate them by season. I test where light falls before calling it done.
Visually, the patio becomes comfortable after dark. It looks like a place meant for evenings. A detail I often miss at first is low-level light near the ground for safe steps.
Mistake to avoid: relying on one bright light. Single-source light casts hard shadows and flattens the space.
Choosing the Right Fire Pit and Surface
I prefer a simple steel bowl for a lived-in look. It patinas gently and reads clean with gravel or flagstone. If I want a more formal feel, I lean to a lower, wider style.
For surfaces, I choose materials that will age together. Gravel hides small shifts. Flagstones read natural. I match color temperature to my house and garden palette.
Seating and Planting for Balance
I aim for a mix of fixed and movable seating. The fixed piece anchors the back. Moveable chairs let me change angles as needed.
For planting, I use a strong evergreen anchor and softer, textural grasses. I keep the tallest plants at the rear so the fire and faces stay visible.
Care and Seasonal Adjustments
I swap cushions seasonally. In fall I pick deeper rust tones; in summer I choose lighter, faded fabrics. It keeps the area feeling fresh.
I tidy the gravel edges every few months and reposition a flagstone or two if they sink slightly. Small edits keep the patio working and looking intentional.
Final Thoughts
Start small and finish one corner before adding more. I often leave a time gap to live with the layout and tweak.
Trust proportions and plant anchors over perfect symmetry. Small changes pay off.
If it feels comfortable to sit in, it’s done.