How To Build A Raised Vegetable Garden Bed For Better Yields
My patch used to look like an afterthought. Plants were crowded. Yields were thin.
I kept blaming weather and seeds. I eventually listened to the bed itself.
Building a raised vegetable garden bed settled the space. It made tending clearer and harvesting easier.
How To Build A Raised Vegetable Garden Bed For Better Yields
You’ll learn how I place a bed, shape the soil feel, and arrange plants so the bed produces more and looks balanced. It’s achievable and steady work. The end result is fuller crops and a calm patch in the yard.
What You’ll Need
- Cedar 4×8 raised bed frame (unfinished, warm wood)
- Rich loamy topsoil blend (dark, loose, 1 cu. yd.)
- Well-rotted compost (crumbly, earthy)
- Shredded bark mulch (2-inch coverage)
- Wooden A-frame trellis (6 ft, warm brown)
- Mix of vegetable transplants (lettuce, determinate tomato, bush beans)
- Low edging plants (marigolds, chives in small pots)
- Flexible soaker hose (dark green, low-profile)
Step 1: Sit the Bed in the Best Spot
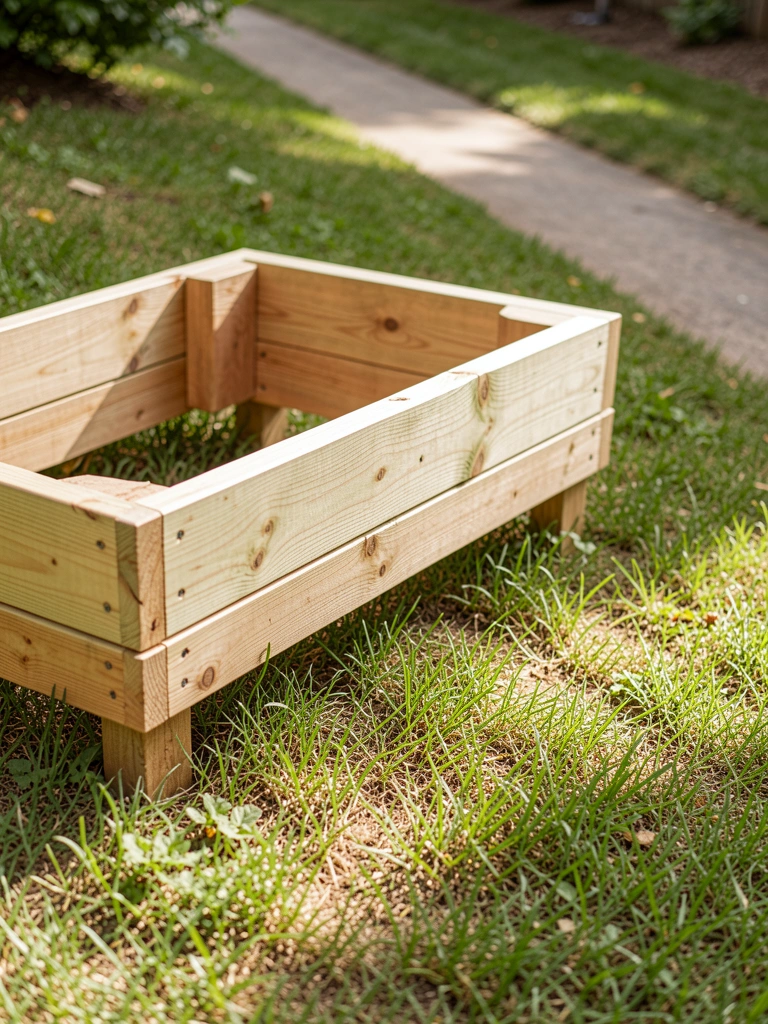
I start by standing where the bed will live and watching the sun. I note where morning light hits and where afternoon shadow falls. I think about sightlines from the kitchen window and how the bed will look from the path.
The change is immediate. An accidental corner becomes a framed rectangle that feels deliberate. The bed stops being patchwork and becomes a place.
A lot of people miss the small visual shifts that alter access. Don’t tuck the bed too close to a fence or under heavy shade. That’s the easy mistake that ruins both yields and the way the garden feels.
Step 2: Build a Deep, Friendly Soil Layer
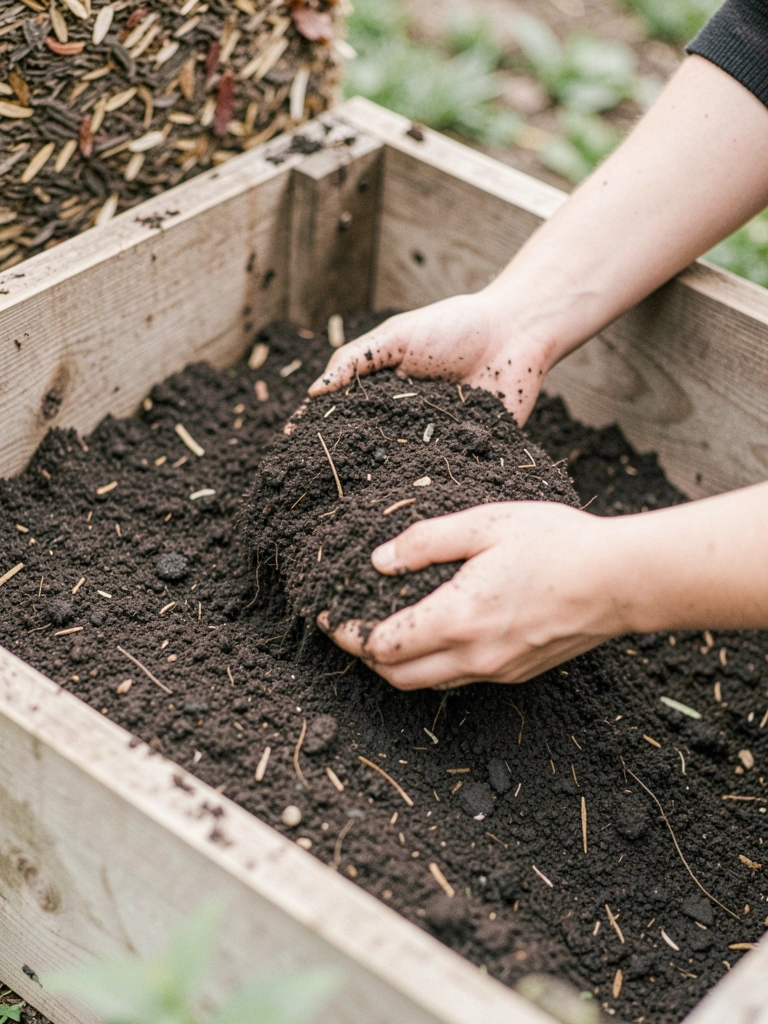
I think about soil as the bed’s personality. I want a deep, light layer that feels crumbly when I press it. I blend rich topsoil with well-rotted compost until it looks dark and inviting, without packing it down.
Visually the bed fills with a dark, even plane that promises vigor. It reads like a base note in a planting—quiet, steady, supportive.
Many gardeners assume an exact recipe matters most. I’ve learned soil feel is what counts. A common mistake is heaping in cheap topsoil that compacts. That kills the airy feel roots need.
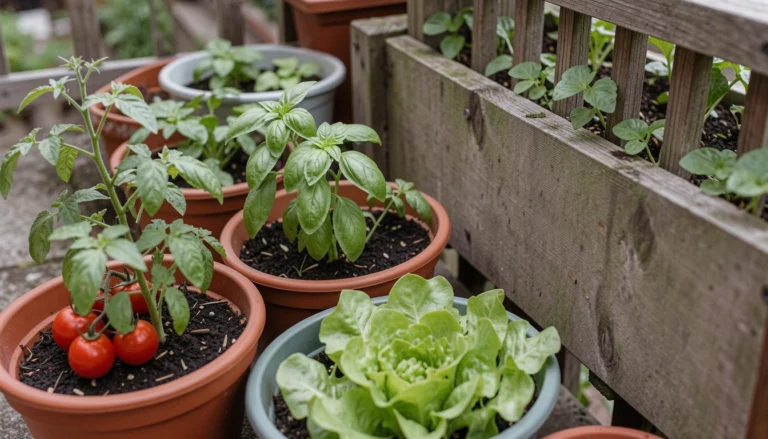
Step 3: Arrange Plants for Yield and Balance
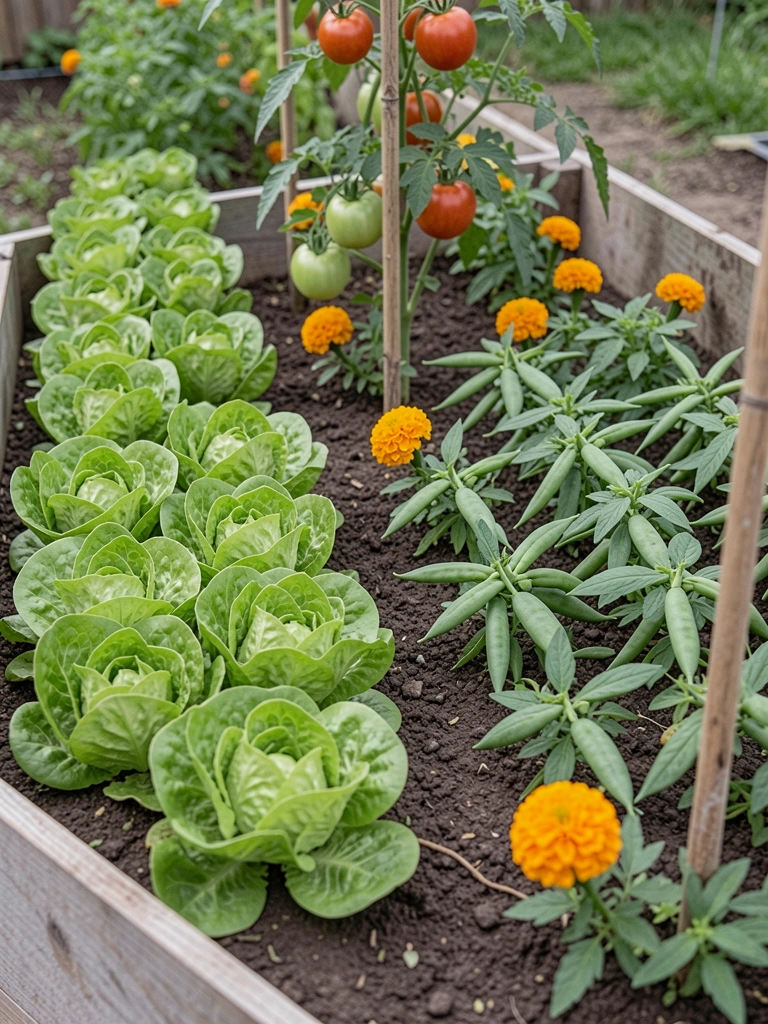
I lay out plants by height and harvest rhythm. I place taller crops toward the back or center if I’ll walk around the bed. I repeat short accents—little clumps of marigolds or chives—to tie the bed together.
The bed changes from flat to layered. You get rhythm: low greens at the front, mid-height vegetables for steady picking, and taller supports that anchor the scene.
People often scatter singles around like ornaments. That breaks flow and reduces yield. Avoid random placement and don’t cram in too many tall plants together.
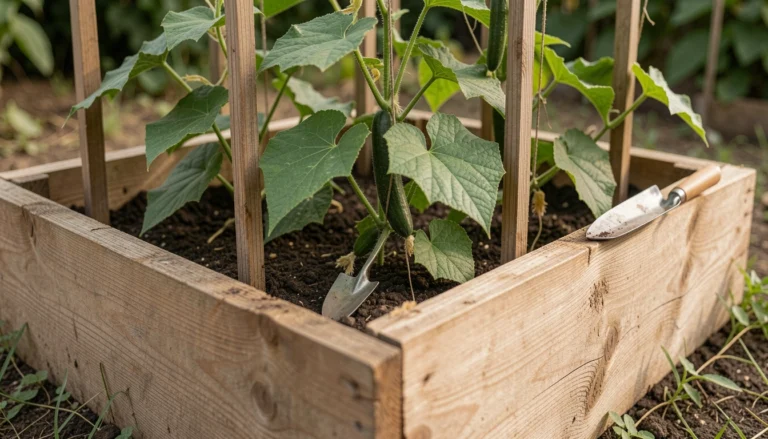
Step 4: Add Vertical Structure and Friendly Companions
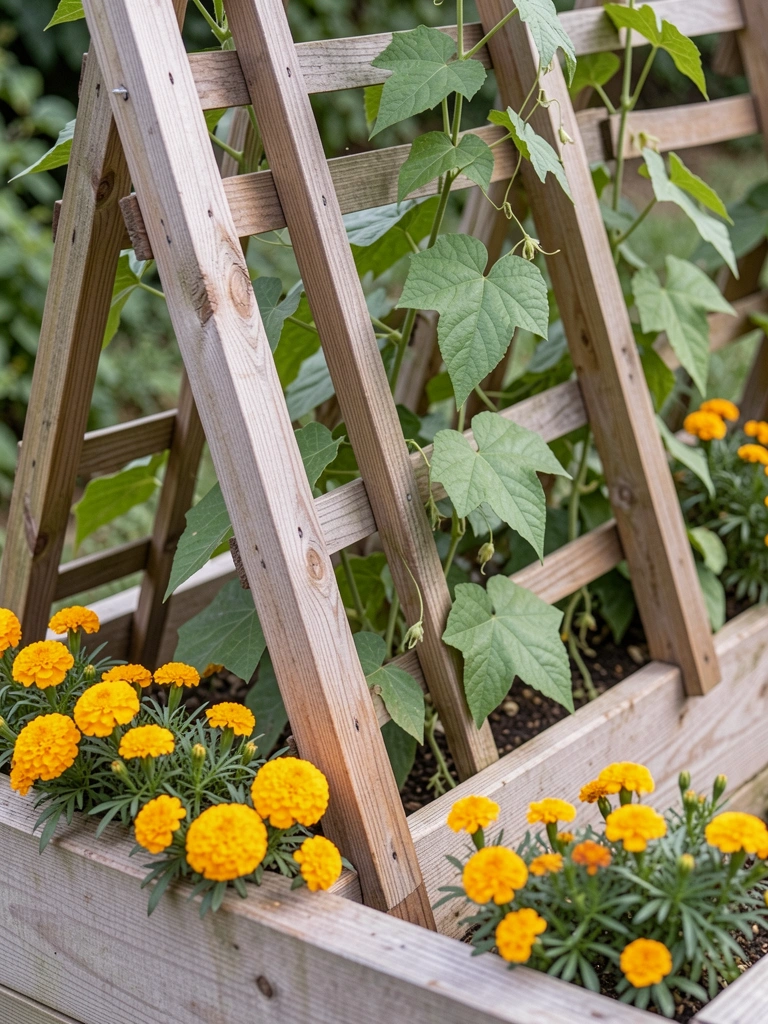
I add a trellis where it balances the view and won’t shade midday crops. I tuck companion flowers and herbs along the edge to soften the frame and attract helpful insects.
Visually the bed gains height and a sense of enclosure. The vertical line gives you fruiting space without expanding the footprint.
An easy oversight is placing tall verticals where they cast shade across thirsty plants. And don’t forget to repeat a small companion plant to create cohesion—single accents feel accidental.
Step 5: Finish with Mulch, Paths, and a Simple Routine
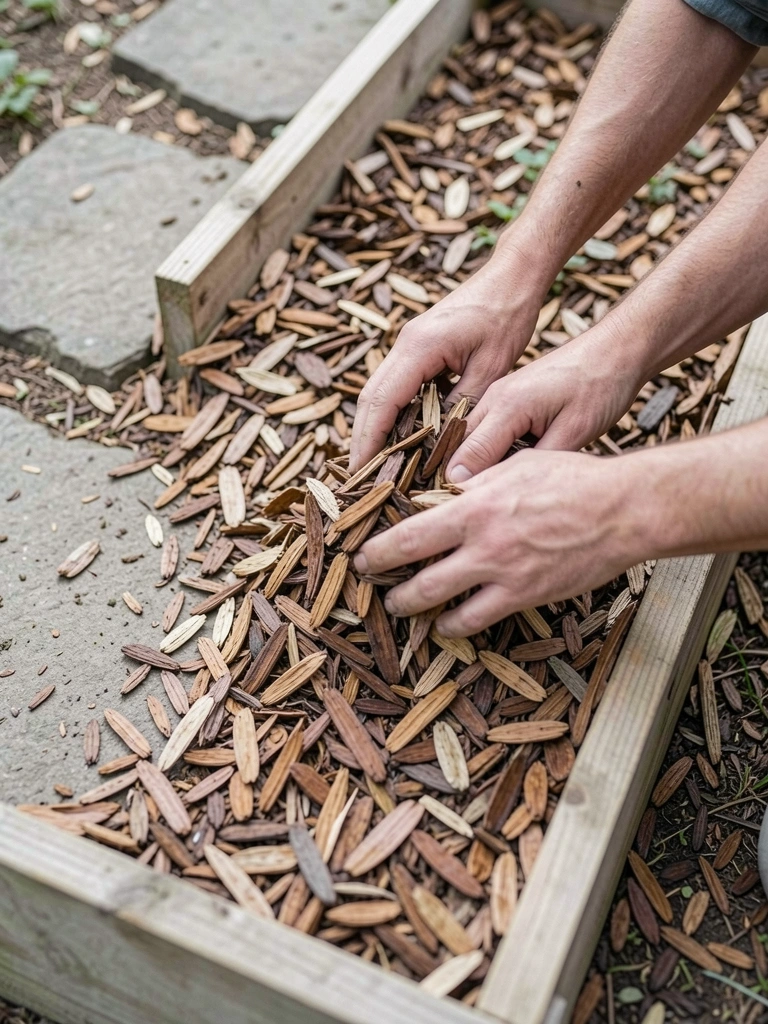
I finish by mulching and setting simple edges. Mulch keeps moisture even and gives the bed a finished look. I leave a clear access path and make sure I can reach every plant without stepping in the bed.
The finished bed looks tidy and cared-for. It reads as intentional and comfortable. It also invites regular, small visits.
Common mistakes are beds too wide to reach across, or edging that looks rigid. Start with reachable widths and a soft edge of herbs or low annuals.
Companion Planting and Good Pairings
I keep pairings simple. Tomatoes with basil along the edge. Beans up a trellis with a border of marigolds. Lettuce in the shade of taller late-summer crops.
I repeat colors and textures so the bed reads as one piece. Small, repeated accents bind the design and help with pest control and pollination.
Seasonal Care and Succession
I plan succession so the bed never feels empty. Cool-season greens in spring, warm-season crops mid-summer, then quick fall sowings. I rotate space mentally, not obsessively.
A steady, small routine matters more than big, infrequent efforts. I visit weekly and tweak placements based on how the bed feels.
Troubleshooting Common Problems
I watch for compacted spots, uneven growth, and confused sightlines. If a patch looks sad, I step back and consider light and access first.
Quick fixes:
- Shade problems: shift tall plants or move the bed slightly.
- Poor soil feel: top-dress with compost and wait a season.
- Crowding: thin or move transplants to keep visual rhythm and air flow.
Final Thoughts
Start with one neat bed you can reach across. Keep the shapes simple and the plant groups repeated.
Take time to feel the soil and stand back often. Small adjustments make big visual and yield differences.
A calm, cared-for raised vegetable garden bed will reward steady attention more than perfect plans.