14 DIY Garden Edging Ideas Cheap And Easy To Make
I finally learned edging isn’t about perfection. It’s about stopping mulch from spilling and giving a bed a quiet frame.
I ruined a layout once by using the wrong material. I fixed it with simple, cheap edging and felt the whole garden settle.
These are hands-on, lived-in ideas you can build without special tools.
14 DIY Garden Edging Ideas Cheap And Easy To Make
These 14 ideas are practical, low-cost, and things I actually used in my messy, real garden.
Each one is easy to make and uses common materials.
Pick what fits your style and energy — I used them all.
1. Reclaimed Brick Edge Laid on Side
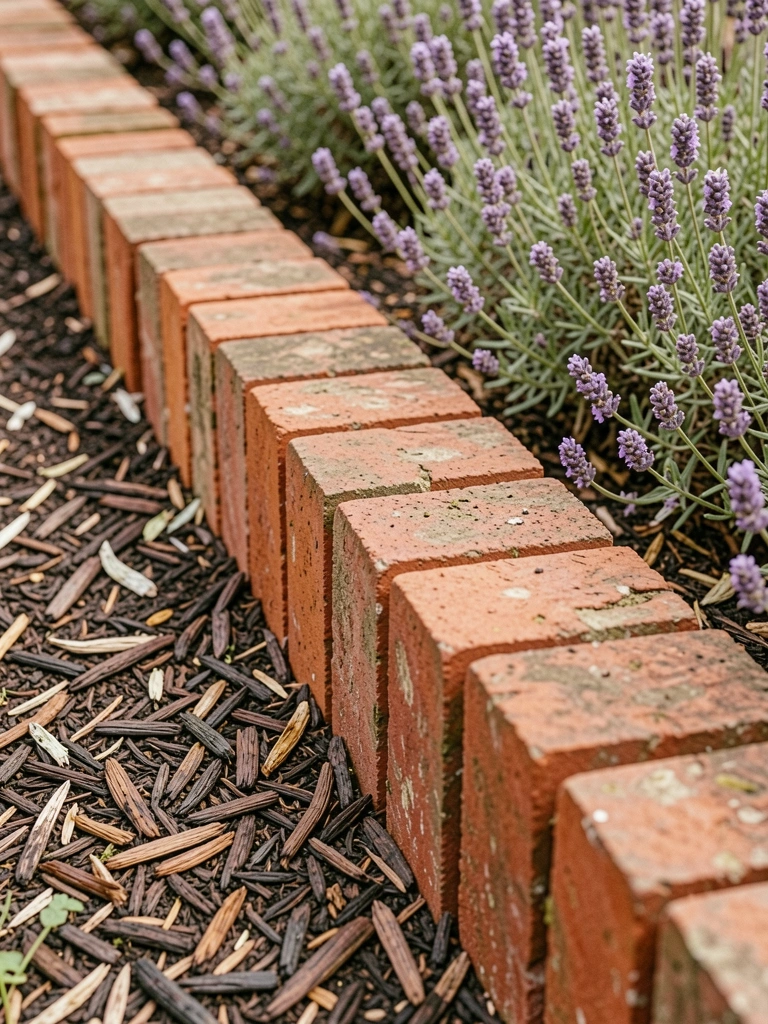
I used a stack of salvaged bricks to edge a cottage bed. Laying them on their side gave a slim, tidy profile and held back mulch like a charm. At first I used thin pavers and they tipped; lesson learned—I dug a shallow trench and packed sand underneath. The line looks handmade, not perfect, which I like.
Pay attention to drainage where water pools. I tuck small clumps of thyme between bricks for softness.
What You’ll Need for This Look
- Reclaimed bricks (standard red, mixed sizes)
- Coarse sand (for bedding)
- Shovel and rubber mallet
- Small level
2. Half-Buried Wine Bottles (Cheap Vintage Look)
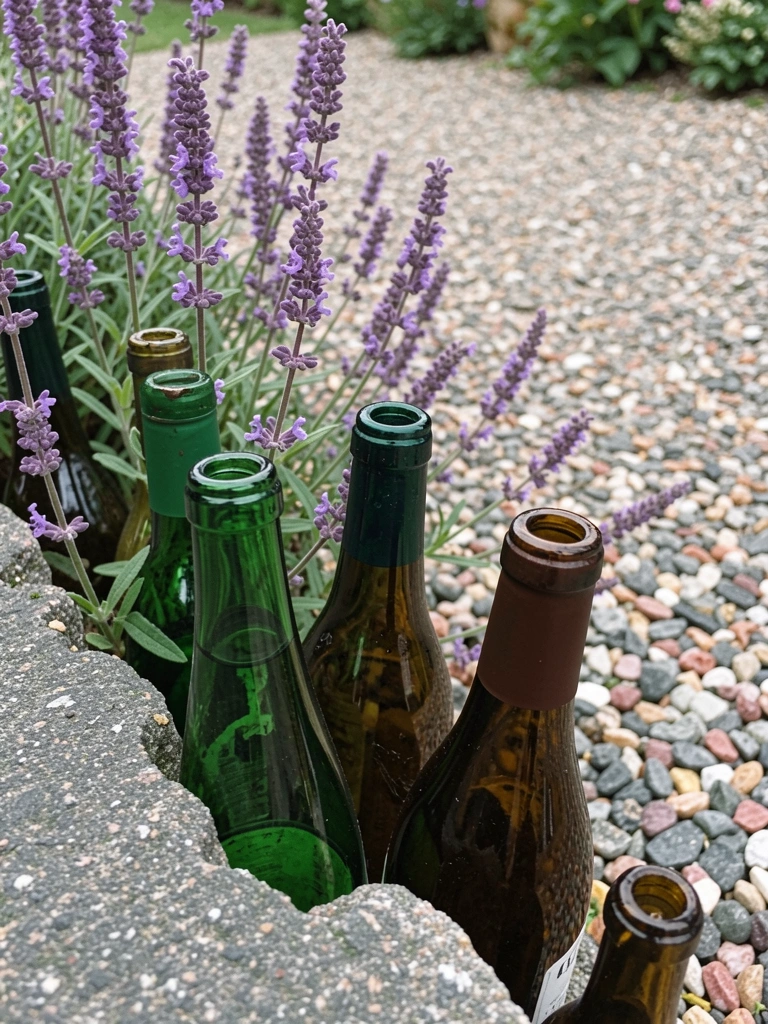
I lined a sunny gravel path with old wine bottles I gathered from friends. The necks point down and the glass catches light in a quiet way. It’s cheap if you already collect bottles; otherwise a trip to a thrift shop makes it reasonable. I once set them too close and they looked cluttered—spacing matters more than I expected.
It’s fragile, so use this where kids or mowers aren’t likely to hit it.
What You’ll Need for This Look
- Assorted glass wine bottles (cleaned)
- Sand or pea gravel (to bed them)
- Gloves and a trowel
3. Recycled Pallet Wood Low Border
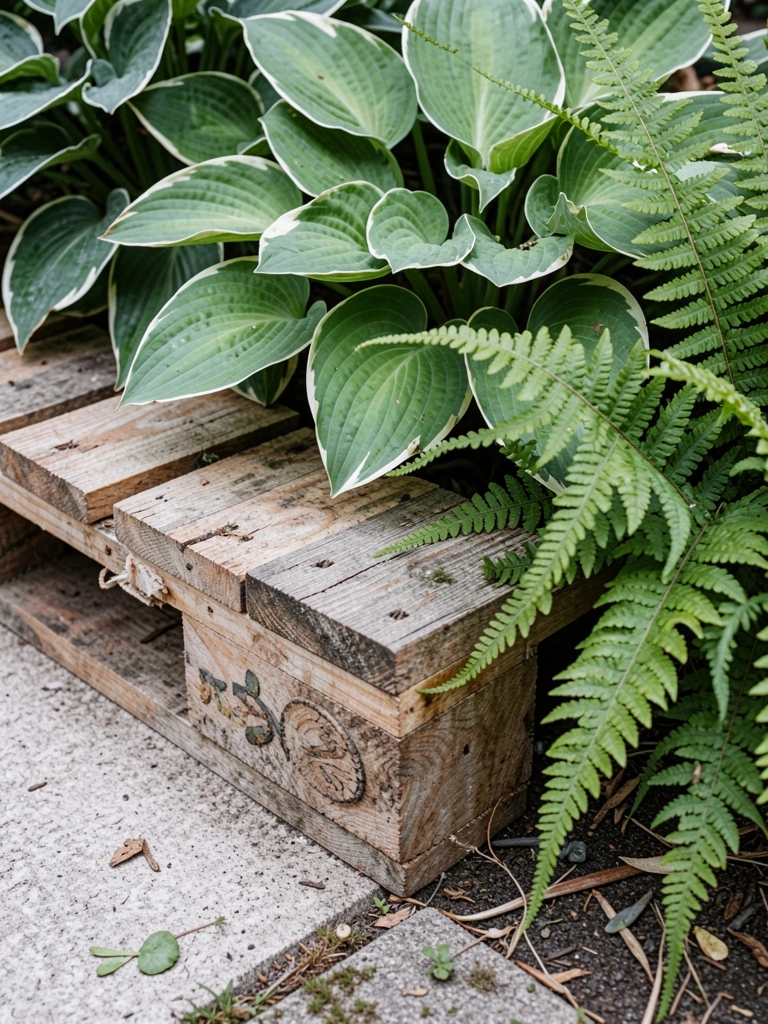
Pallet wood saved me money and gave a rustic edge to a shady bed. I cut the slats into short lengths, stood them upright, and pegged them into the soil. They weather to a soft gray and blend with green plants. My first attempt used untreated thin slats that rotted faster than I thought—use thicker boards or coat them if you want longer life.
This is quick to change later if you decide on something else.
What You’ll Need for This Look
- Reclaimed pallet wood (slats or short planks)
- Garden stakes or rebar
- Handsaw and drill (optional)
- Wood preservative (optional)
4. Terracotta Pot Halves Planted Edge
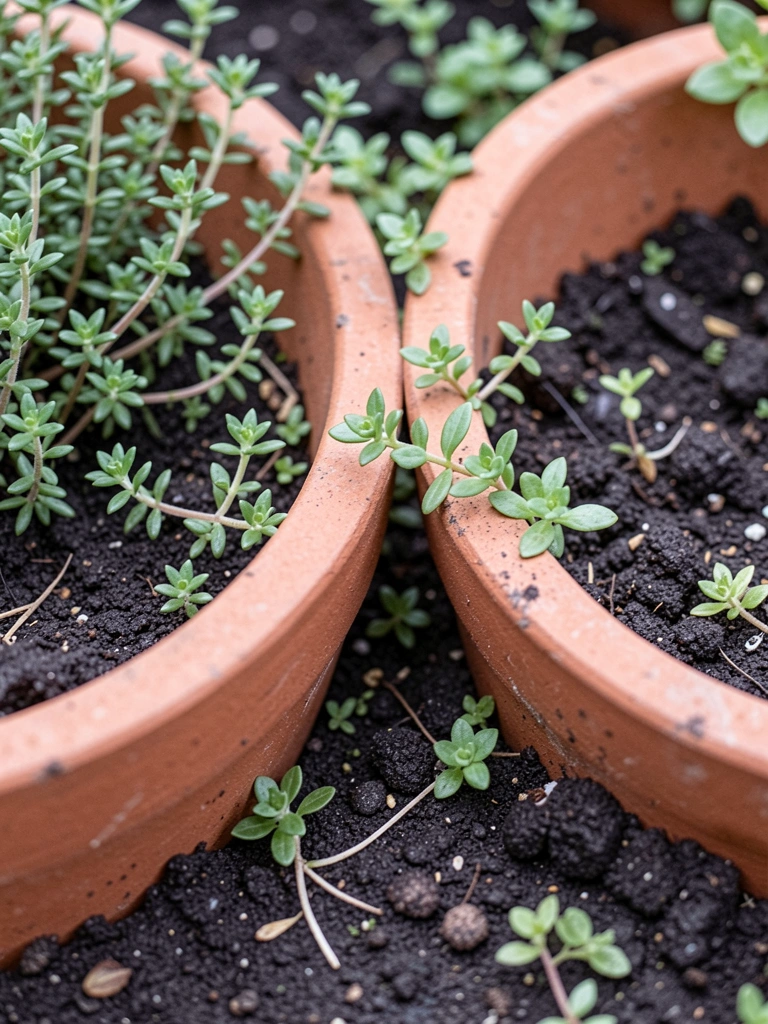
I cut old terracotta pots in half and used the rims as chunky edging. The warm color suits herbs and Mediterranean plants. I buried them rim-up and planted small sedums between each pot. I made the fence too tall once and had to rebury them lower—keep the rim subtle for a comfy look.
They crack if frozen with wet soil, so I avoid this in very cold spots.
What You’ll Need for This Look
- Terracotta pots (various sizes, halved)
- Small sedum or thyme plugs
- Garden trowel and hammer (to break pots safely)
5. Simple Gravel Band with Reclaimed Steel Strip
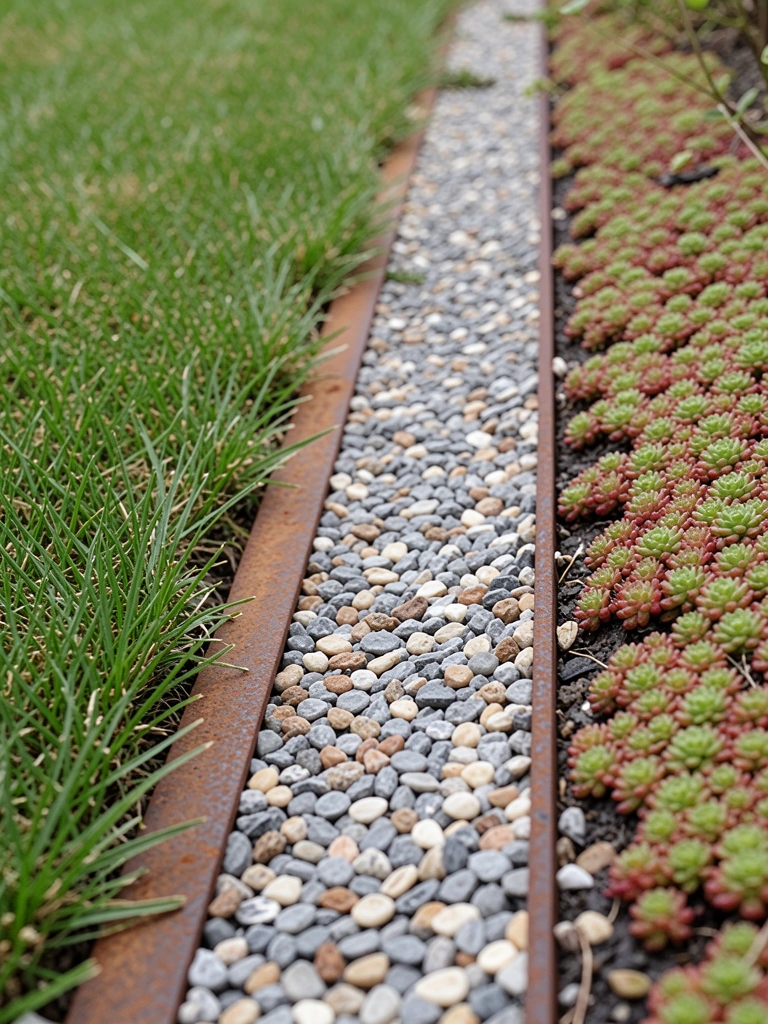
A narrow gravel band gives a clean edge between lawn and bed. I used a thin strip of reclaimed steel as a crisp separator—cheap if you scavenge scrap metal. I had to tuck the steel deeper after my mower nicked it the first season; it needs to be flush. The gravel drains well and stops grass runners.
This is low-maintenance and looks modern without fuss.
What You’ll Need for This Look
- Pea gravel (small, 1/4 inch)
- Reclaimed steel edging strip (rust finish)
- Spade and plate compactor or hand tamper
6. Stacked River Rock for a Natural Look
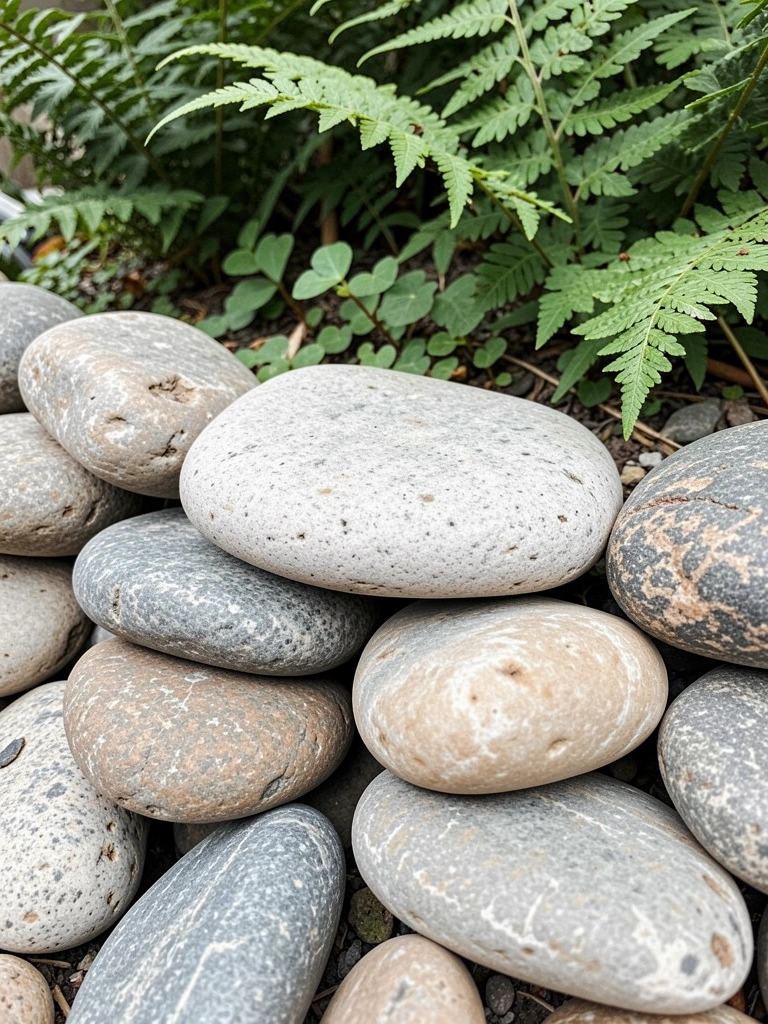
I piled river rocks to make a natural, bumpy border around my woodland bed. The stones settle into a pleasing curve and never look overly formal. It took time to find the right shapes; the first pile looked like a pile of laundry. Once I matched sizes, it read like a deliberate edge.
It’s stable and good for sloped areas. Use larger stones at the base.
What You’ll Need for This Look
- River rocks (assorted sizes)
- Wheelbarrow
- Gloves and kneeling pad
7. Low Log Slice (Round Stepping) Edge
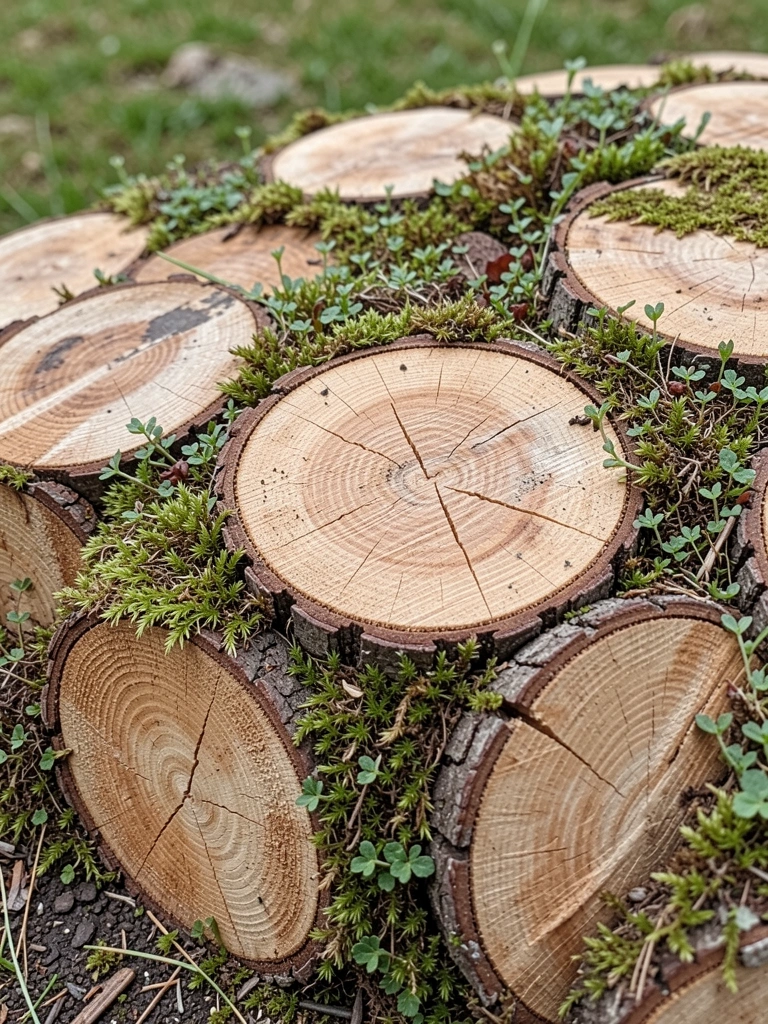
I cut a fallen log into rounds and stood them upright for a playful edge. The rings soak up rain and host moss over time, which I like. I learned wood choice matters—soft wood rotted faster in my damp corner. Oak or treated slices lasted noticeably longer.
They’re perfect for a cottage or natural garden, and you can plant creeping thyme between slices.
What You’ll Need for This Look
- Log rounds (2–4 inch thick, mixed diameters)
- Saw (chain saw or handsaw)
- Drill for drainage (optional)
8. Broken Tile Mosaic Border
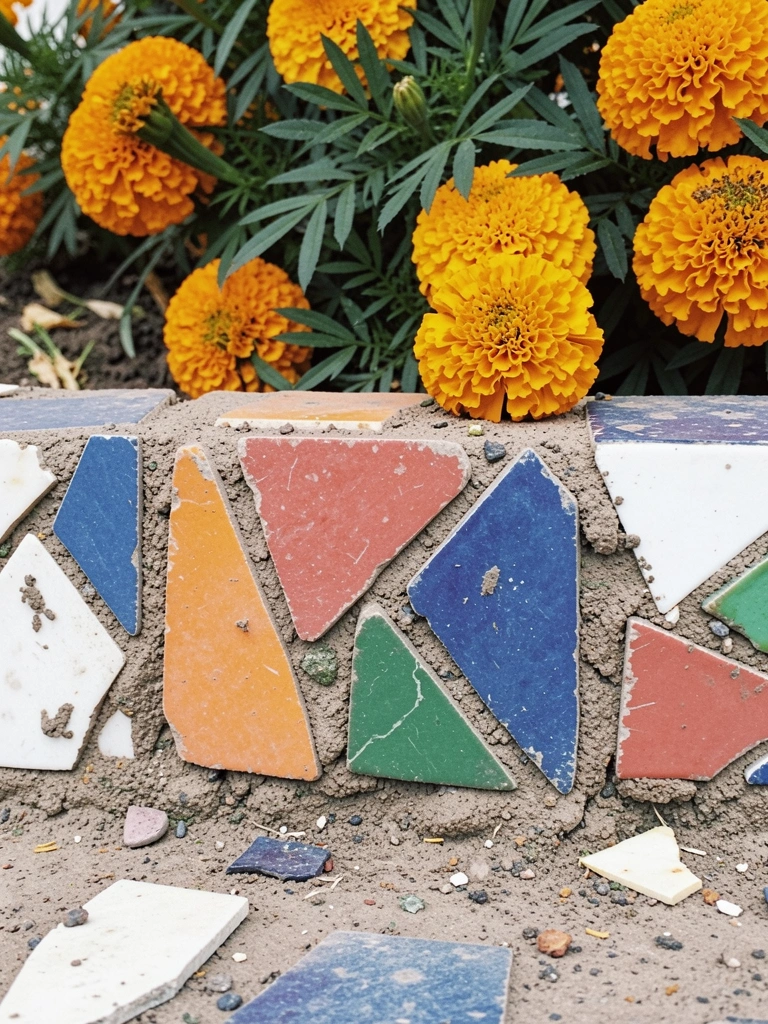
I used shards of old tiles to create a colorful mosaic edge near the vegetable patch. It brightened a dull path and repurposed leftovers from a remodel. I tore my gloves on a sharp shard the first time—wear tough gloves and smooth edges. It’s slow work but forgiving; you can rearrange pieces until it feels right.
It’s a good spot for personality and small splashes of color.
What You’ll Need for This Look
- Broken ceramic tiles or dishware
- Small bag of mortar or tile adhesive
- Gloves, trowel, sponge
9. Living Edge with Creeping Thyme
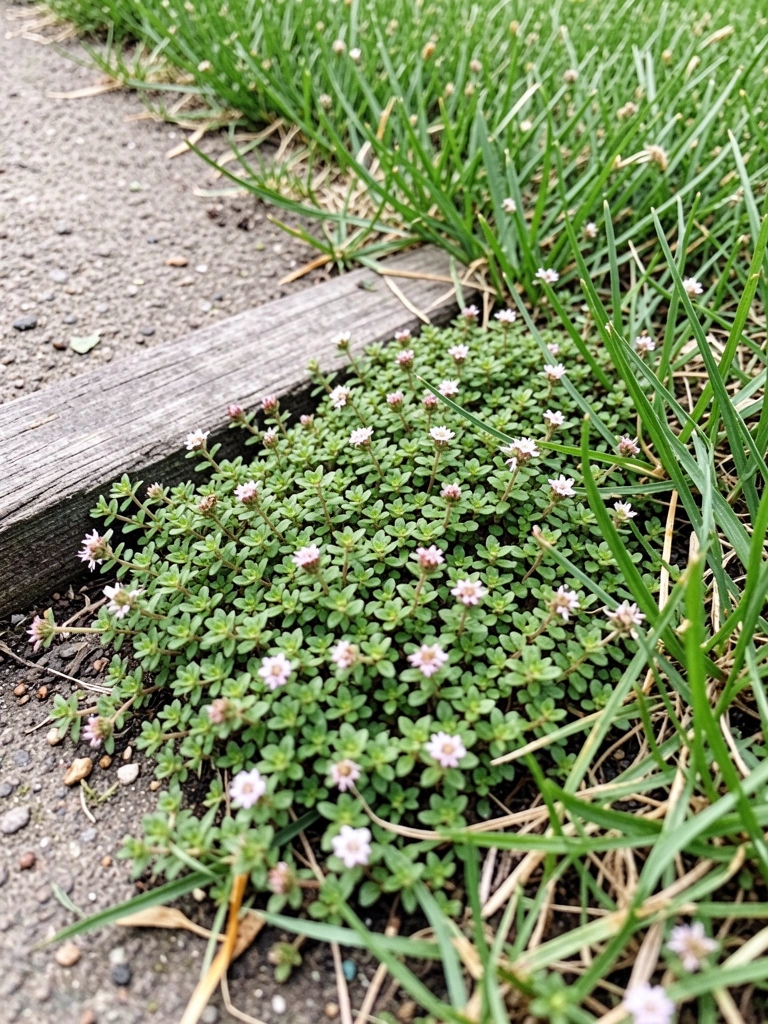
I planted creeping thyme as a soft, fragrant edge along a sunlit path. It fills gaps and handles light foot traffic. The first year it was thin; I should’ve started with denser plugs and watered more. Once established, it choked out weeds and smelled like lemon when brushed.
This is a low, living border that needs slightly more patience than hard materials.
What You’ll Need for This Look
- Creeping thyme plugs (small, dense)
- Compost-amended soil
- Watering can and hand fork
10. Painted Cinder Block Planter Edge
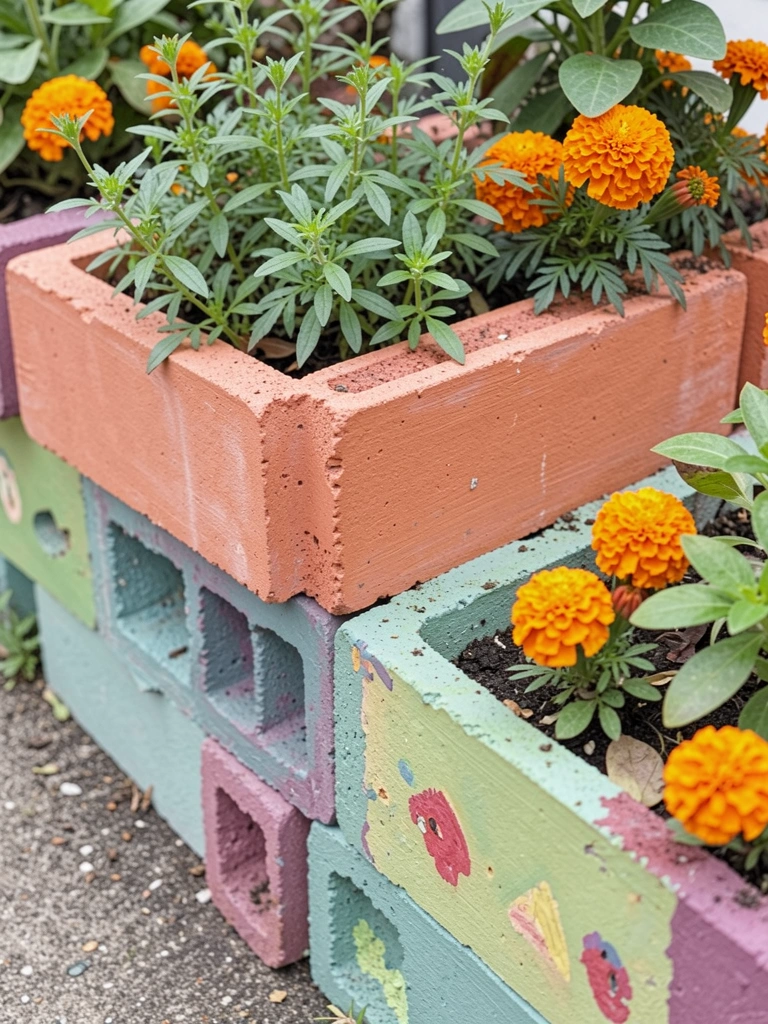
I stacked cinder blocks to form a durable, cheap edging that doubles as planters. I painted the outer faces in muted tones to soften the concrete. At first I used cheap paint and it peeled; choose outdoor masonry paint for longevity. The hollow cavities are perfect for herbs, and they create instant height for small plants.
It feels honest and functional — and you can rearrange blocks when you change the bed.
What You’ll Need for This Look
- Cinder blocks (standard size)
- Outdoor masonry paint and brushes
- Potting mix and small herb plants
11. Old Gutter Sections as Sleek Border
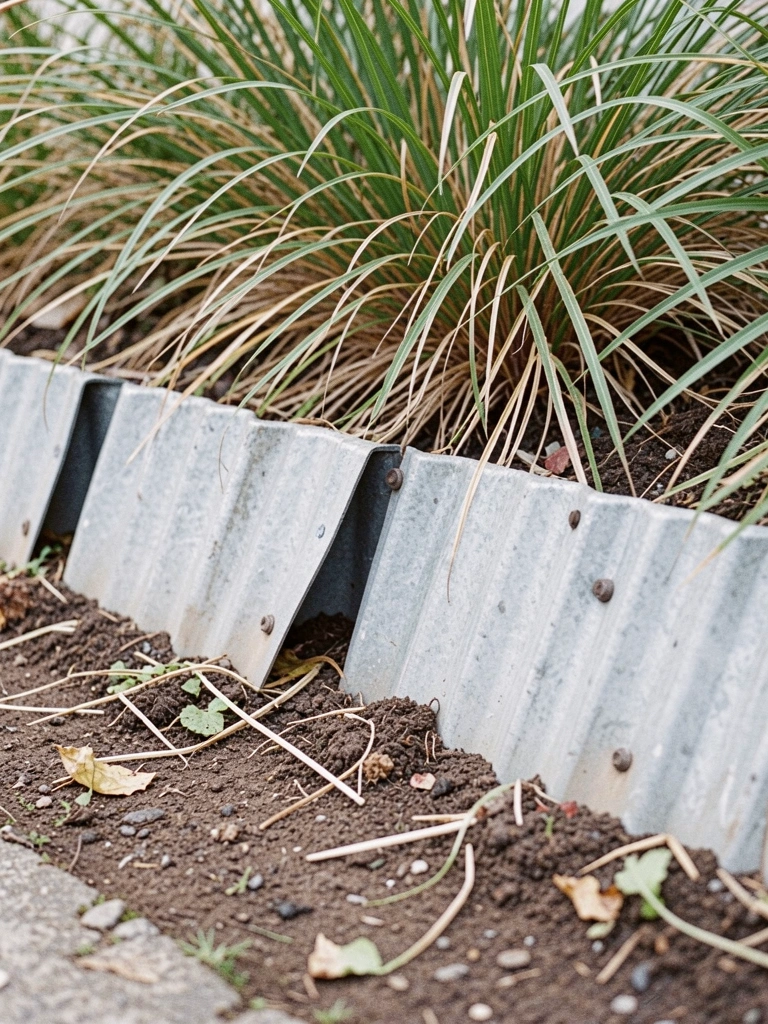
I salvaged old metal gutter sections and used them sunk as a tidy, low-profile edge. They bend to curves and keep soil in place. I learned to flatten sharp ends and hammer the seams so they didn’t catch on tools. They’re cheap at salvage yards and give a neat, industrial touch without fuss.
They work best where they won’t be seen up close, unless you like the metal look.
What You’ll Need for This Look
- Reclaimed metal gutter sections (aluminum or steel)
- Tin snips, hammer, gloves
- Stakes or pegs to secure
12. Painted Log Fence from Thin Battens
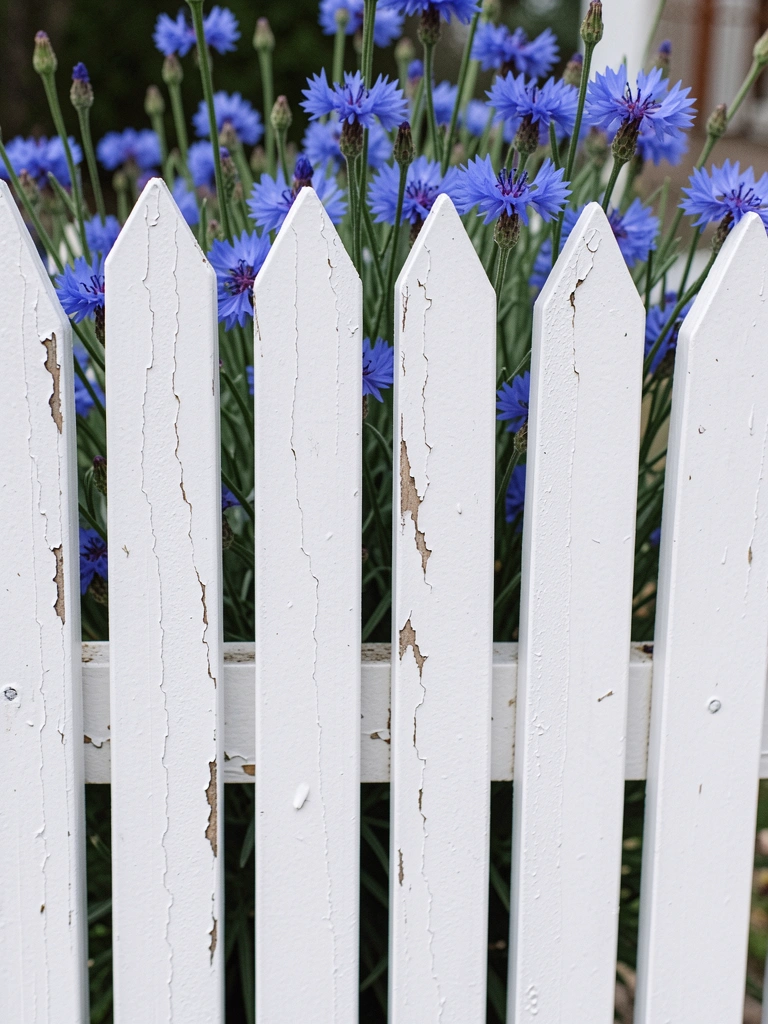
I used thin battens from a discarded fence, stood upright, and painted them to create a little picket edge. It felt cozy and contained a small herb bed. I did one side bright white and it clashed with the rest of the yard—choose a color that ties into other elements. Maintenance is low if you use rot-resistant wood.
It’s inexpensive and gives a handmade cottage vibe.
What You’ll Need for This Look
- Thin wood battens (1×2 or similar)
- Exterior paint and brushes
- Short stakes or rebar for anchors
13. Old Shoes or Boots as Mini Planter Edge
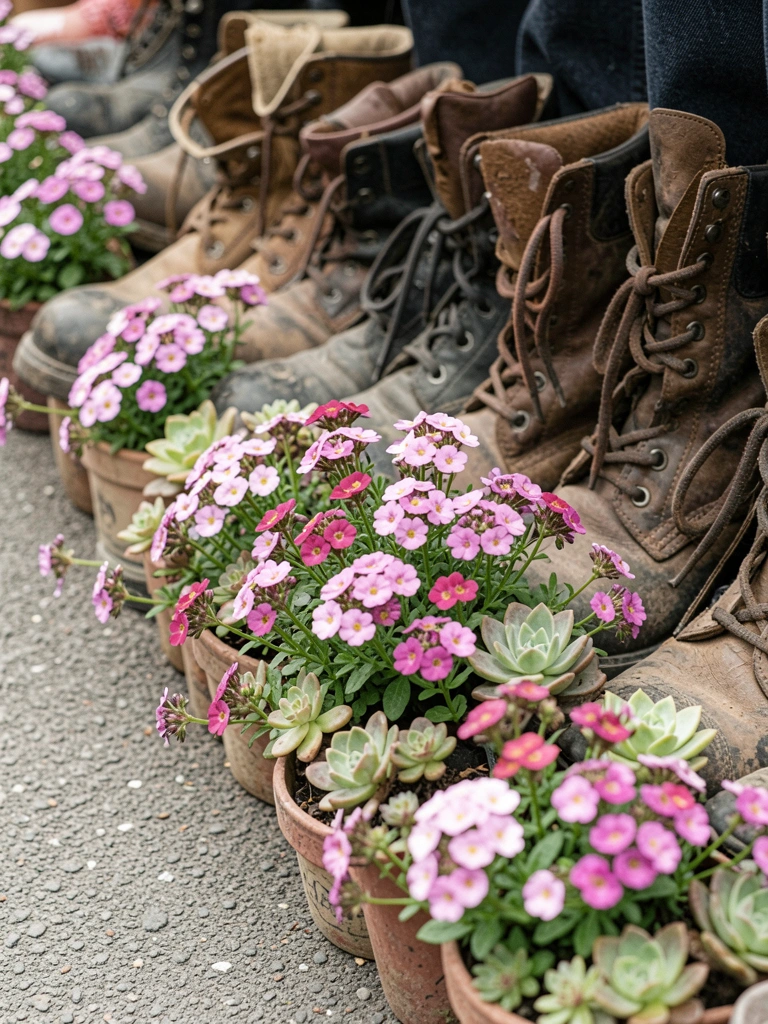
I stopped throwing out battered boots and turned them into a playful mini edge for my potting strip. Each shoe held a small plant and it made me smile every time I watered. It’s not tidy, but it’s ridiculously cheap and personal. I learned heavier boots need drainage holes, or they hold too much water and rot the sole.
This is for a small, informal area where personality beats polish.
What You’ll Need for This Look
- Old boots or shoes (varied sizes)
- Potting mix and small annuals or succulents
- Drill (for drainage) and hand trowel
14. Straw Bale Temporary Edge for Vegetables
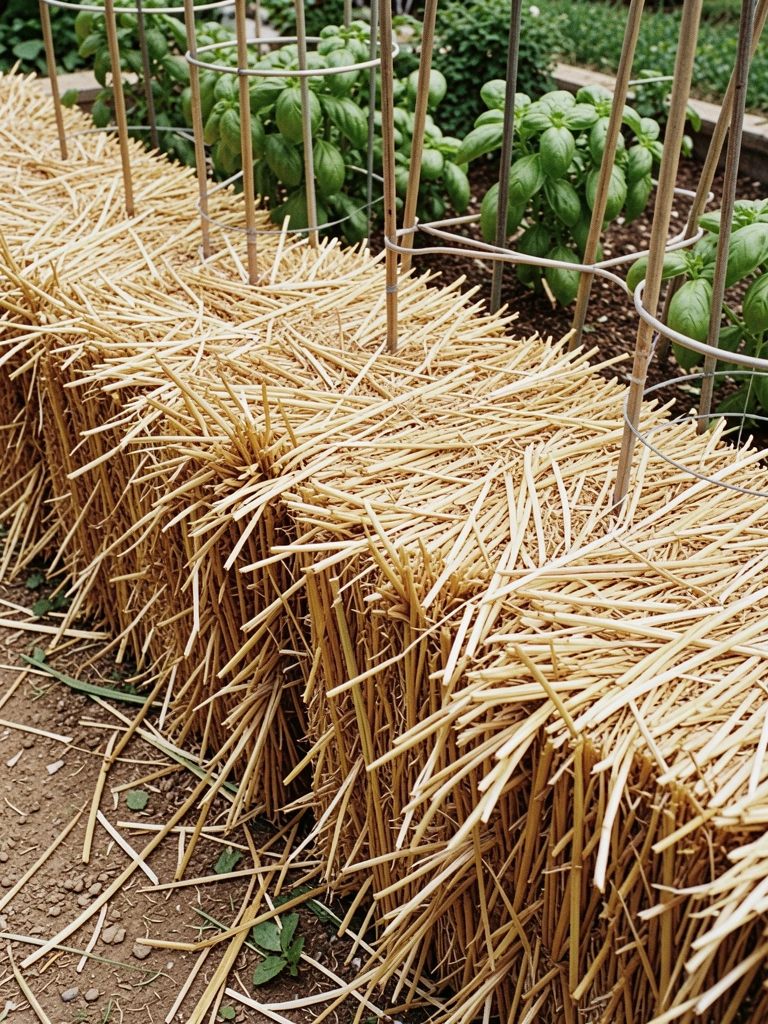
I used straw bales to corral a new vegetable bed while testing layout. It was cheap, quick to set up, and biodegradable when I was done. The bales held moisture and anchored netting well. My mistake was leaving them too long—after a season they broke down messily. They’re perfect for a season or two of trialing.
When you remove them, the soil underneath is softer and ready for planting.
What You’ll Need for This Look
- Straw bales (tied)
- Twine or netting (optional for support)
- Gloves and a pitchfork
Final Thoughts
You don’t need new tools or perfect materials to make an edge that feels right.
Start small, pick one idea, and see how it settles into the garden.
I changed many of these over time. That’s how gardens become honest and comfortable.