
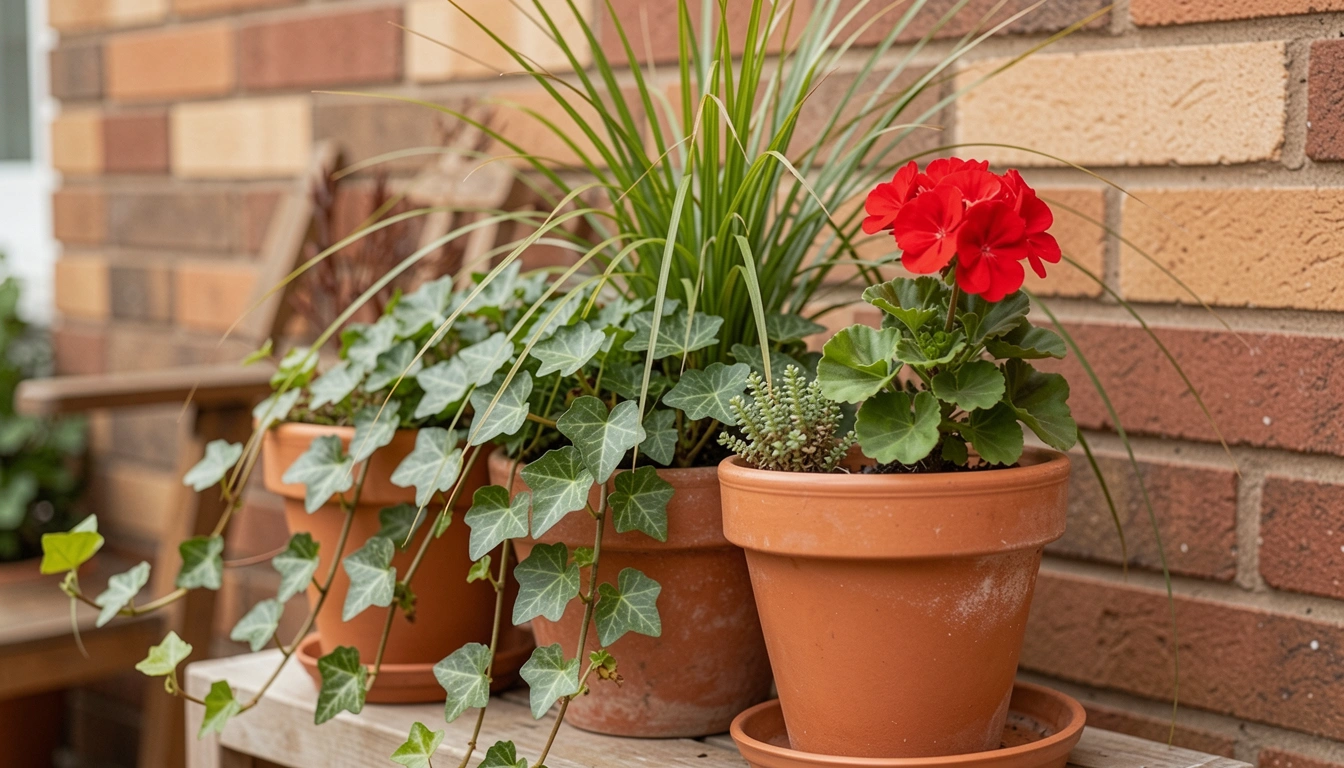
9 DIY Garden Decor Projects To Refresh Your Backyard
I used to think garden decor meant big purchases. I learned small DIY fixes make the yard feel like mine.
I’ve tried and failed. Some ideas stuck. Others taught me what not to do.
These projects are practical, not perfect. They’re the ones I return to.
9 DIY Garden Decor Projects To Refresh Your Backyard
These 9 ideas are things I’ve actually built in real, messy yards.
They’re simple, budget-friendly, and clearly described.
You’ll get exactly nine doable projects to try.
1. Layered Container Planting That Makes a Patio Feel Full
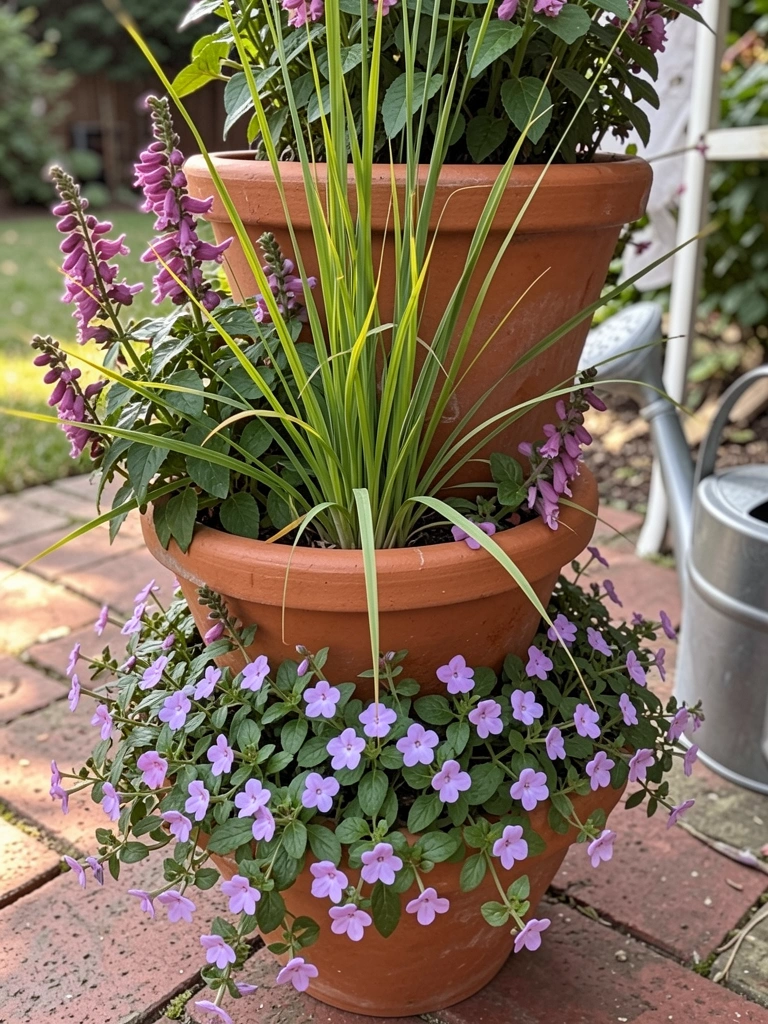
I planted layered containers when my small patio felt empty. I stacked a tall center plant, mid fillers, then a trailing edge. It filled the space faster than rows of single pots.
At first I overplanted small starters and watered too little. The soil compacted and some plants sulked. I re-potted with a lighter mix and added drainage.
Now the mix of textures reads like a tiny border. It feels cozy to sit beside.
What You’ll Need for This Look
- Terracotta planter set (10–14 inch)
- Lightweight potting mix, fast-draining
- Tall focal plant (ornamental grass)
- Mid-height fillers (salvias, petunias)
- Trailing plants (lobelia, ivy)
2. Pallet Herb Wall for Instant Kitchen Access
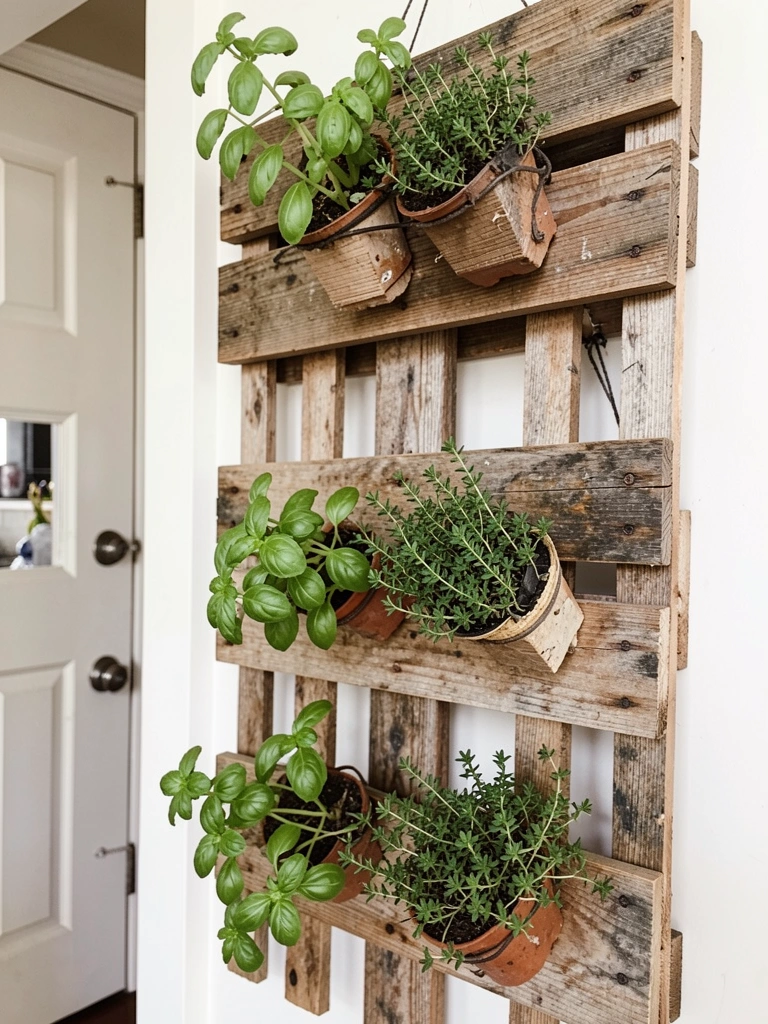
I nailed a pallet to a fence and filled it with herbs. The first winter I used cheap pots that cracked. Lesson learned: use sturdy pots and line them.
Now I plant basil, thyme, and mint in snug pots and water from the top. The scent when I brush past is the best part. It made cooking easier and gave the fence a lived-in look.
Keep herbs trimmed and replace any pot that holds too much moisture.
What You’ll Need for This Look
- Wooden pallet, sanded and sealed
- Small terracotta or plastic herb pots (4–6 inch)
- Herb starter plants (basil, thyme, mint)
- Galvanized screws and wall anchors
3. Painted Mosaic Stepping Stones for a Personal Path
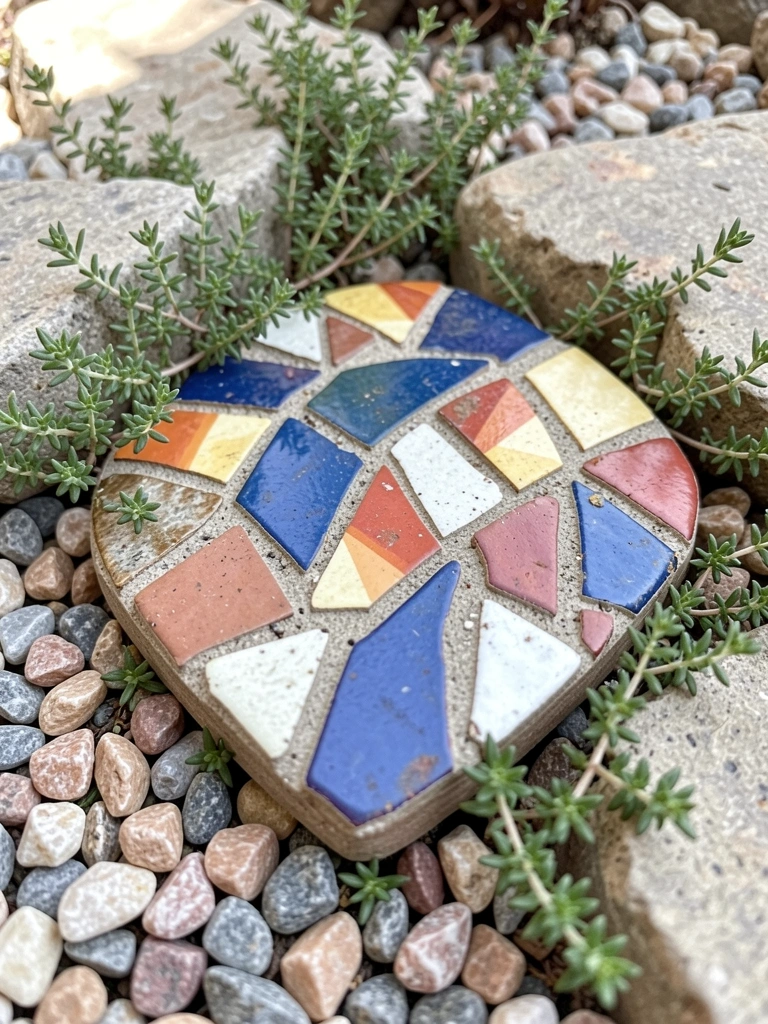
I made stepping stones from cheap concrete pavers and old chips from broken plates. My first grout was too dark and hid the pattern. I re-grouted with pale cement and it popped.
Placing them through low thyme calmed the look. They guide you across the yard and feel like tiny artworks underfoot.
Don’t rush the drying; stepping on them too soon left hairline cracks.
What You’ll Need for This Look
- Concrete pavers (12–16 inch)
- Broken ceramic tiles or glass pieces
- Grout (light color)
- Thin-set adhesive
4. Reclaimed Wood Bench With Hidden Storage
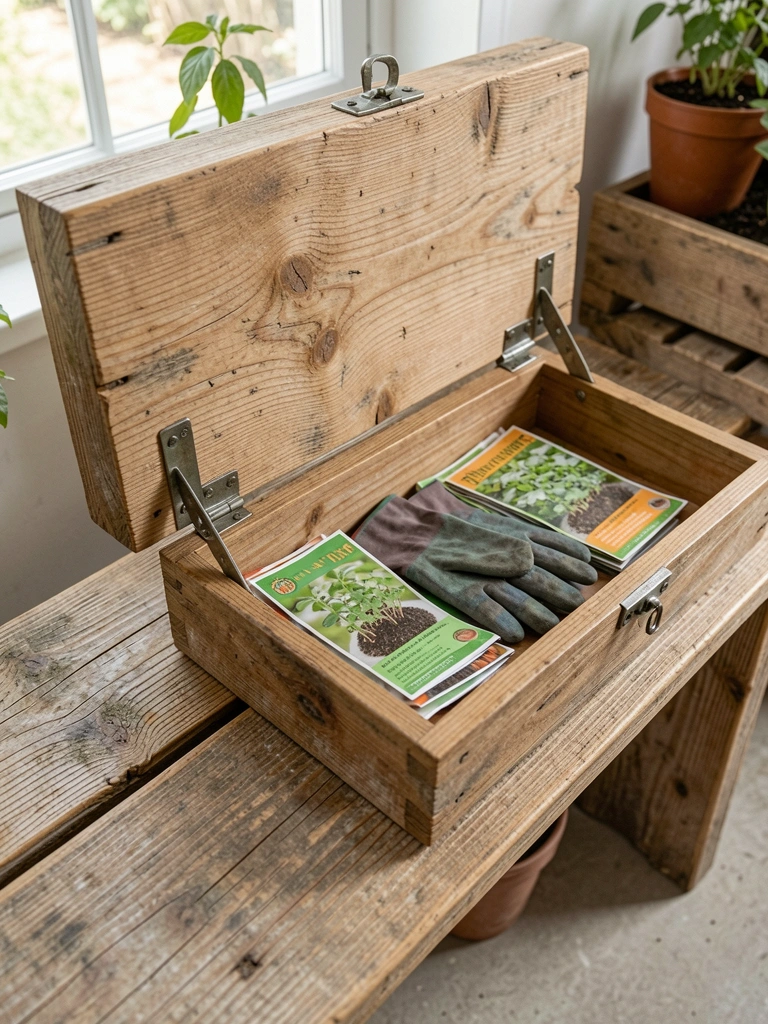
I built a bench from salvaged decking boards. It wobbled at first because I underestimated the weight of wet wood. I added a center support and it held up.
The hidden storage became my favorite feature. Pots, soil, and gloves tuck away and the seat doubles as a staging spot for planting.
Use exterior screws and a simple hinge. It won’t look fancy, but it becomes the yard’s favorite spot.
What You’ll Need for This Look
- Reclaimed wood planks (2×6 or similar)
- Exterior wood screws
- Piano hinge for lid
- Weatherproof wood stain
5. Rope-Wrapped Planters for a Coastal, Cozy Feel
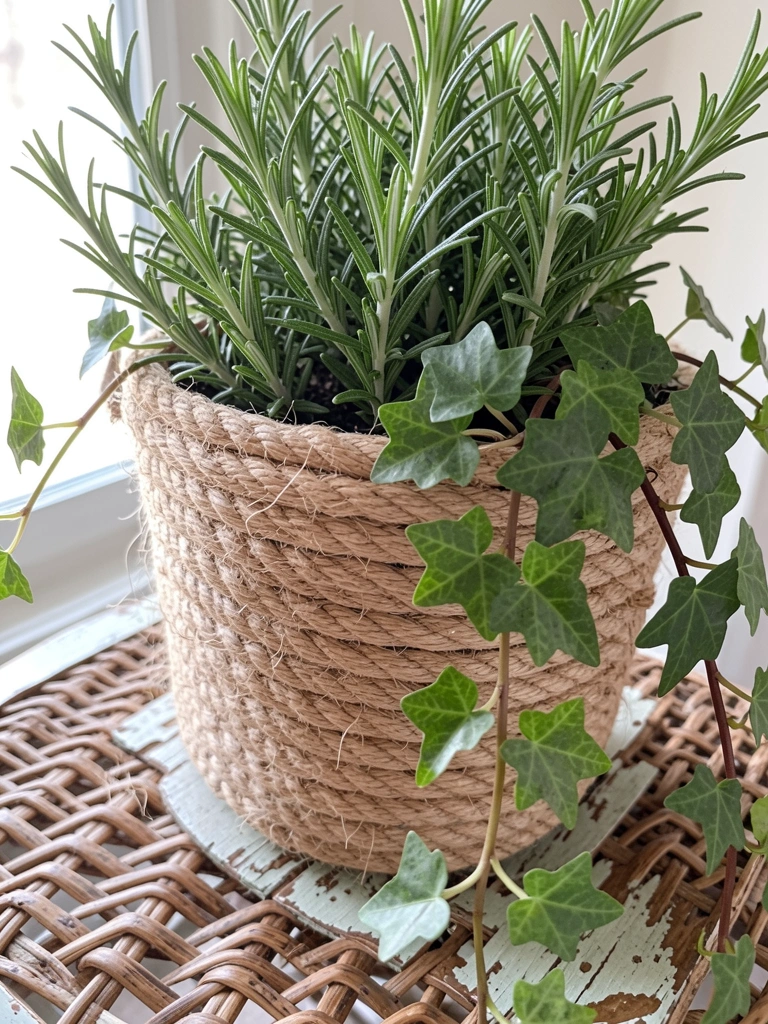
I wrapped plain terracotta pots in jute to hide mismatched colors. At first I used glue that failed in rain. Switching to marine adhesive kept the rope secure.
The texture warms up plain seating areas and pairs well with lavender or rosemary. It’s inexpensive and hides old pots that otherwise would be tossed.
Keep an eye on mold in humid climates; a quick scrub keeps them fresh.
What You’ll Need for This Look
- Terracotta or plastic planters (8–14 inch)
- Natural jute rope (1/4–1/2 inch)
- Marine adhesive or outdoor glue
- Scissors
6. Simple Solar Bottle Lights for Soft Evening Glow
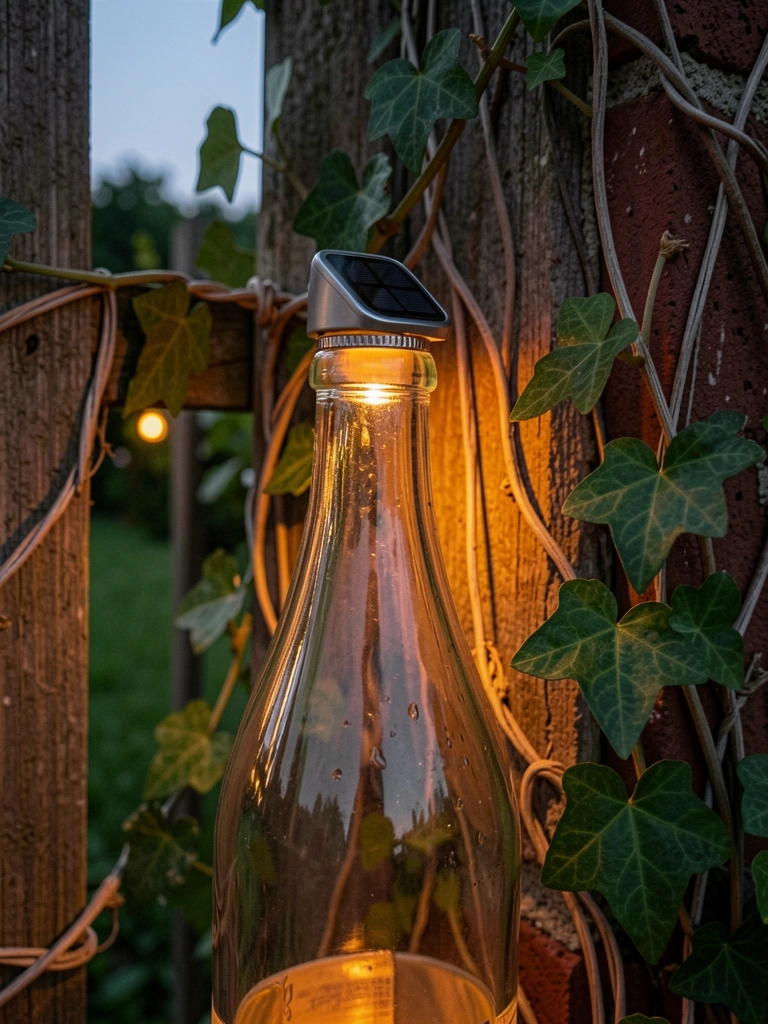
I repurposed old wine bottles with solar caps. My first caps leaked after heavy rain. I switched to sealed solar tops with rubber gaskets.
They give a scattered, warm light without wiring. I cluster them on the fence and a few along the path. It changed evenings in the yard—suddenly the space invited lingering.
Pick bottles with thicker glass for durability.
What You’ll Need for This Look
- Recycled glass bottles (various colors)
- Solar bottle lights with rubber gasket
- Small drill for holes if needed
7. Gravel Path With Simple Metal Edging
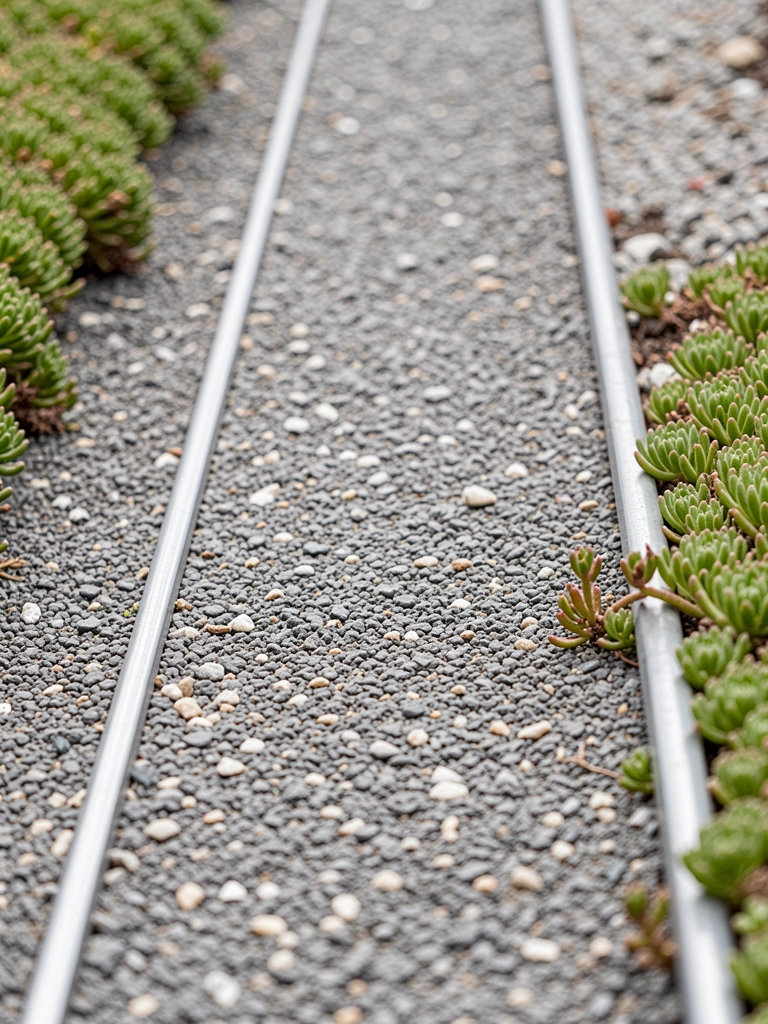
I replaced a muddy walk with crushed gravel and metal edging. My first spread used too-large gravel that shifted underfoot. I regraded and used a finer crushed stone.
The metal edging keeps gravel contained and looks neat alongside small sedums and creeping thyme. It made the garden feel intentional and kept boots cleaner.
Lay a good base and compact it for less wandering gravel.
What You’ll Need for This Look
- Crushed gravel (3/8 inch)
- Steel edging strips (6–8 inch)
- Landscape fabric
- Plate compactor rental or hand tamper
8. Upcycled Tire Planters Painted in Calm Colors
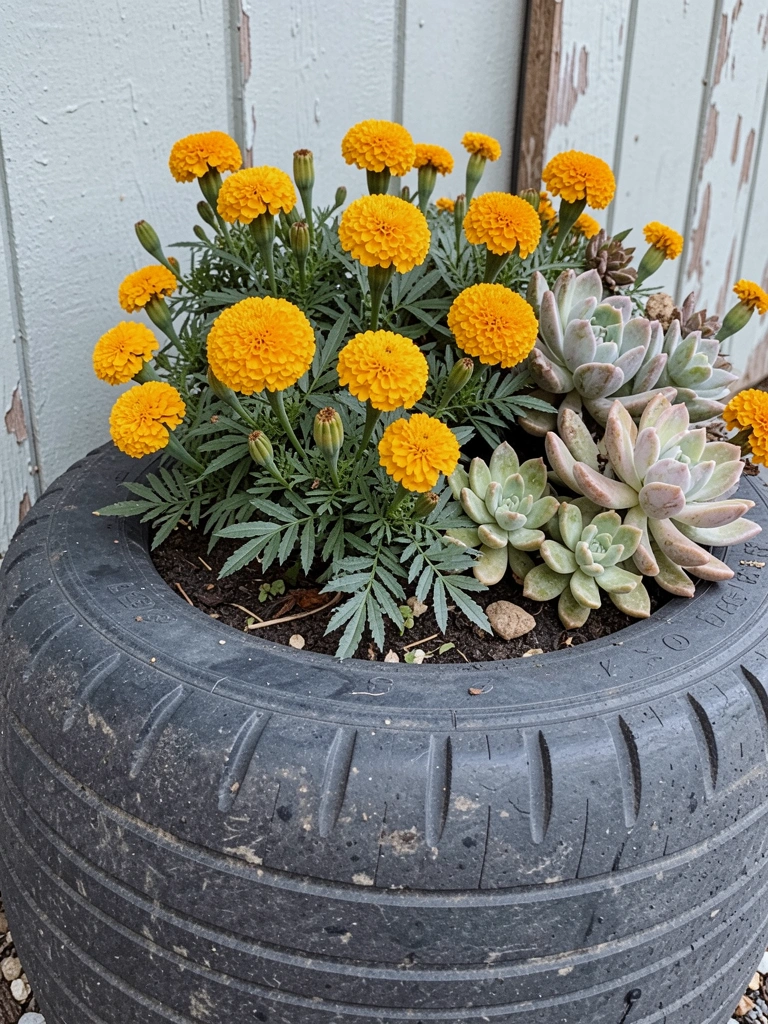
I turned an old tire into a planter and painted it a muted blue. I overused glossy paint once; it peeled fast. Now I sand, prime, and choose exterior matte colors.
The result felt cheerful without shouting. It’s lightweight, portable, and perfect for bold spots that need a pop. I fill the base with drainage rubble before adding soil.
Use a light hand with design—subtle colors age better.
What You’ll Need for This Look
- Used tire (cleaned)
- Exterior primer and matte paint
- Potting mix and drainage gravel
- Plants (marigolds, succulents)
9. Framed Succulent Wall for Low-Maintenance Vertical Green
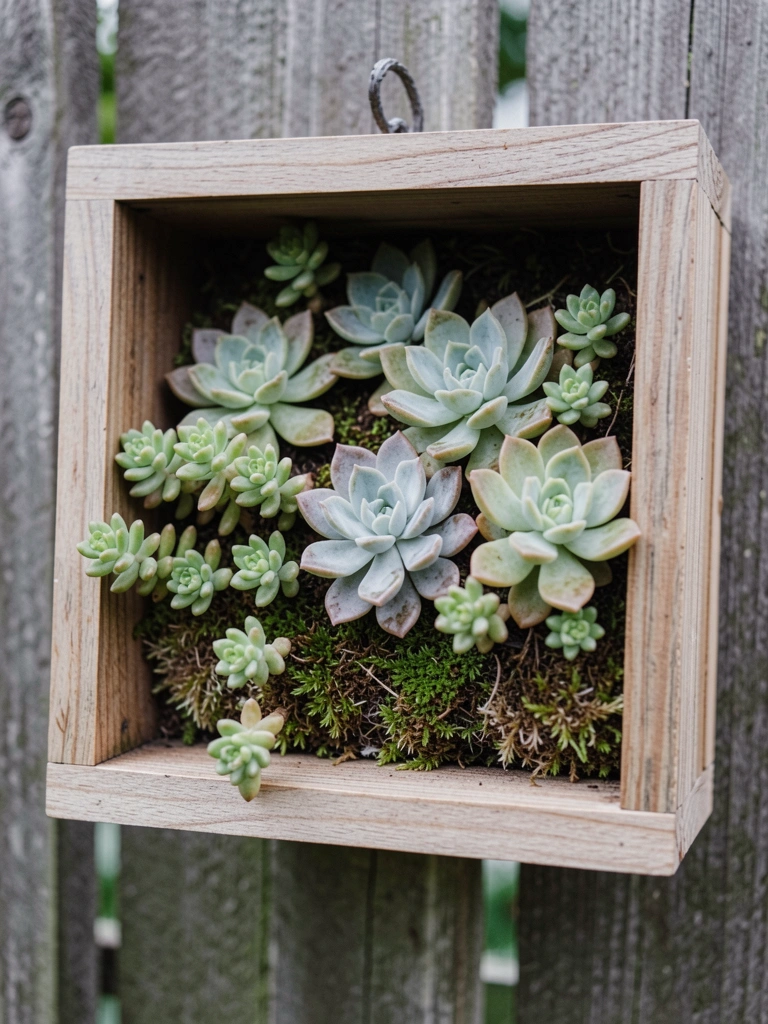
I made a shallow frame and planted succulents for a vertical accent. My first frame used too-deep soil and the succulents rotted. I rebuilt it shallow with excellent drainage.
Now the frame hangs low on the fence and requires almost no water. It brightens a blank wall and feels like a living picture. I swap a few plants each season to keep color fresh.
Use succulent soil and ensure the frame drains well.
What You’ll Need for This Look
- Shallow wooden frame (12×18 inch or custom)
- Succulent mix soil
- Assorted succulents (sedum, echeveria)
- Landscape fabric for backing
Final Thoughts
You don’t need to do all nine. Try one that fits your time and tools.
Start small. Learn from the mistakes I made.
A single project can change how you use the yard.


