How to Make DIY Patio Planter
I used to set out single pots and feel the patio looked sparse.
I’d move them, stand back, and still something felt off.
I learned that scale, texture and a little asymmetry fix that.
This guide shows how to make a DIY patio planter that reads like part of the room.
How to Make DIY Patio Planter
You’ll learn how to create a balanced, comfortable patio planter that finishes a corner. It’s an approachable method I use whenever the space needs a simple, lived-in touch.
What You’ll Need
- Medium terracotta planter (12–14 inch)
- Tall ceramic planter (warm gray)
- Shallow wooden trough planter (weathered finish)
- Structural plant (compact rosemary or dwarf bay)
- Textural filler (ornamental grass or sedge)
- Draping plant (variegated ivy or trailing bacopa)
- Seasonal color (petunias, calibrachoa, or geraniums)
- Top-dress materials (small stones or sheet moss)
- Lightweight potting mix (well-draining)
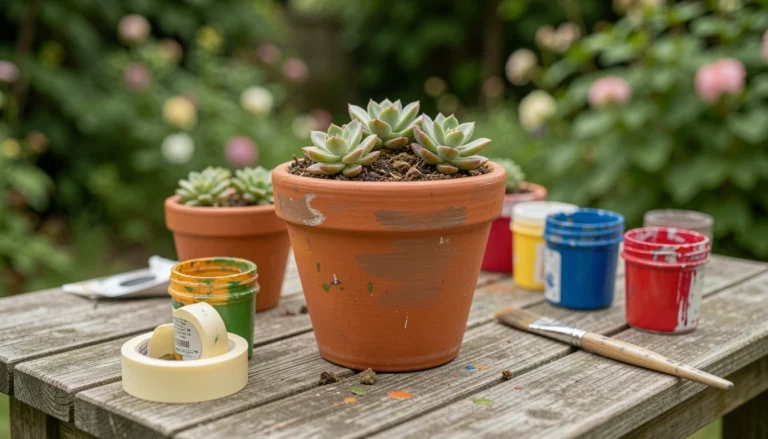
Step 1: Pick a Planter that Anchors the Space
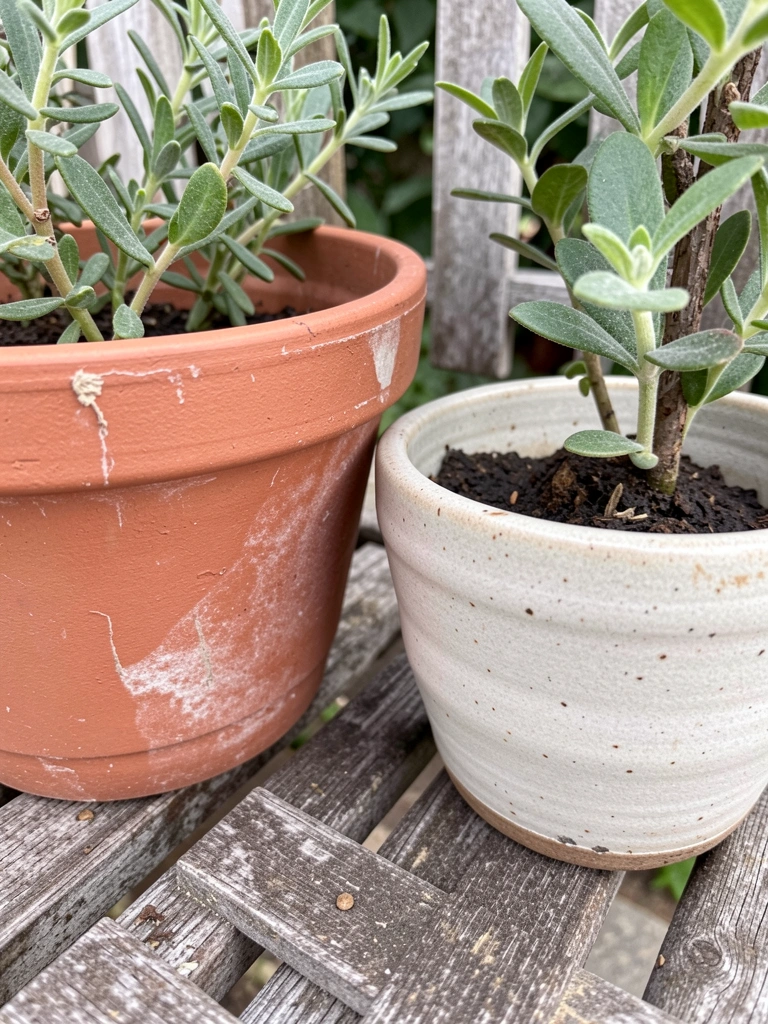
I start by picking the planter that feels like furniture. I look for a shape and color that sits quietly against the house or railing. Choosing right changes the whole composition; the planter becomes an anchor rather than an afterthought.
Most people miss how much the planter’s height reads from a sitting spot. Avoid a container that’s too small for your eye line. A common mistake is matching every pot to each other instead of letting one stand out.
Step 2: Build a Strong Center with a Structural Plant
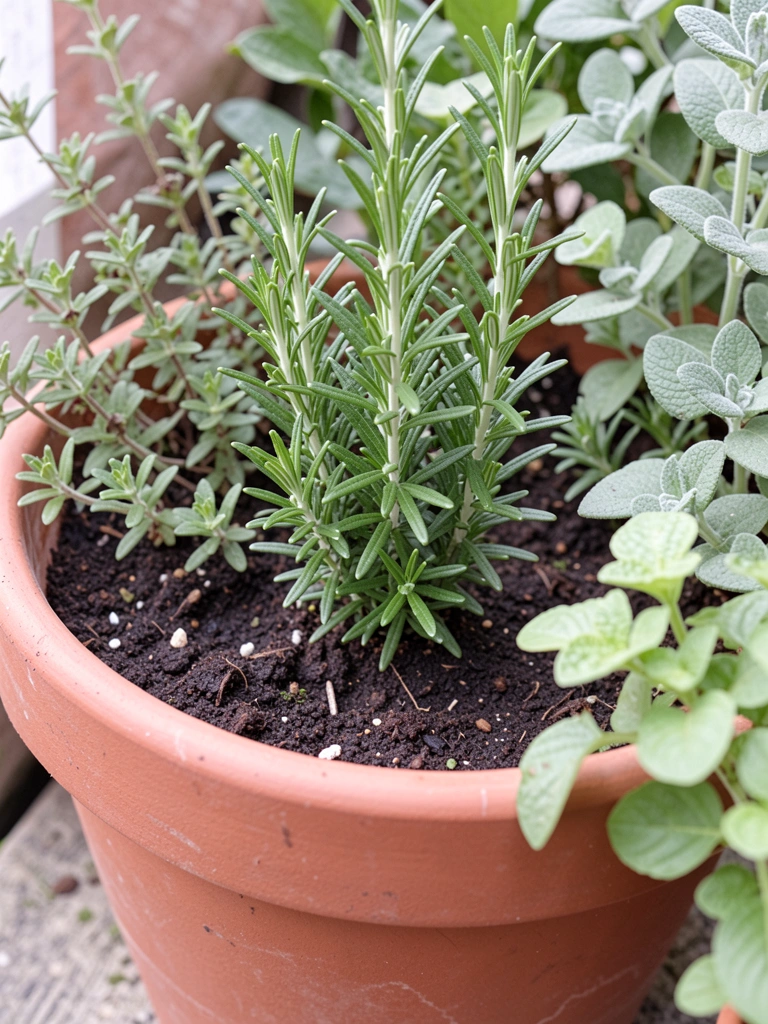
I place a structural plant in the planter’s heart. I choose something upright and evergreen so the composition reads all season. Visually, the pot gains a backbone; everything else curves around that presence.
An insight people miss is that the structural plant doesn’t have to dominate—think of it as the spine, not the headliner. Don’t pick something that will overwhelm the pot in a few months. A small mistake is crowding it; give it room to breathe.
Step 3: Add Texture with Fillers
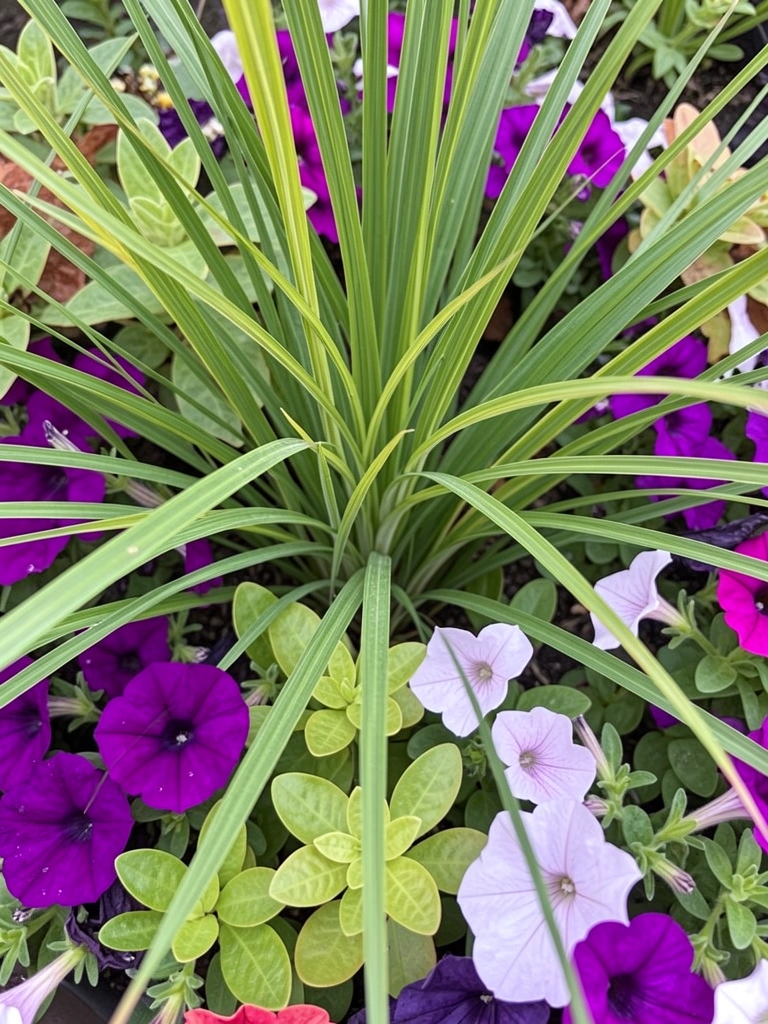
I tuck textural fillers around the structural plant to soften edges and add depth. I mix fine leaves with broader foliage so the eye travels across the pot. The visual change is immediate: the planter looks fuller without feeling busy.
People often miss varying leaf scale—the trick is contrast, not sameness. Avoid lining everything up neatly; a little staggered placement reads more natural. One mistake is using only one type of foliage; it flattens the whole composition.
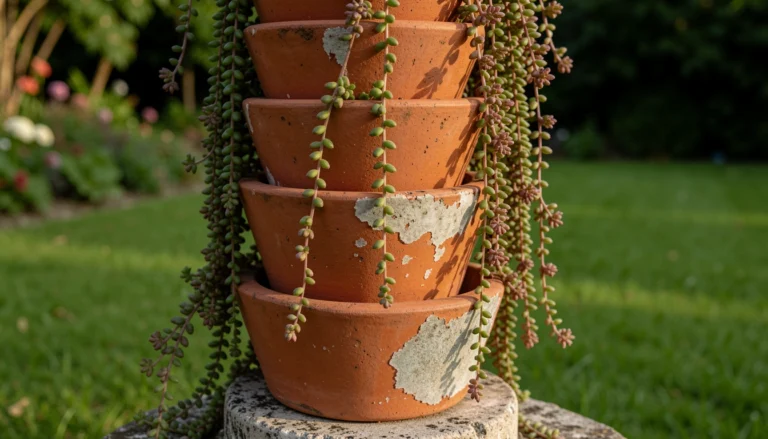
Step 4: Soften Edges with Draping Plants
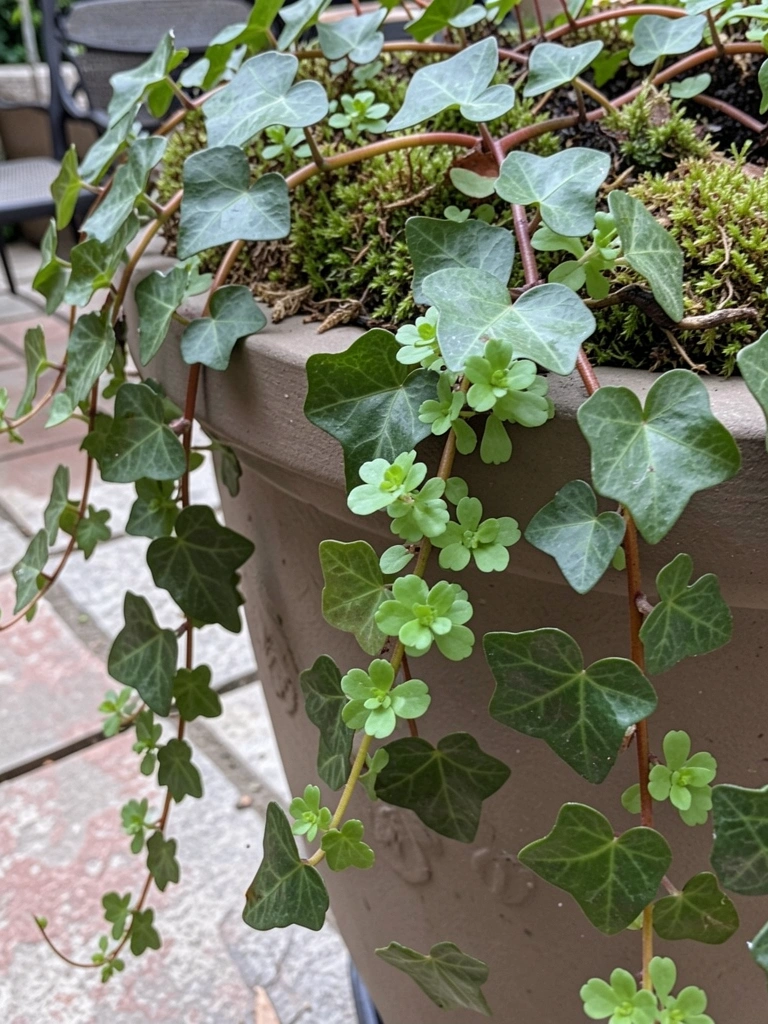
I add draping plants to the front and sides to blur the hard rim. That softens the transition to the patio floor and gives the planter a relaxed, lived-in look. Visually, the edges lose their harshness and the arrangement reads as finished.
An insight is to let draping plants find their own length; they should feel casual, not forced. Don’t overplant the lip—too many trailers can become unruly. A small mistake is trimming them too early; let them settle first.
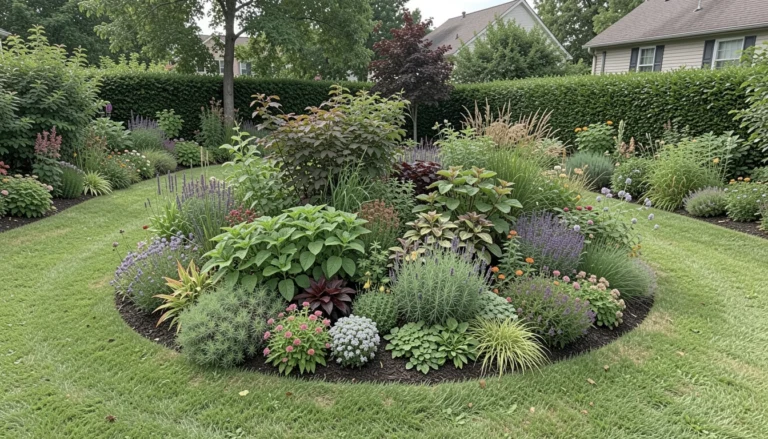
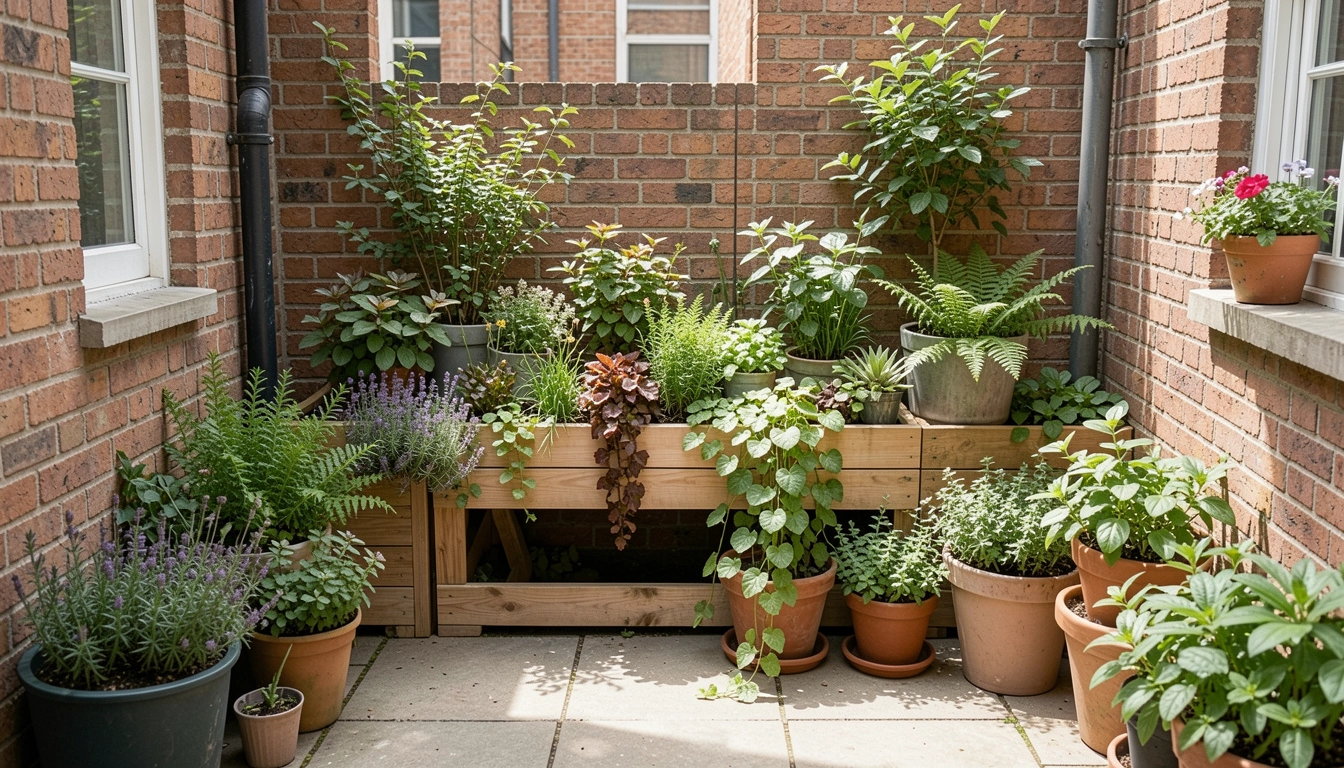
Step 5: Set the Planter in Place and Balance the Grouping
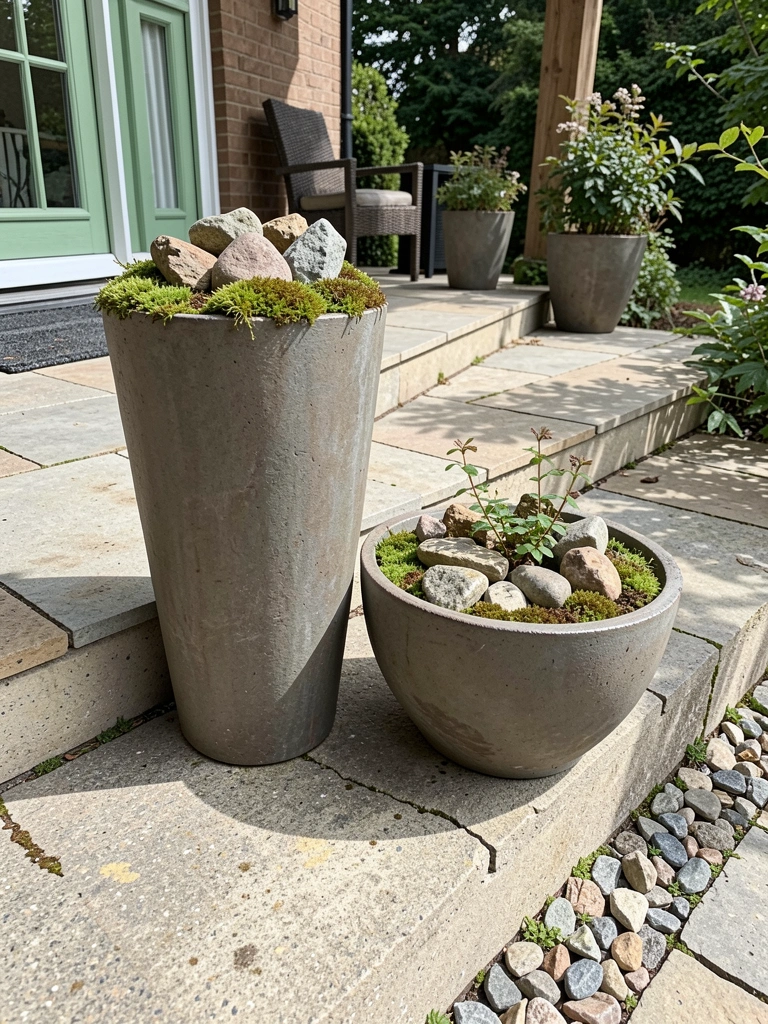
I move the planter into its spot and step back to test balance. I often pair a tall pot with a low trough or tuck a single planter next to a chair. The visual change is seeing how the planter relates to other elements—furniture, doorways, and sightlines.
People miss testing from different angles, especially from a seated position. Avoid centering everything symmetrically unless the space truly calls for it. A common mistake is placing planters too close to walkways so they feel tacked on.
Plant Choices for Patio Planters
I pick plants that work together by season and texture. Evergreens give structure. A couple of seasonal bloomers add color without stealing the show.
Think in layers: backbone, body, and drape. That mental shorthand keeps selections simple.
Quick pairings I use:
- Rosemary + ornamental grass + trailing bacopa
- Dwarf bay + geraniums + variegated ivy
- Tall sedge + calibrachoa + small stone top-dress
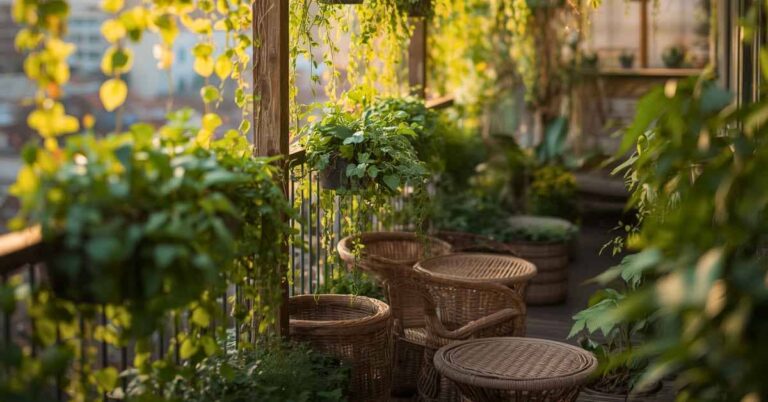
Placement and Grouping
I place planters where they complete a sightline. Near entries, they should feel welcoming. Beside seating, they should feel cozy.
I seldom use perfect symmetry. Instead I stagger heights and offsets. Grouping three or two with different heights reads comfortable and intentional.
Try small clusters:
- One tall + one low + a ground-level tray
- Two matched pots flanking a single focal item
- A single strong planter near a chair for an intimate nook
Maintenance That Keeps the Planter Looking Intentional
I check pots weekly for water and spent blooms. Tidy edges and a quick trim keep the shape clean. Small, regular edits work better than big overhauls.
Top-dress refreshes—stones or moss—hide soil and give a finished look. I replace one plant a season if it’s tired rather than reworking the whole pot.
Simple habits:
- Deadhead spent flowers lightly
- Rotate pots occasionally for even growth
- Top-dress to refresh the visual surface
Final Thoughts
Start with one planter and live with it for a week. I always learn more by watching how it looks from the chair than by planning on paper.
Be patient with arrangements. Small tweaks over time make the planter feel like it always belonged.
You can fix an unfinished patio with a single, well-composed planter.