13 Flower Bed Edging Ideas For A Polished Look
I used to ignore the edge until I planted wrong shrubs and watched the bed get messy.
A tidy edge changed how my small yard reads. It frames the planting and makes everything look intentional.
These are practical, real fixes I’ve tried. Simple tools. Small buys. Big visual return.
13 Flower Bed Edging Ideas For A Polished Look
These 13 ideas are tested in everyday gardens.
They’re things I’ve done, fixed, or rebuilt.
Expect clear tools and what to buy for each look.
1. Reclaimed Brick, Laid Flat for a Cottage Edge
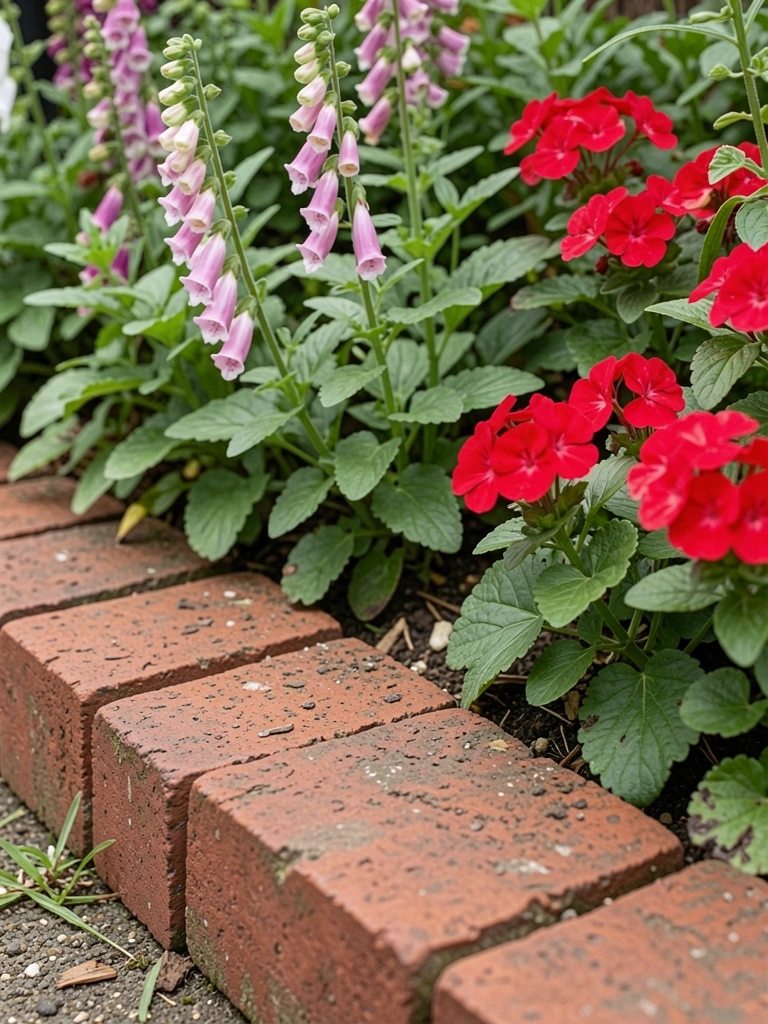
I used old bricks pulled from a demolition pile. I laid them flat and staggered the joints. It softened a ragged path and made the bed read like it belonged.
Mistake: I didn’t compact the base first. After a winter the bricks shifted. I dug them up, added crushed stone, and reset them. Much better.
Visually, the low profile keeps focus on plants. It’s forgiving with irregular shapes.
What You’ll Need for This Look
- Reclaimed bricks (standard brick size)
- Crushed stone or gravel (¼–½ inch)
- Hand tamper
- Rubber mallet
2. Corten Steel Strip for a Modern, Clean Line
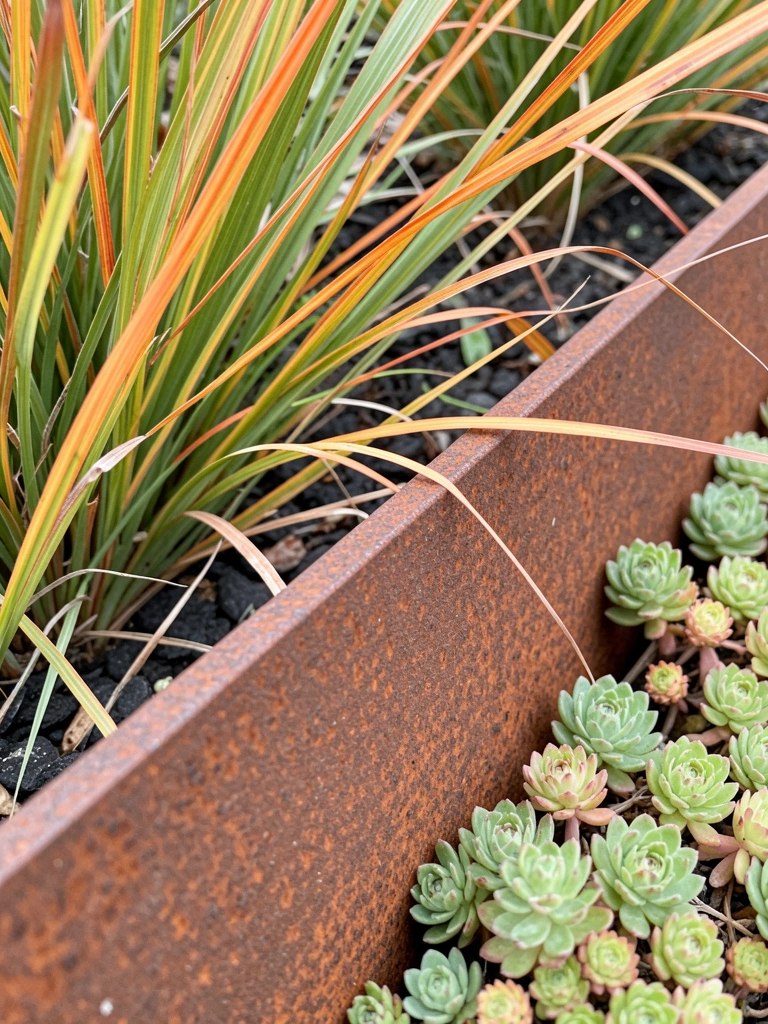
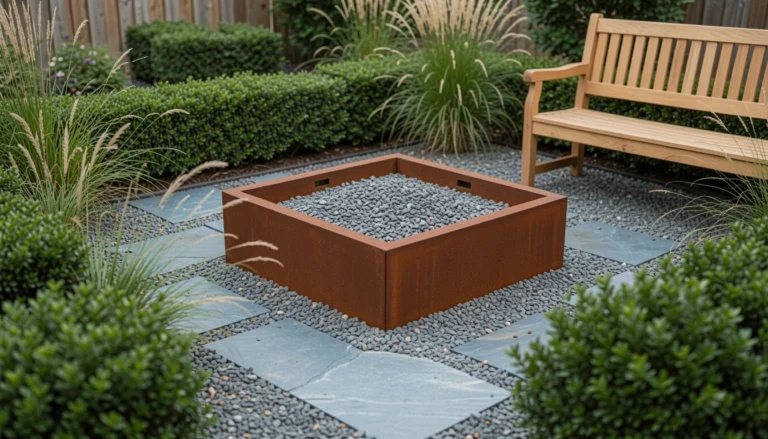
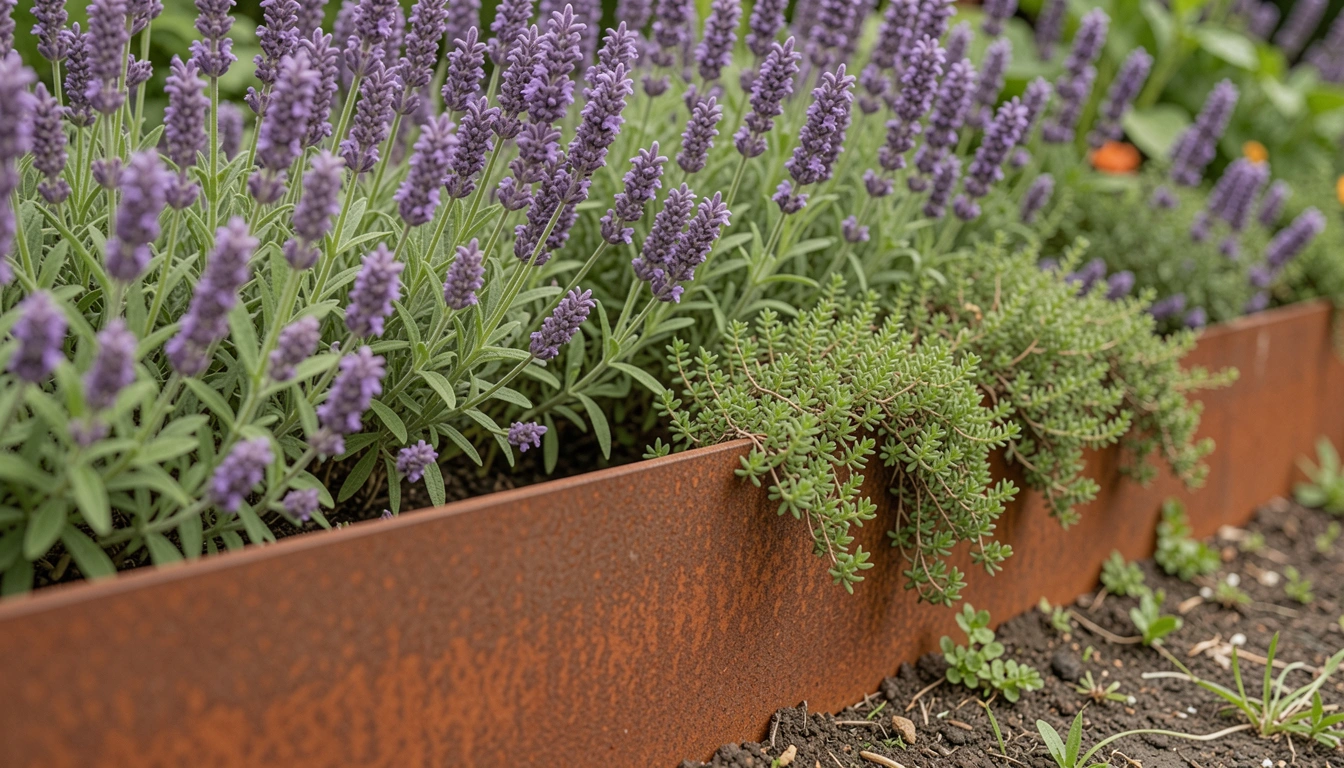
I installed corten strips along a long bed. The warm rusted color ages nicely against green leaves. It gives a sleek, modern edge without fuss.
I learned to set it slightly proud of the soil so mowers don’t nick it. Also, beware plants that like to root into the gap — clip them back.
It’s low-maintenance and sharp-looking. Good if you want a long, uninterrupted line.
What You’ll Need for This Look
- Corten steel edging strips (4–6 inch height)
- Steel stakes for anchors
- Angle grinder or metal snips (for cuts)
- Work gloves
3. Half-Moon Spade Lawn Edging for a Soft Natural Line
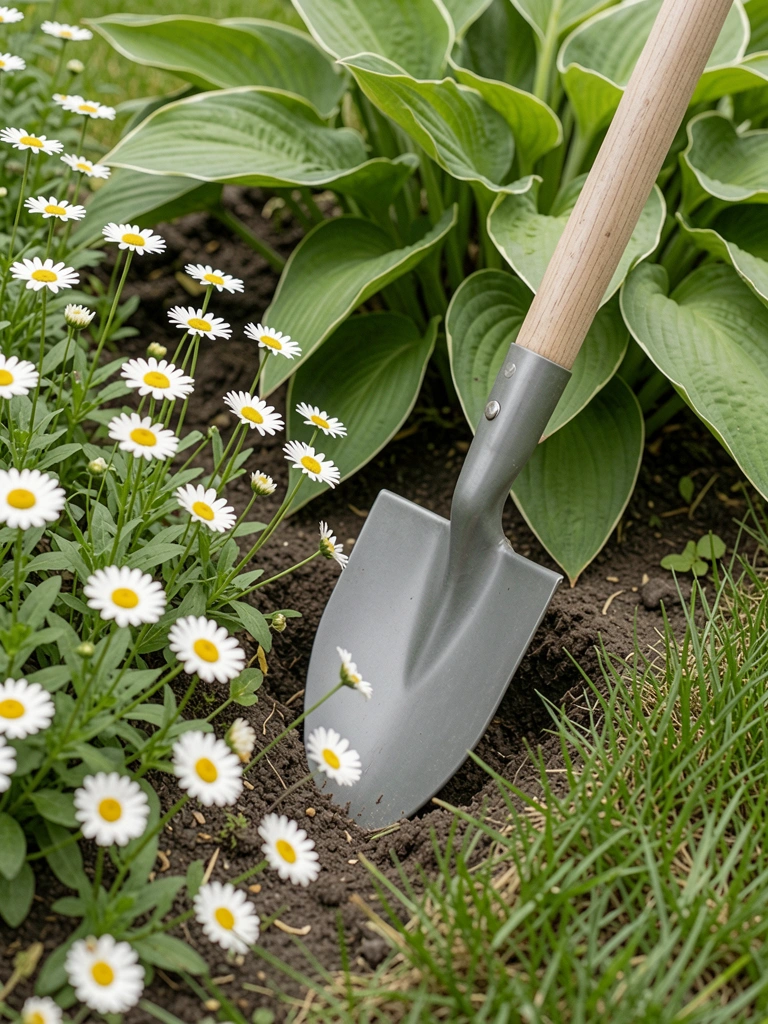
I learned to love the half-moon spade. One afternoon’s work gives a crisp, scooped edge that lasts.
I used to let grass creep in. When I dug a 2–3 inch vertical trench, the beds looked intentional. It’s the cheapest tidy-up I’ve done.
Keep edges vertical. If you slope them, lawn tries to spill over. Re-edge once a season and it stays sharp.
What You’ll Need for This Look
- Half-moon edging spade
- Garden fork (to remove turf)
- Knee pads
- Wheelbarrow
4. Low Boxwood Hedge for a Living, Formal Border
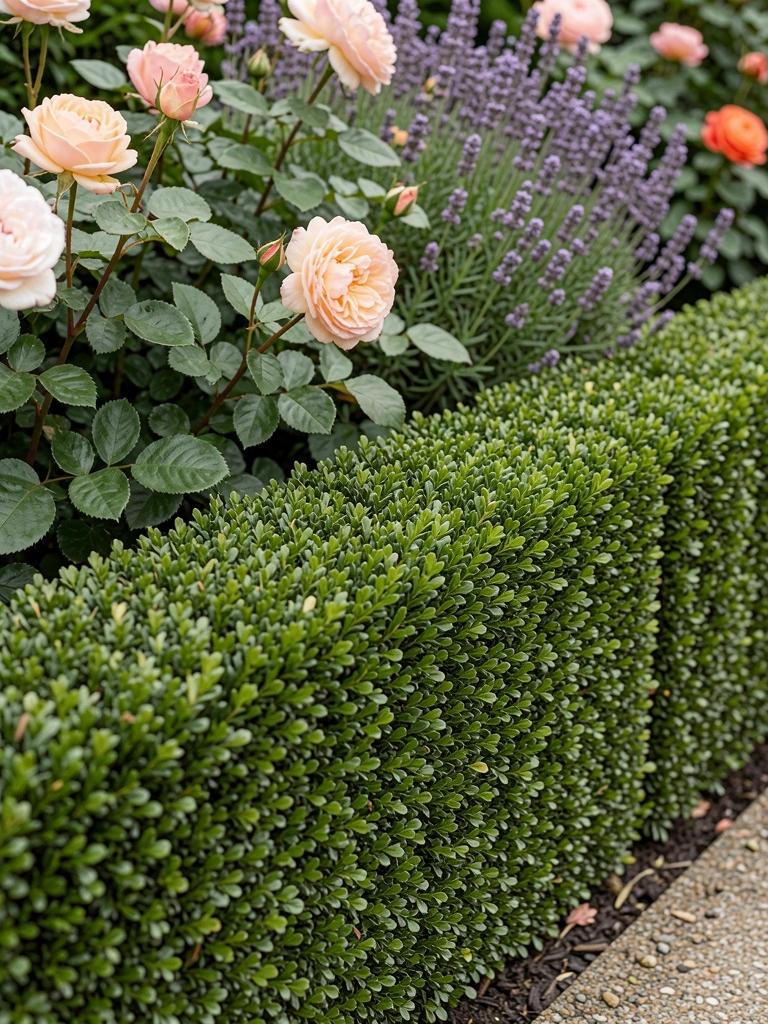
I planted dwarf boxwoods along a curved bed. They give a living line that softens when clipped. It feels cozy and intentional.
My early mistake was planting too close — they crowded roots and looked scruffy. I dug some out and re-spaced them. They settled well after that.
Clipping once or twice a year keeps the shape. It’s more work, but the soft, green edge is worth it where you want a formal note.
What You’ll Need for This Look
- Dwarf boxwood plants (2–3 gallon)
- Hand pruners or shears
- Mulch (shredded bark)
- Slow-release fertilizer
5. Dry-Stacked Natural Stone for a Rustic, Raised Look
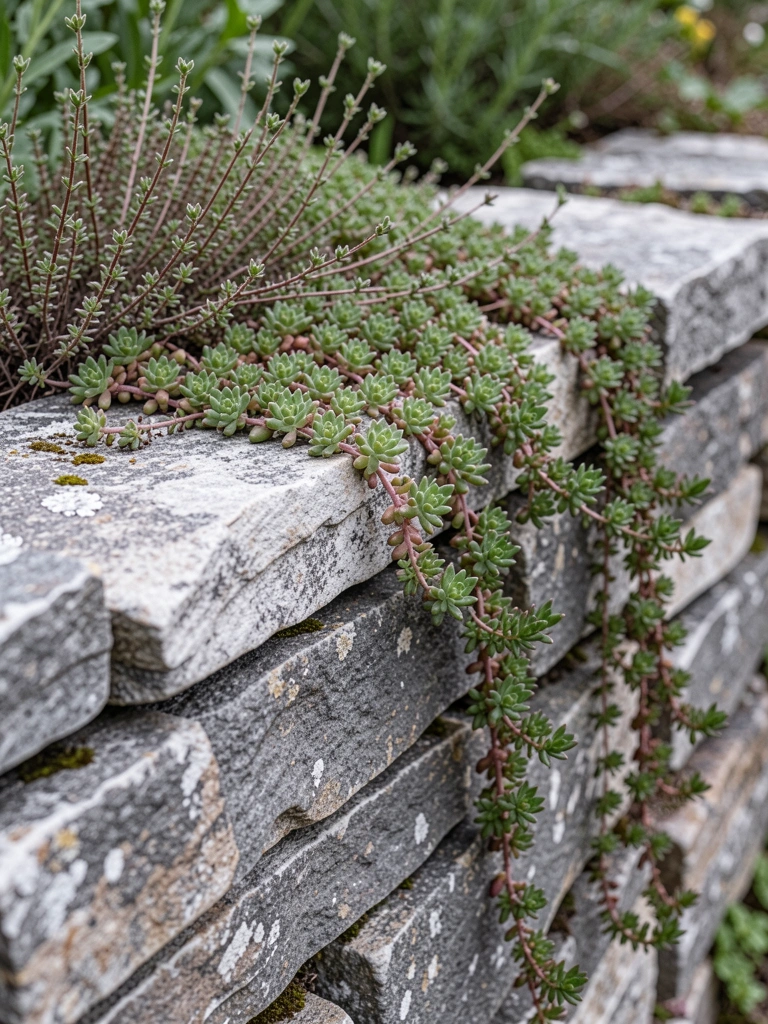
I grabbed fieldstone from a neighbour and stacked a low wall. It raises the bed and catches the eye.
I underestimated leveling. A few stones rocked until I reset the base. It’s slow work, but wrong stones can wobble — test each one.
The wall keeps soil in and lets you plant trailing things over the edge. It’s tactile and feels lived-in.
What You’ll Need for This Look
- Fieldstone or flagstone (varied sizes)
- Sand or gravel for leveling
- Mason’s hammer (optional)
- Work gloves
6. Rounded River Rock Border for a Natural, Cottage Feel
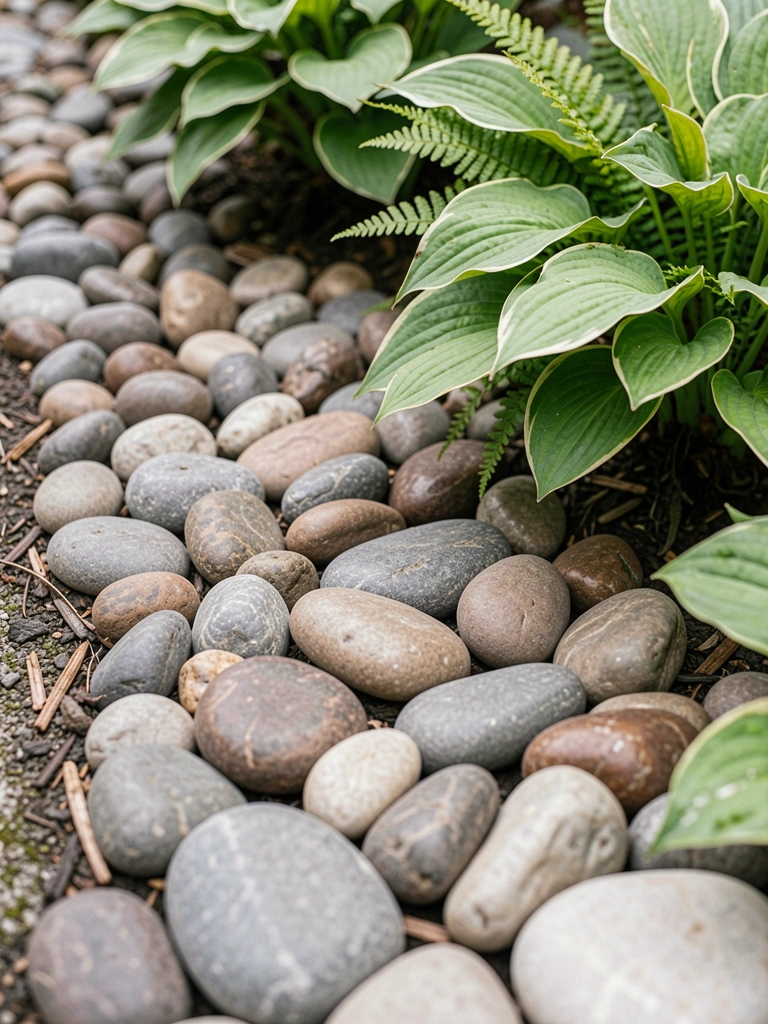
I used river rock to make a soft, natural seam between lawn and garden. The rounded stones echo a dry creek bed and hide a lot of imperfections.
One season I piled large stones and found they shifted. I re-bedded them on sand and they stayed put. Smaller rock needs a tighter edge or it scatters.
It’s great for damp, shaded beds. The stones hold moisture and look natural with ferns.
What You’ll Need for This Look
- River rock (1–3 inch)
- Sand for bedding
- Weed membrane (optional)
- Landscape rake
7. Timber Sleepers for a Warm, Layered Edge
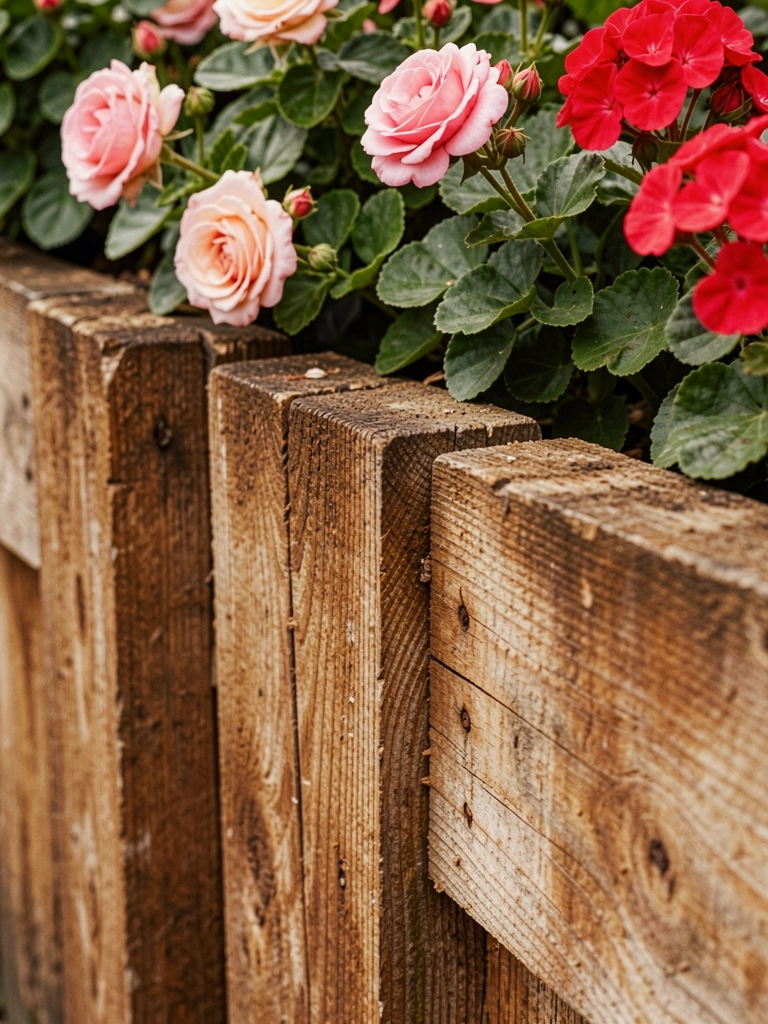
I used reclaimed sleepers to build a raised edge. The wood gives warmth and a sense of structure.
I didn’t treat one batch and after a few years the ends softened. Now I seal cut ends and use kiln-dried sleepers when I can.
Raised beds make planting easier and keep soil from washing. Sleepers are great if you want both height and a rustic feel.
What You’ll Need for This Look
- Timber sleepers (6–8 inch height)
- Galvanized screws or spikes
- Exterior wood sealer
- Drill and saw
8. Low Metal Curb with Embedded Lighting for Night Definition
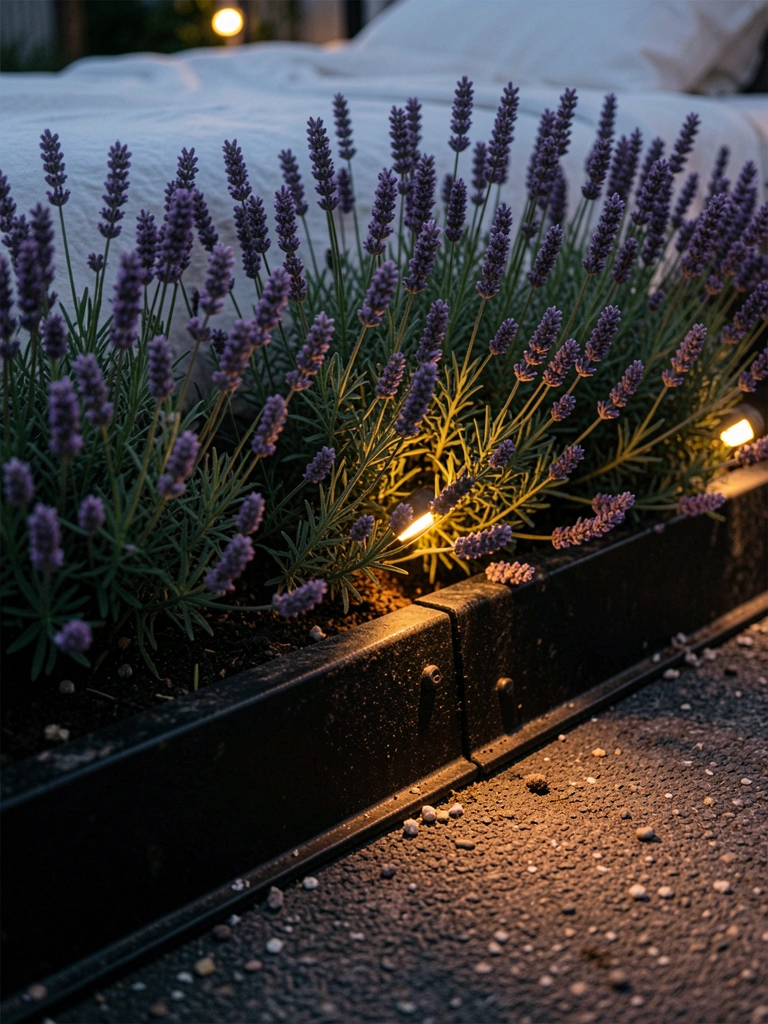
I added a thin metal curb with low LED uplights. At night the edge reads sharply and the plants get a gentle glow.
My mistake was burying lights too shallowly. They flooded with water. I re-laid conduits deeper and added gravel drains.
The lighting extends use of the garden and makes paths safer. It’s a small investment that changes how the bed feels after dark.
What You’ll Need for This Look
- Powder-coated metal edging (2–4 inch)
- Low-voltage LED uplights
- Trenching tool
- Waterproof connectors
9. Gravel Strip with Paving for a Minimal, Low-Maintenance Edge
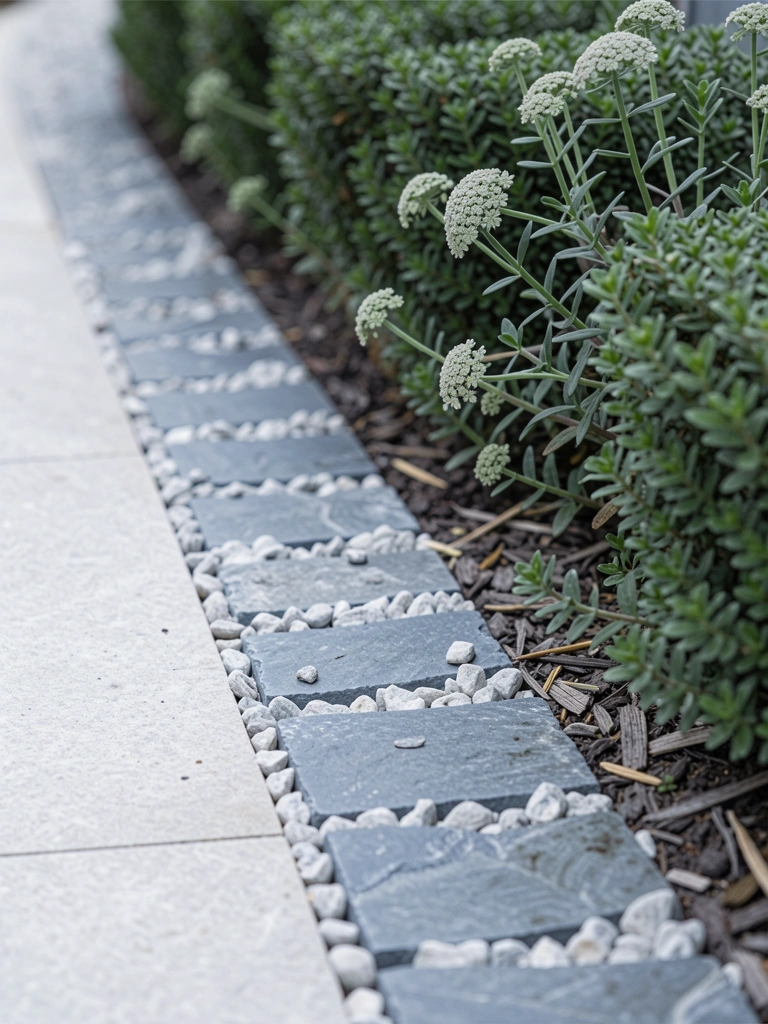
I created a gravel strip with pavers to separate lawn and planting. It’s tidy and doesn’t compete with plants.
I once used too-fine gravel and it compacted into mud. Switching to ⅜-inch crushed gravel fixed that — it drains and holds shape.
This is great where you want simple maintenance and a clean palette. Pair with a few pavers to step on and keep soil off the lawn.
What You’ll Need for This Look
- Crushed gravel (⅜ inch)
- Bluestone or paving slabs
- Landscape fabric
- Plate compactor (rental)
10. Concrete Curb for a Long-Lasting, Clean Edge
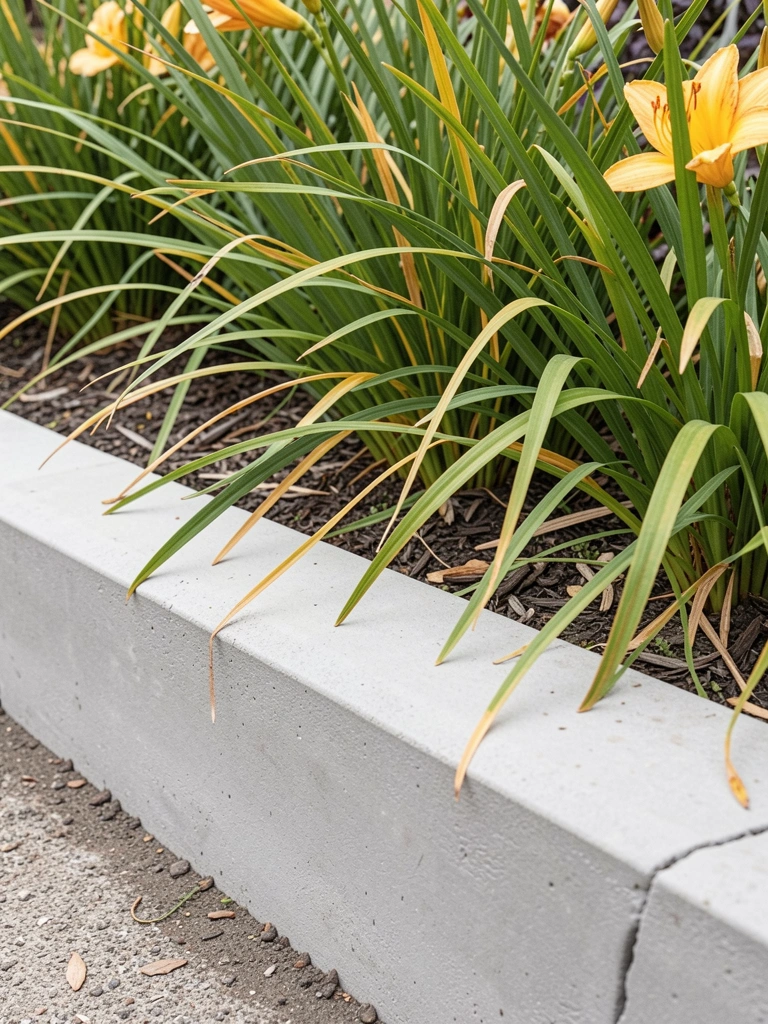
I poured a narrow concrete curb along a long border. It’s the cleanest, longest-lasting edge I’ve made.
I ruined my first pour by not damping the base — hairline cracks showed. The second time I damped the soil and the slab cured much neater.
It reads modern and tidy. It’s heavier work upfront but nearly maintenance-free once it cures.
What You’ll Need for This Look
- Ready-mix concrete
- Form boards (2×6)
- Concrete float and trowel
- Level and stakes
11. Reclaimed Tile or Bottle Border for a Quirky, Colorful Edge

I used mismatched tiles and some bottle necks from a garden clear-out. It’s playful and hides ugly soil edges.
My mistake was underestimating frost. A few tiles popped out in spring. I re-set them on a stronger mortar bed and they stayed.
This is a great way to repurpose bits and brighten a small bed. It’s tactile and very personal.
What You’ll Need for This Look
- Reclaimed ceramic tiles or bottles
- Mortar or concrete mix
- Grout/spade for setting
- Rubber gloves
12. Low Wooden Border with Seasonal Planters for a Flexible Line
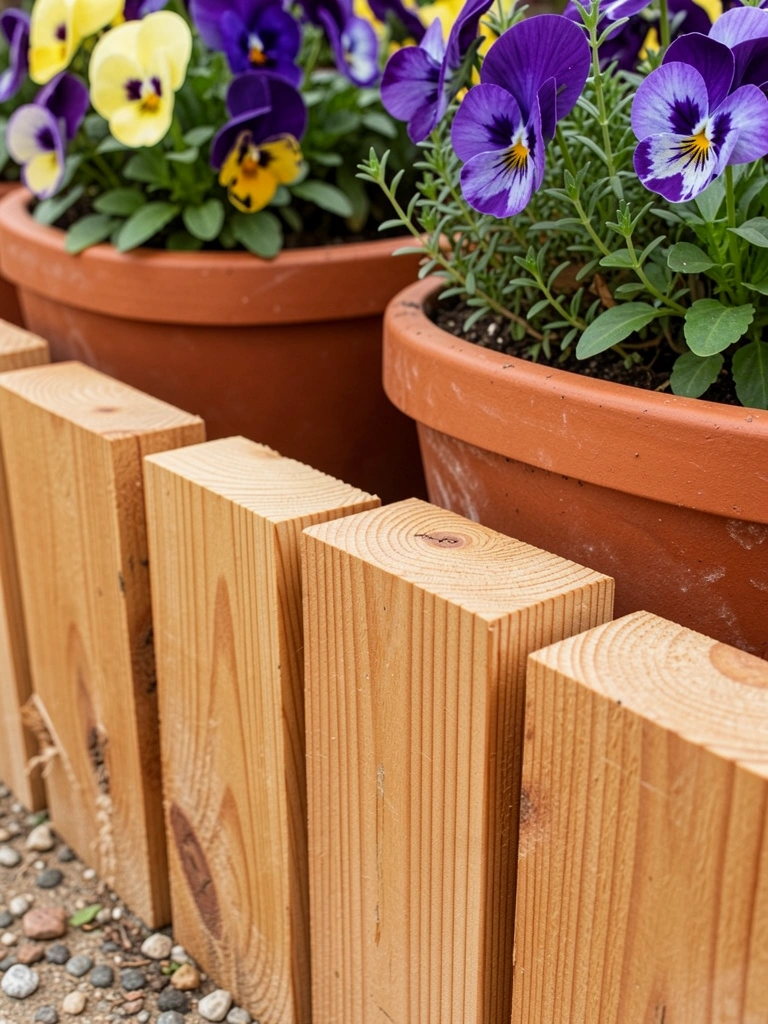
I built a short cedar border and set terracotta planters inside. Each season I swap plants and the edge changes gently.
I once used thin pine and it bowed. Cedar lasts much longer and looks right away lived-in. Choose rot-resistant wood and you’ll thank yourself.
This approach gives me flexibility and adds a casual, layered look without full construction.
What You’ll Need for This Look
- Cedar boards (2×6)
- Galvanized screws
- Terracotta planters (various sizes)
- Drill and saw
13. Raised Metal Planter Rim Around Beds for a Sculpted Edge
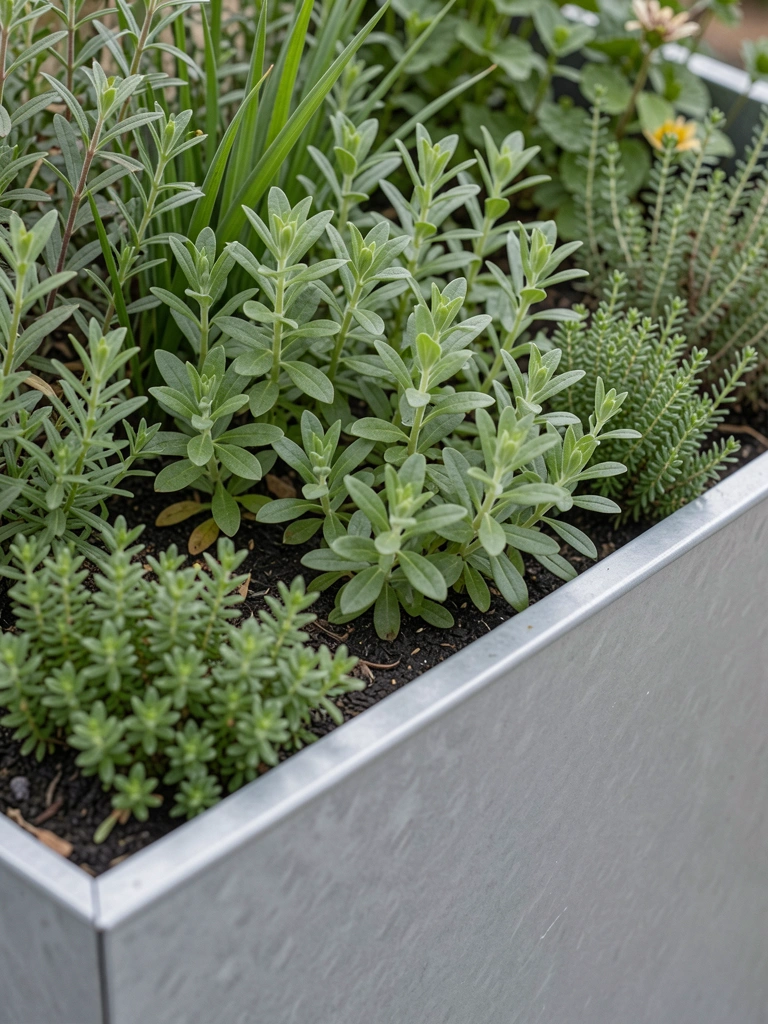
I installed shallow raised metal planters to define a bed. The rim keeps soil high and plants look compact and intentional.
I overplanted at first, and some perennials choked. I pulled a few and used smaller root-ball plants. It opened space and looked better.
This gives height and a polished silhouette. It’s especially useful for poor soil or heavy foot traffic.
What You’ll Need for This Look
- Powder-coated metal planter rim (6–12 inch)
- Landscape fabric and good topsoil
- Galvanized brackets and stakes
- Small trowel and planting spade
Final Thoughts
Edges change how a bed reads more than one extra plant ever will.
You don’t need every idea. Pick the one that fits your time and style.
Do the small test first. A single edge redo taught me more than months of planning. You’ll get there.