8 Rock Garden Edging Ideas to Create a Clean, Finished Look
I used to ignore the edge and the whole bed looked unfinished.
Then I fixed the border and the garden read as one piece.
These are simple, real edging ideas I’ve tried and kept. No grand plans. Just things that work in small yards.
8 Rock Garden Edging Ideas to Create a Clean, Finished Look
These 8 ideas are things I actually used in my rock beds. Expect practical tips, a few mistakes I made, and what I’d buy again.
1. Dry-Stack Slate Edge for a Crisp, Layered Look
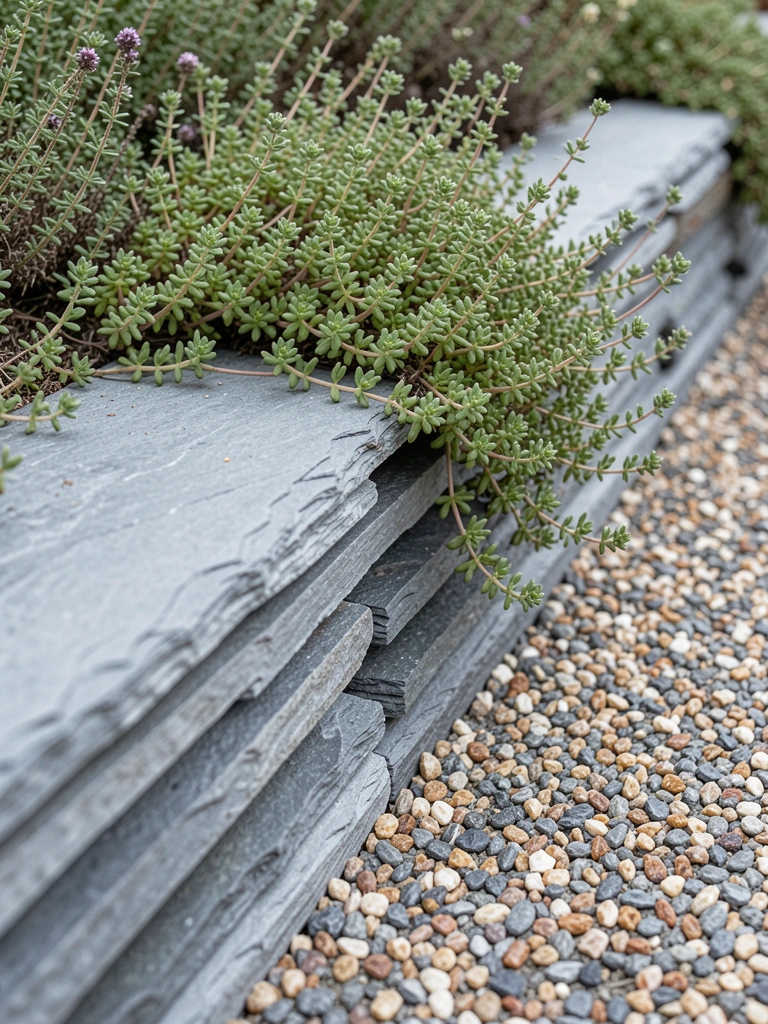
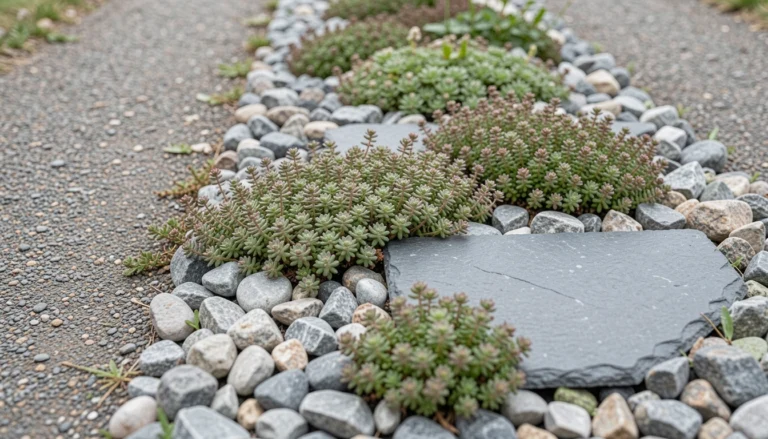
I built a low dry-stack slate wall when my bed looked like a pile of rocks. It gave the bed a clear rim and a tidy shadow line. I learned the hard way to dig a shallow trench first — a stack I didn’t anchor leaned after winter thaw.
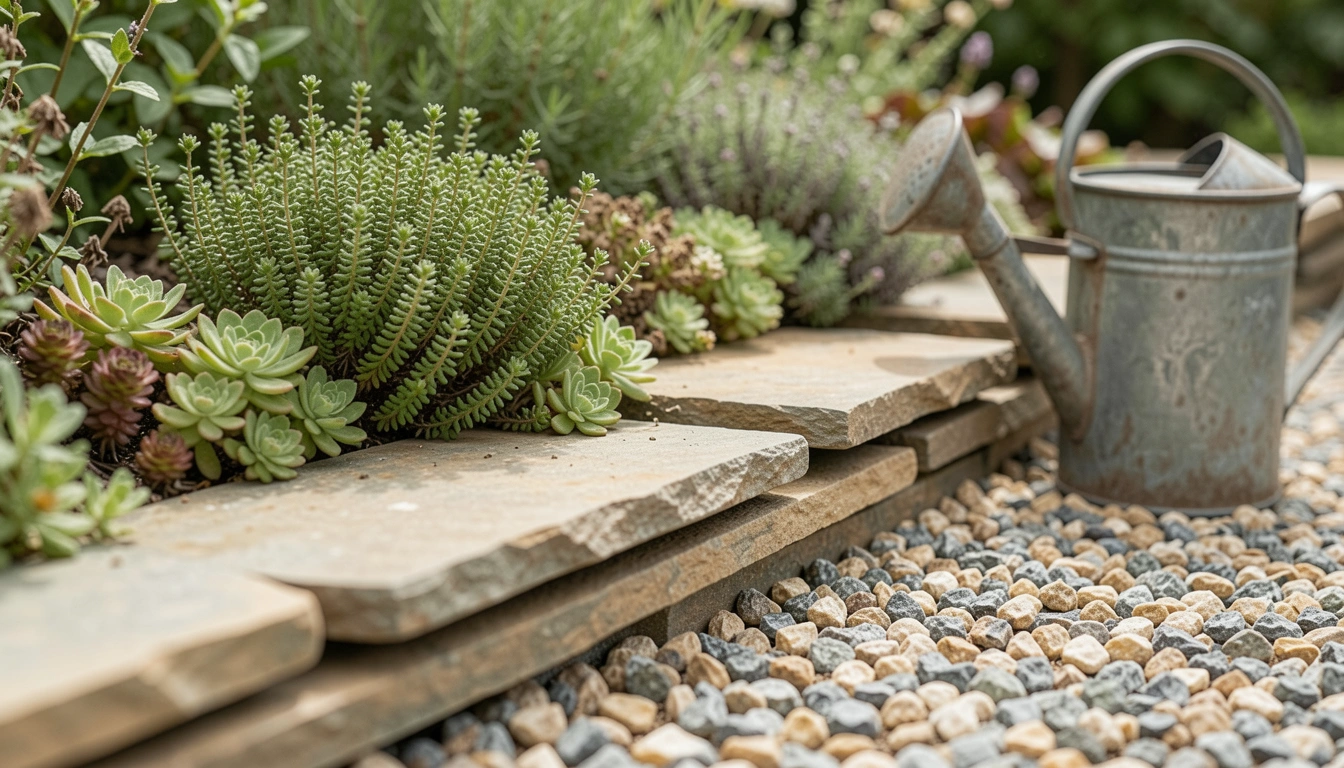
Visually it reads clean and natural. The slate holds heat and helps early spring bulbs pop. I tuck thyme between plates; it softens the edge.
What You’ll Need for This Look
- Flat slate pieces, 2–4 in thick
- Short garden shovel and rubber mallet
- Coarse gravel for base (3/4 in)
- Low creeping thyme or sedum
2. Corten Steel Strip for a Modern, Low-Profile Border

I switched to Corten steel for one sunny bed to get a neat, modern line. It stays low and won’t rot like wood. The rust color warmed the grays in my stones. I underestimated how sharp the top edge felt under bare feet, so I sanded the lip and sank it slightly.
It keeps gravel in place and gives a crisp contrast to plantings. It’s simple to install with stakes. Use a soil barrier where metal touches wood to prevent staining.
What You’ll Need for This Look
- Corten steel edging strip, 4–6 in height
- Metal edging stakes, 12–18 in
- Rubber gloves and metal file/sander
- Landscape fabric for weed control
3. Reclaimed Brick for a Cozy, Cottage Fringe

I scavenged old bricks from a shed demo for a warm edge. The uneven tops and moss made the bed look lived-in right away. My mistake was not cleaning the soil off first — weeds popped between bricks the first season. I dug a narrow trench and compacted sand; that fixed it.
Bricks age beautifully next to sedum and thyme. They’re forgiving if your ground settles. The texture makes small gardens feel cozy.
What You’ll Need for This Look
- Reclaimed or antique bricks
- Sand or fine gravel for bedding
- Hand tamper and small mallet
- Low-growing groundcover plants (sedum, thyme)
4. Boulder Markers for a Natural, Irregular Edge
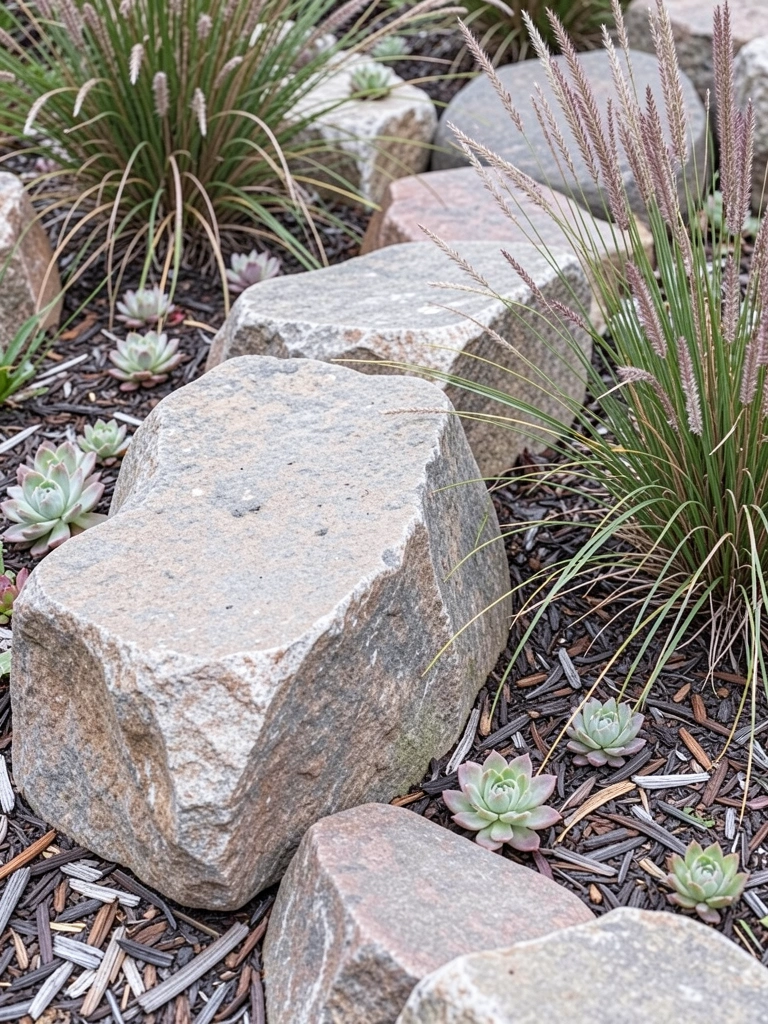
I set a few medium boulders as markers instead of a continuous edge. That irregular rhythm made the garden feel more natural and less formal. I misjudged spacing once and it read crowded; stepping back and moving one rock made a huge difference.
Boulders anchor views and create mini microclimates for sun-loving plants. They’re heavy, so plan placement first. I like leaving a small gap and planting thyme or dwarf sedum between them.
What You’ll Need for This Look
- Mixed-size boulders (12–24 in)
- Wheelbarrow or delivery placement help
- Dwarf sedum, thyme, or alpine plants
- Gloves and pry bar for adjustments
5. Gravel Inlay with Metal Edge for a Clean Driveway Feel
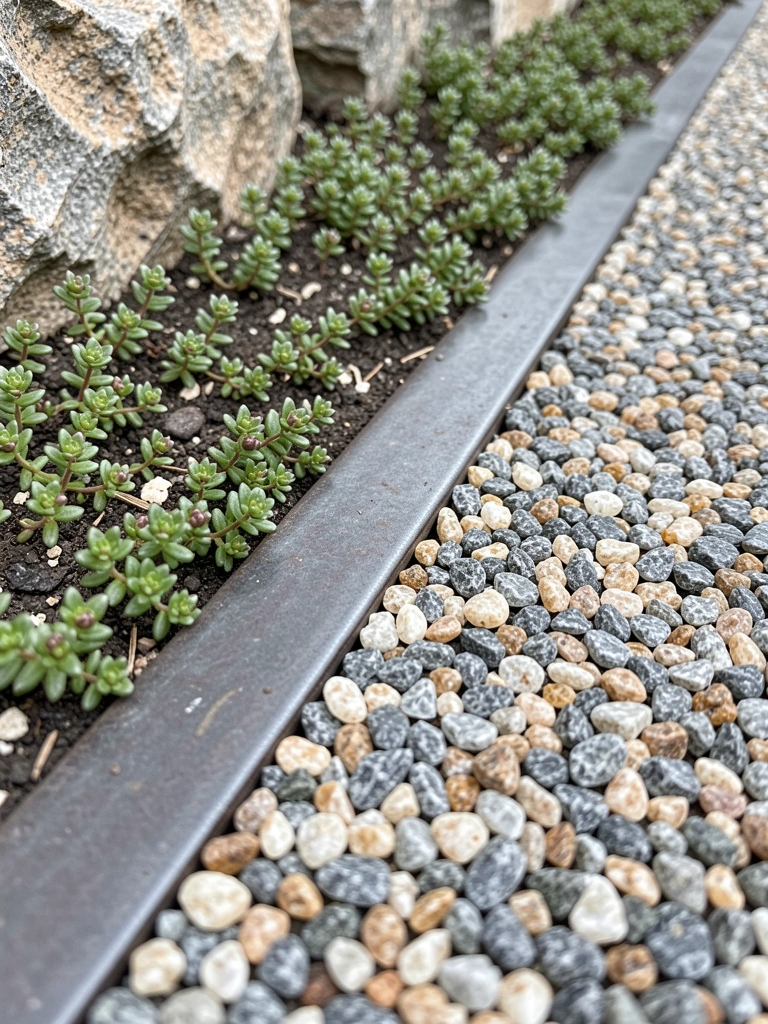
I used a metal strip to keep gravel paths tidy against the rock bed. The strip gave a clean transition without blocking plant spill. Early on I skipped landscape fabric and weeds moved through the gravel; adding fabric solved that.
This setup is low-care and suits modern or simple gardens. The tight line makes the bed look intentional. I like warm, small-grain gravel against rusted steel for contrast.
What You’ll Need for This Look
- Metal edging strip (galvanized or corten), 2–4 in
- Small-grain gravel (pea gravel or decomposed granite)
- Landscape fabric
- Narrow hand rake and edging tool
6. Weathered Log Edge for a Soft, Rustic Boundary
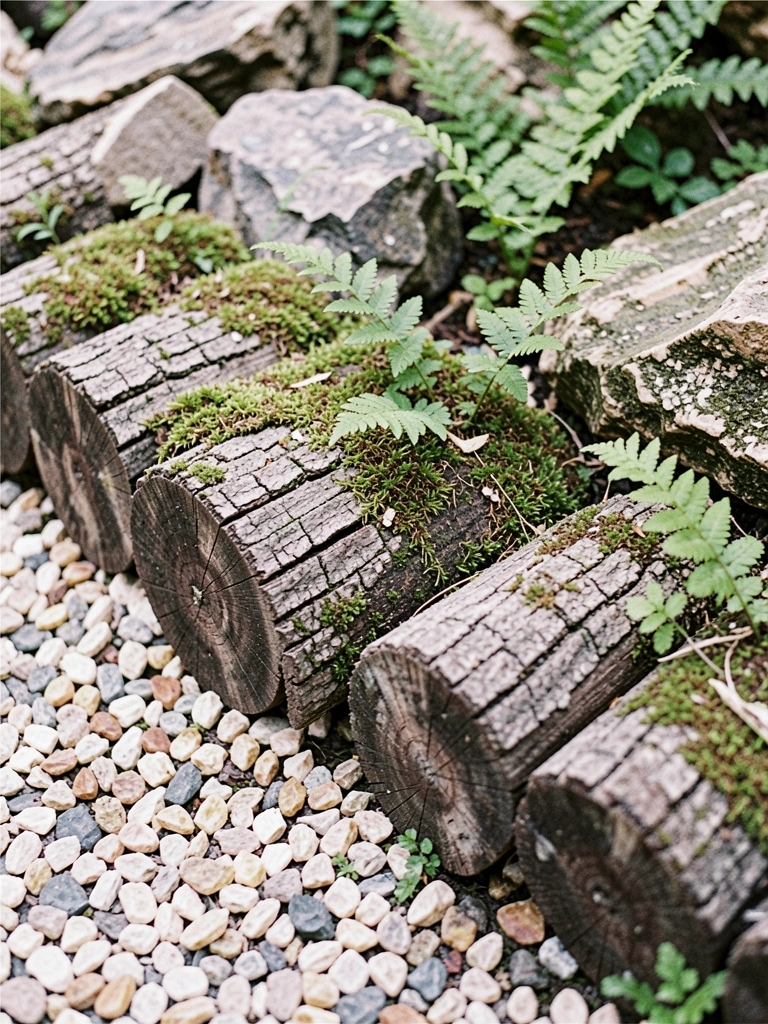
I once used split logs to edge a shady rock bed. The wood softened the stones and added depth. I didn’t treat the ends and one log started to rot faster where it touched damp soil. Now I raise logs slightly on gravel and replace ends periodically.
It’s an affordable look if you can source wood. The logs invite moss and tiny plants to creep over the edge. I enjoy the contrast between rough bark and smooth stones.
What You’ll Need for This Look
- Split logs or reclaimed railroad ties (untreated or naturally aged)
- Gravel base for drainage
- Small ferns or moss plugs
- Hand saw and drill for drainage holes
7. Vertical Concrete Pavers for a Linear, Contemporary Edge
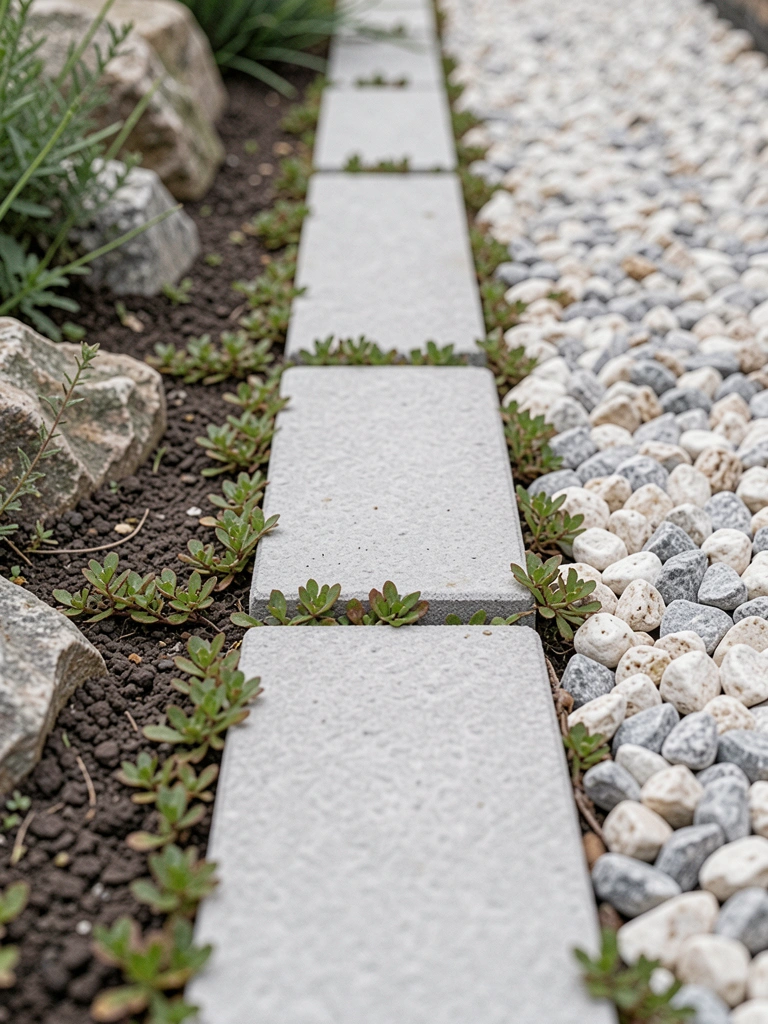
I set thin concrete pavers on end for a sharp, linear border at the back of a rock bed. It created a tidy backstop for taller plants and a modern edge without heavy masonry. I mismeasured depth once and had to reset a few pavers — they need a firm, compacted base.
The look stays neat and pairs well with architectural succulents. Add a narrow strip of groundcover to soften the base.
What You’ll Need for This Look
- Concrete pavers, 6–8 in thick set vertically
- Plate compactor or hand tamper
- Compactable sand or crushed stone base
- Low groundcover (ajuga, moss, dwarf sedum)
8. Living Plant Edge with Low Creeping Groundcovers
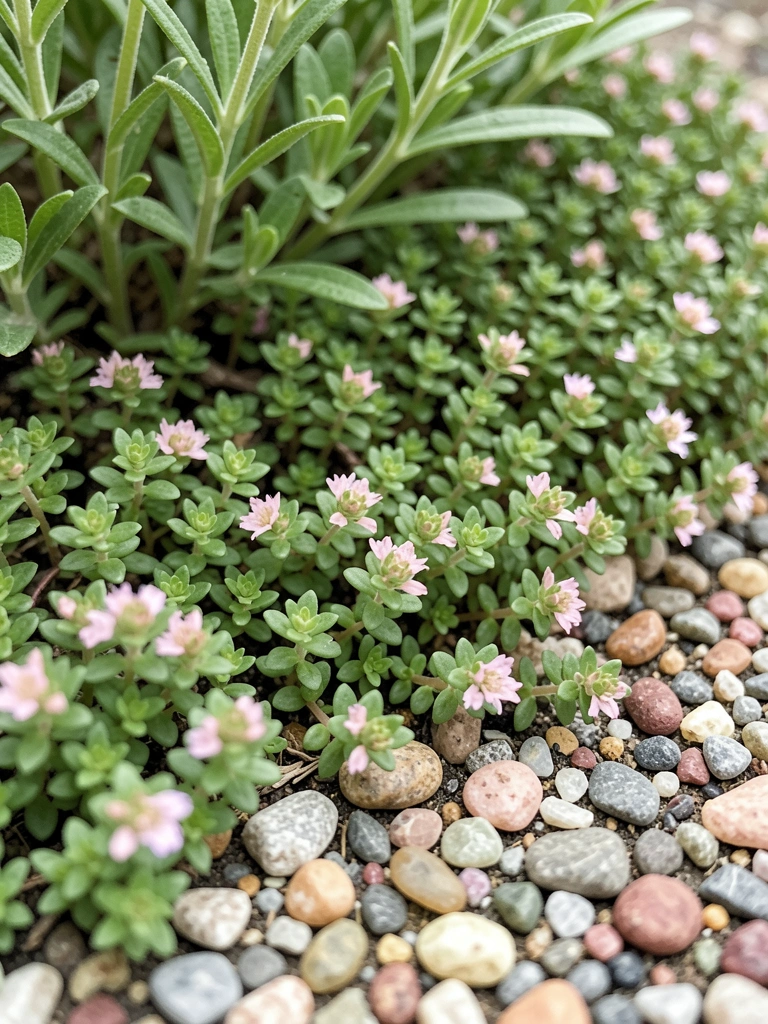
I finally tried a fully planted edge using creeping thyme and dwarf sedum. It blurred the border in a friendly way and smelled nice when I walked by. My first attempt used too many taller plants and I had to thin them out. Patience wins here — plants fill in over a couple seasons.
A living edge is low on hardscape and high on texture. It’s great where you want a softer, cottage feel and easy to repair if a patch dies.
What You’ll Need for This Look
- Creeping thyme and dwarf sedum plugs
- Small decorative gravel or mulch to define bed
- Hand trowel and planting dibber
- Low edging stakes to hold fabric during establishment
Final Thoughts
Pick one edge and do it well. I’ve redone borders more than once, and small fixes matter.
You don’t need every option here. Choose what fits your garden’s feel and your time.