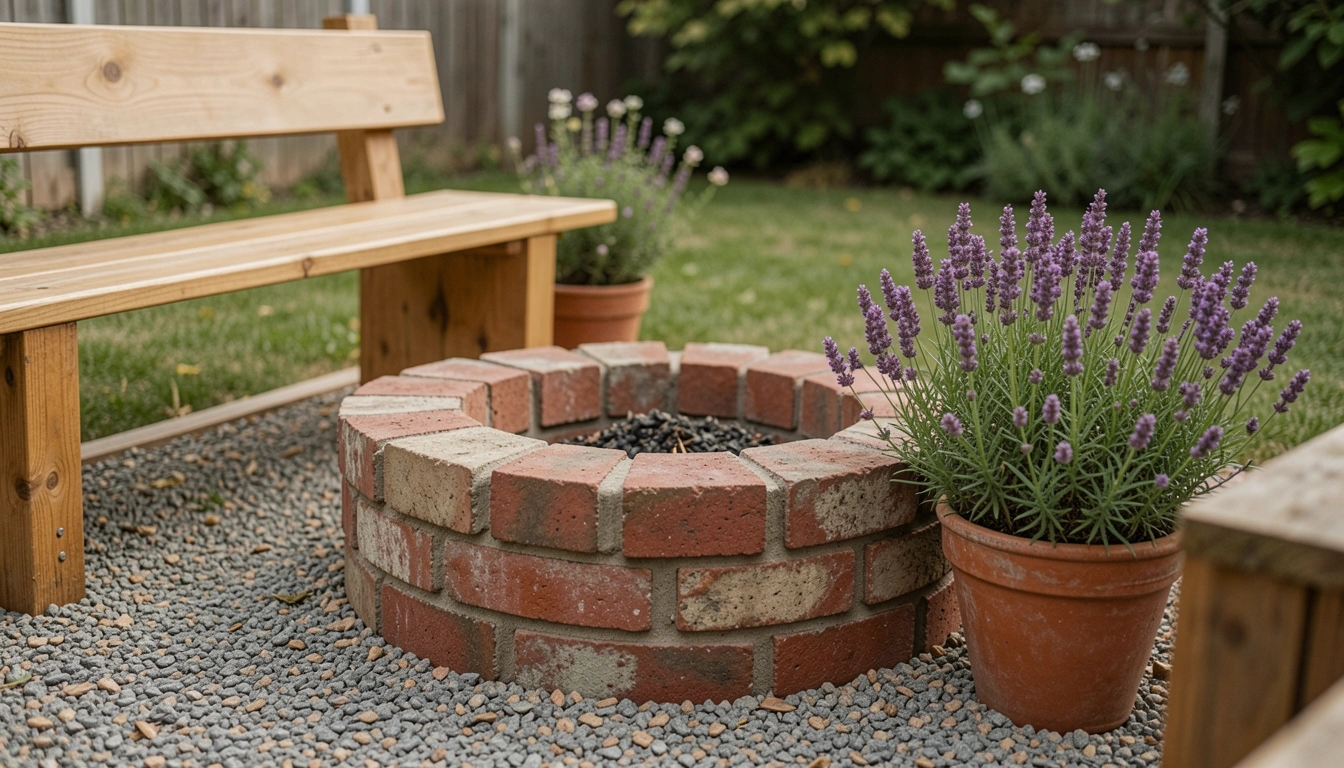
9 Backyard Fire Pit Ideas On A Budget That Look Expensive
I used to think a great fire pit needed a big budget. It doesn't.
I learned what looks expensive: texture, layers, and simple materials placed well.
These are practical fixes from my own messy, real garden. Nothing perfect. Just what actually worked.
9 Backyard Fire Pit Ideas On A Budget That Look Expensive
These 9 ideas use cheap materials and smart placement to look high-end. I tested each in my own yard. Each one is doable and budget-friendly.
1. Reclaimed Brick Circle with Pebble Border
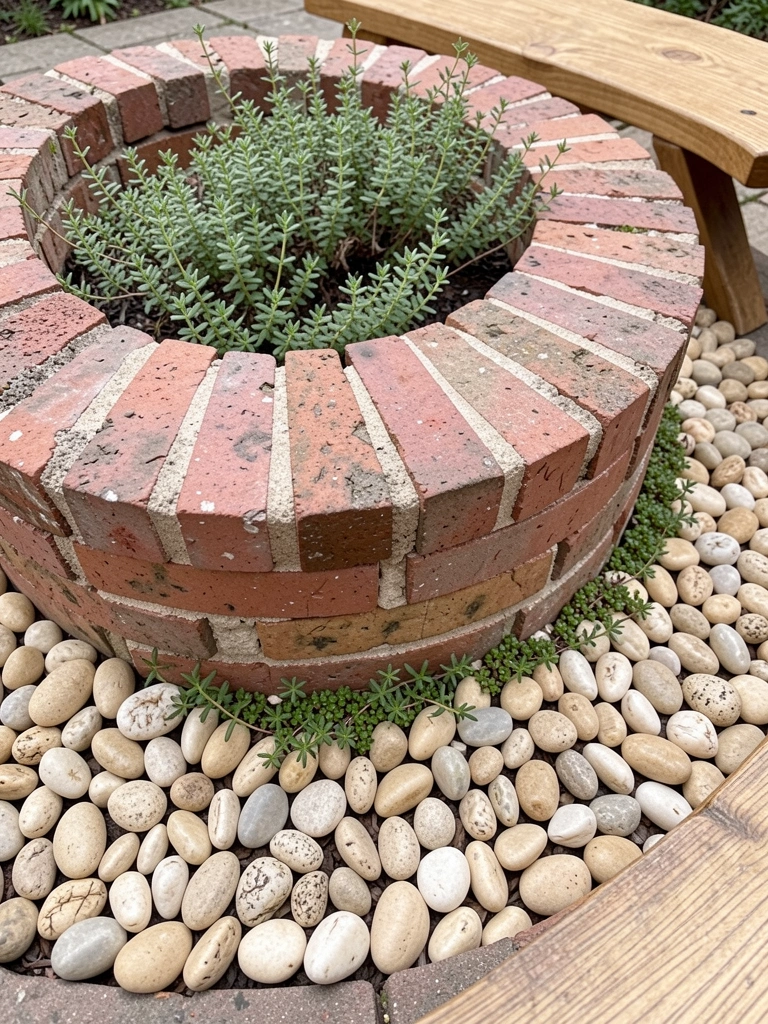
I built this from leftover bricks I found at a salvage yard. It looks weighty and intentional, even though the materials were cheap.
I discovered one mistake: some reclaimed bricks crumbled when I stacked them. I swapped the worst ones and used landscape adhesive to stabilize the ring.
The pebbles around the circle hide scorched grass and look tidy. I planted thyme in gaps; it smells nice when warmed.
What You’ll Need for This Look
- Reclaimed bricks (standard full-size)
- Beige pea gravel (1–2 bags)
- Landscape adhesive
- Thyme groundcover plugs
2. Portable Steel Ring on Paver Patch

I bought a cheap steel ring and set it on inexpensive pavers. The contrast of warm rust on cool pavers reads deliberately modern.
One lesson: my first ring was too small for our group. I upgraded to a 30-inch ring and the space finally felt right.
A paver patch protects the lawn and makes cleanup simple. I edge it with low boxwood to soften the hard lines.
What You’ll Need for This Look
- 30-inch steel fire ring (cold-rolled)
- 12×12 concrete pavers (4–8)
- Boxwood dwarf hedging (4–6)
- Fireproof gloves
3. Gravel Bed with Fire Bowl and Adirondacks

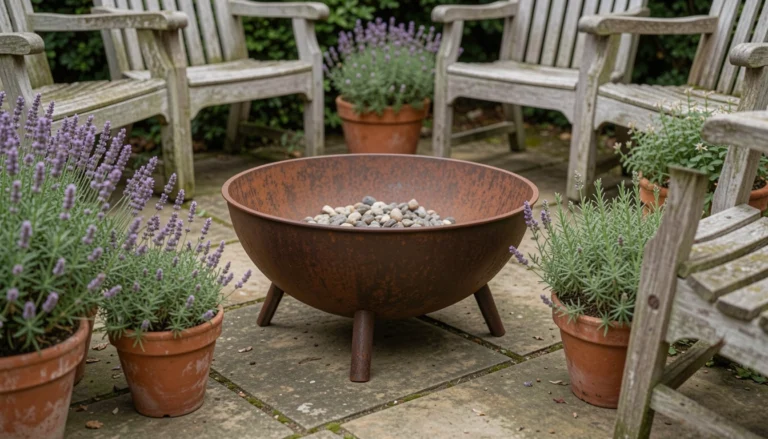
I used a shallow steel fire bowl on a raked gravel bed. It reads like a curated courtyard but cost next to nothing.
I once bought a bowl with poor drainage; water pooled and rusted it. This time I chose a bowl with legs and it dries quickly.
The gravel keeps weeds down and is forgiving under chair legs. I added two weathered Adirondacks and a rosemary pot to make it feel complete.
What You’ll Need for This Look
- Steel fire bowl (18–24 inch) with legs
- Pea gravel (1 bag)
- Weathered Adirondack chairs (wood or recycled plastic)
- Potted rosemary (1–2)
4. Raised-Cedar Bench Surround for a Built-In Look

I built a simple raised cedar bench that frames a small pit. It mimics custom seating without carpentry heroes.
My misstep was underestimating weight; I added extra supports after a few friends sat down. Lesson learned: brace the corners.
The bench gives a permanent, expensive feel and doubles as storage for kindling underneath. Add cushions and a few succulents in pots to soften it.
What You’ll Need for This Look
- Cedar boards (2×6 for bench)
- Small metal fire insert (18–24 in)
- Outdoor cushions (water-resistant)
- Succulent pots (terra cotta, small)
5. DIY Concrete Bowl with Faux Stone Finish
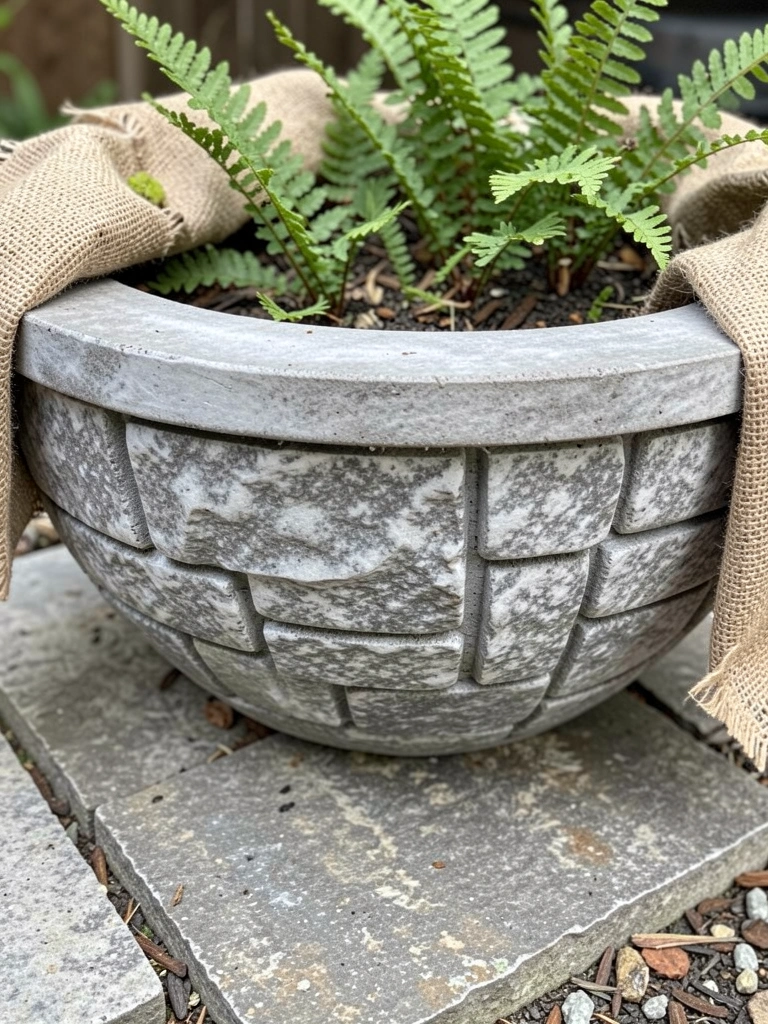
I mixed concrete for a DIY bowl and stamped it to mimic stone. It reads heavy and expensive but cost about $40 in materials.
I ruined one pour by letting it sit too long. The fix was simple: work in smaller batches and keep a wet rag nearby.
A little stain and sanding made the finish believable. Place it on a flagstone pad and surround with low ferns for contrast.
What You’ll Need for This Look
- Concrete mix (small bag)
- Stone texture stamp or sponge
- Concrete stain (gray/beige)
- Flagstones (3–5) and small ferns
6. Succulent Ring on a Gravel Pocket for Safety and Style

I dug a shallow gravel pocket around a compact fire bowl and planted drought-tolerant succulents. It looks deliberate and stays fire-safe.
One insight: succulents tolerate heat but I lost some from direct flames. Now I keep a 12-inch clear zone from the bowl.
The gravel pocket stops grass singeing and reads tidy. The succulents add texture and require almost no care.
What You’ll Need for This Look
- Compact fire bowl (metal)
- Succulent varieties (hens-and-chicks, sedum)
- Coarse gravel (for pocket)
- Small trowel
7. Pallet Seating with a Central Fire Table

I salvaged pallets and built low benches around a small fire table. It feels purposely relaxed, like a backyard hangout.
My mistake was using pallets that weren’t heat-treated; some boards warped. I switched to HT-rated pallets and re-stained them.
A narrow fire table (propane or planted bowl) keeps the focal point small and cozy. Add seat cushions and a few upright herb pots for scent.
What You’ll Need for This Look
- Heat-treated pallet boards (cut to bench size)
- Narrow propane fire table or small gas burner
- Outdoor cushions (low-profile)
- Herb pots (mint, basil)
8. Chiminea on Flagstone with Potted Layering

I placed a chiminea on a flagstone pad and layered large terracotta pots around it. The pot groupings make a simple chiminea feel curated.
I once put it on bare soil and it sank after a heavy rain. Flagstone solved the wobble and looks intentional.
I mix tall grasses with lavender and a couple of ceramic lanterns. It reads more expensive than the chiminea actually was.
What You’ll Need for This Look
- Steel or clay chiminea (medium)
- Irregular flagstones (4–6)
- Terracotta pots (large and medium)
- Lavender and ornamental grasses
9. Stone Ring with Lanterns and String Lights
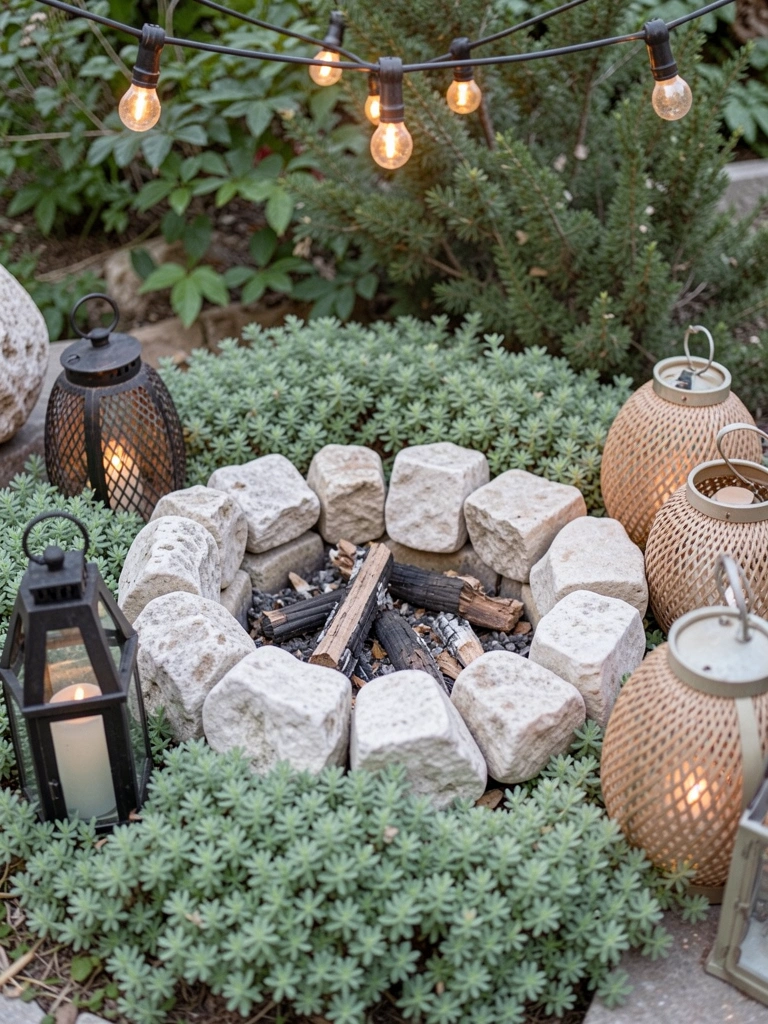
I stacked landscape stones into a low ring and hung warm string lights overhead. Lanterns on the stones give that lived-in, soft glow.
I overhung lights too close once and a hot ember singed the strand. Now I use LED outdoor-rated bulbs and keep lights higher.
The stones are inexpensive and look solid. The layered lighting—lanterns plus strings—makes a simple pit feel like a planned outdoor room.
What You’ll Need for This Look
- Landscape stones (stackable limestone)
- Outdoor-rated string lights (warm white)
- Woven outdoor lanterns (battery or solar)
- Low groundcover (creeping thyme)
Final Thoughts
You don’t need perfect materials to make a fire pit feel thoughtful. Small fixes—layered planting, proper pads, and honest seating—add polish.
Try one idea, see how it sits in your yard, then tweak. I still tweak mine every season.
You can do this one corner at a time and enjoy it from day one.